I’d to come up with a cost effective and ingenious way to advertise our Baths in January, and having driven around Manchester this week and seen lots of other banners flapping around in the stormy weather, thought I’d share this as a great tip. We’d been offered some hoardings to paint or poster, but unfortunately they weren’t in the best of conditions, as you can see. One option was to re-board with OSB or plywood but that would rocket costs on both materials and labour. I then priced up rigid boards made to size with vinyl lettering added but that worked out at nearly £600 for the four large boards & signage!
Hmmmmm. Nothing else for it but me, Mr M & Phil to get to it with some Moregeous DIY, first scraping off all the loose paint and bumpy bits, then painting out all the graffiti with a deep charcoal external paint – Downing Street by Valspar, which gave great coverage with two coats. We Are Life Design locally created two fantastic banners which joined together at under £250 for design and supply, but the trick then was getting the banners to stay up & on the hoardings in the face of wind, weather, kids and drunks! One thing I’ve learned about banners in the last year working with the Baths is they disappear quickly!
 To hold it in place, I decided to frame the banner like a picture, using decorative door architrave from a local timber merchant and painting it the same colour as the hoardings. Here’s what to do:
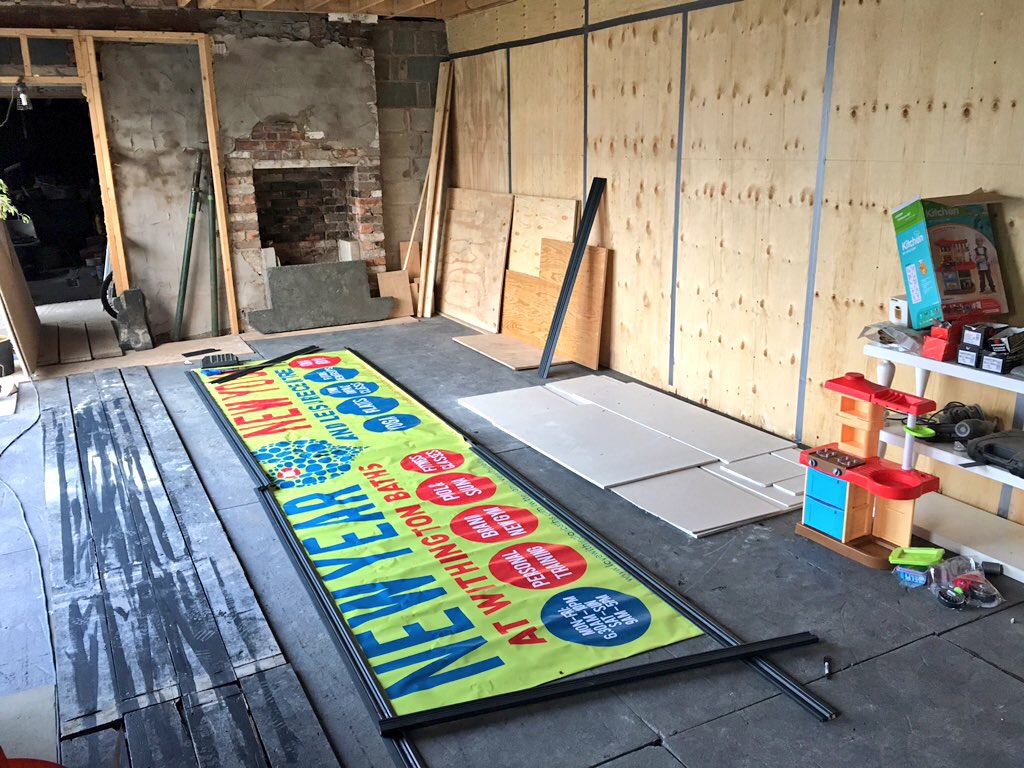
- Lay your banner out and measured each side, remembering to add on 5cm / 2 inches for the corner mitres. You want the frame to sit about 50/50 over the banner edge and the hoarding to keep it secure.
- Cut the ‘frame’ using a mitre box and saw.
- Paint the frame before fixing it on the wall, unless you want paint all over your banner.
- Our banner was so long – 16ft – that the top and bottom lengths were in two pieces. I left the left hands side mitre cuts to do on site so the lengths would be perfect, but on a smaller banner you could probably do them all at once.

- Tack the banner in the position you want it and make sure it’s level and wrinkle free.
- Then piece by piece screw the architrave through the banner and into the hoarding. Ours is fairly temporary as it’s a New Year campaign but if yours is more permanent, maybe counter sink and seal the screws to hide them.
- I didn’t filled the corners with caulk or wood sealant, again because this is temporary, but for a perfect finish, you could do that to yours.
Even with storms Gertrude and Henry, she’s still in place and holding firm, whilst looking rather on trend surrounded by deep grey. Highly recommended if you’ve a banner to fix!


Leave a comment