Most people know me as an Airbnb running, telly designer, lady builder, but in a previous and far less glamorous life, I ran a damp proofing company. This back to brick start in the world of property all those years ago gave me a cracking practical apprenticeship but took away something else: any fear of wet, mouldy and decaying stuff. Genuinely. I love a soggy joist end and a cellar full of fungus.
When people find this out they ask me mouldy questions, usually about their own soggy ends or mushrooming skirtings. A couple of recent articles featuring our Renovation Day have mentioned my affiliation with all things damp and eagle-eyed Matt spotted an opportunity to get some advice on his problematic chimney breast. Loads of us are opening up long blocked original features and damp can be an issue. I figured it’d make an informative blog post, so here goes…
Hello Sian,
I read your article in the Sunday Times a few weeks back and really enjoyed the piece.
I hoped to pick your brains on something damp related. I own a Victorian property in Manchester and had a damp proof course completed 12 years ago. We now have a small problem contained within the fire place.
The company that did the work XXXXX no longer seem to exist so the 30 year warranty is worthless and I’m trying to find a recommendation and you clearly have lots of experience with this. I’ve attached some pictures of the issue in case it helps. Is this something you would help with yourself? or could you recommend a local specialist?
Thanks for your help and good luck with the projects. I will keep following the adventures on the blog.
When people are nice, I like to help. People who write to me or DM me with blunt demands usually get ignored. Matt was very nice. Be more like Matt.
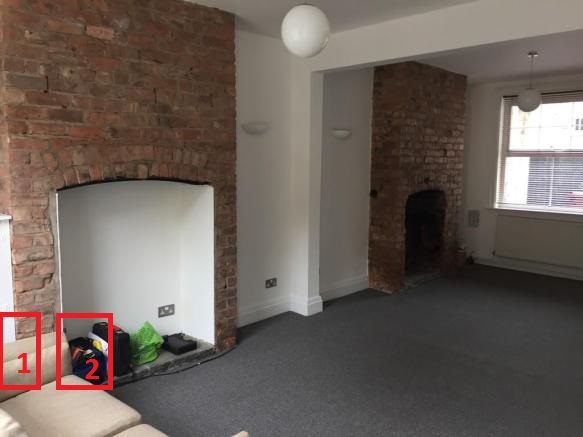
Matt’s chimney breast opening was clearly troublesome, with crumbling mortar (not unusual itself) and white surface staining (more of an issue).
 Here’s the thing with chimney breasts – they’re notoriously hard to damp proof. They’re not nice thin walls with a straight forward layer of damp proof course (dpc) to stop water rising up from the ground though the bricks and into our homes. When fireplace openings have been blocked up, they’re usually a jumble of brick and cement which is nigh on impossible to properly inject. That is if you’re getting an injectable new damp proof course. When they’ve been opened up, they still have chunks of brick on the legs to either side of the opening and rarely have clear lines of dpc evident anywhere.
Think about it though – these holes in the wall used to contain fires. Fires are hot. Fires dry out damp bricks. So the issue of chimney breasts being harder to damp proof was successfully mitigated by the heat drying out the bricks. As long as the fires burned, the damp stayed away.
So, as more and more people in the 70’s took out the real fires and off the gas fires to fit central heating & radiators, issues with damp chimney breasts became more prevalent. In the 90’s when I’d my dpc company, it even started to be a thing to fit plastic tanking membrane to the front of chimney breasts then plaster over it to stop the damp coming through. Nothing like hiding a problem eh?!
Move forward to the Noughties and some of us renovators started opening back up the existing fireplace recesses, often purely for decorative reasons. I’ve done this to heaps of properties, for myself, for clients and for rentals. It gives a room back an original feature and focal point, can be an area for cool tiling, shelving and candles, and generally makes a room feel bigger. Of course a fireplace is always better with a fire in it but sometimes that isn’t within budget, or isn’t desired by the owner.
However, what happens if there is a damp issue inside the fireplace, on the plasterboard, just like in Matt’s house? When plastering (sand and cement) or sheets of plasterboard have been fitted direct to bricks internally in a fireplace, there’s very often a problem with damp. The moisture rises ups via the bricks from the ground, especially in wet weather when the water table is higher than at other times. If there’s no effective damp proof course, the moisture travels through the plaster and evaporates, leaving behind the soluble salts picked up from the brick work and walls. This is called efflorescence, from the French term for ‘flowering out’.
It can be brushed away, but over time the plaster deteriorate, plus all that white powder is very annoying. To stop it? Remove the plaster.
The bricks can then breathe and although the small amount of dampness may still be there, it doesn’t really cause any harm and the occasional whiteness in wet weather can be cleaned off. You can also get a salt neutralising solution to wash the bricks with, though the salts are often deep within the brick so they’ll probably keep coming back. If you seal the brick face this can help, but try not to seal the mortar as this is where most of the moisture will evaporate.
If you don’t want the bare brick look then I’d suggest removing the plaster, then fitting one of the following:
- A plastic or tanking membrane to the internal walls, then re-boarding with plaster board – leaving a small escape route for moisture at the bottom centimetre or so
- Using a cementitious board or aqua board straight onto the bricks, similar to the ones used in showers. Try HardieBacker board. These are impermeable to water and are good if you want a tiled finish internally in the fireplace.
- If your bricks are in great and condition, barring a small touch of damp, you could tile straight onto them using a decent external adhesive. Porcelain or ceramic tiles after all are impermeable to water. Porous tiles aren’t don’t forget – so might let damp through.
If you’re really going to town on your reno then I’d suggest checking the hearth as often newer concrete ones haven’t got a dpc under them and the dampness can rise up through there too. That said, most people tile the hearth which helps stop damp coming through. When you do this though, bear in mind that water and damp will always find a way to head in the direction they want to head, so if moisture has always escaped through the hearth base and then you tile it, you might start to see some dampness around the edges and up the wall. Sneaky innit!
I hope this has been helpful. Not my most glamorous post ever but hey, life isn’t all glamour is it?!
x

Leave a comment