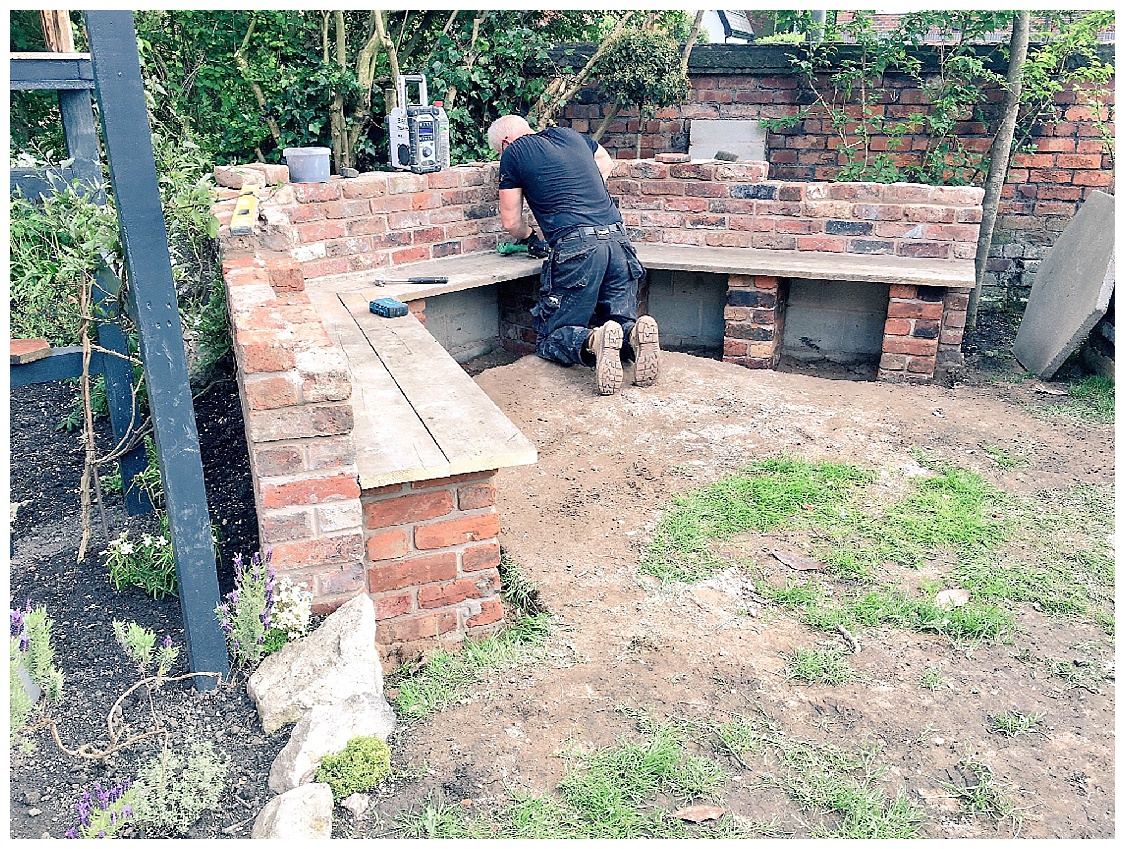
It only seems like five minutes since we started digging out the dark woodland corner of the garden to create some seating, because the whole area has now taken on a life of it’s own! Whilst I was down at Clerkenwell Design Week, Mr M & Brickie Brian built up the pillars to take the seating lengths, using more beautiful reclaimed bricks for strength. We debated brackets or timber vertical struts but decided on something more sturdy and reliable, quite possibly having in mind the dancing on the seating which will inevitably take place.
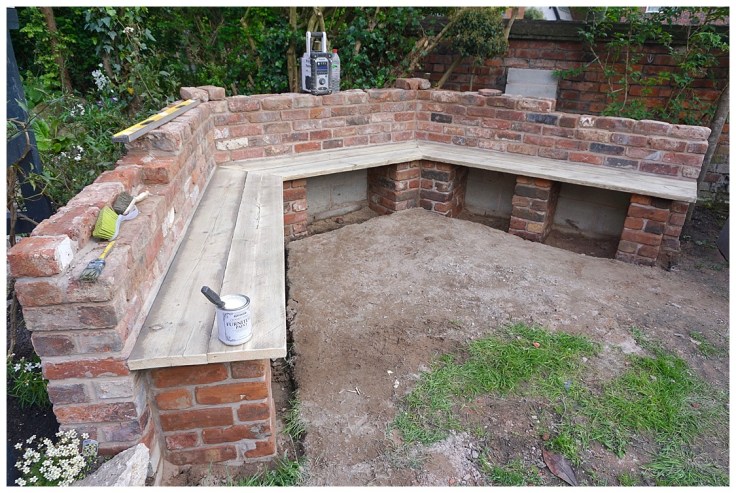 Eventually I’d like some serious timber on there, oak or similar, but for now we made use of some of the scaffolding boards which have been a) been employed many time in the building of the house and b) created the various paths across our reclamation yard garden for the past year. By now pretty filthy, they needed a thorough sanding down, although I kept some of the darker edges for a more characterful look. Two lengths wide was more than adequate for the average bum.
 Once screwed in place, I painted them with Rustoleum chalky finish furniture paint, in an antique white to be slightly softer for the garden with a touch of grey too. The great thing about this type of paint is that you can sand it back to reveal the wood grain and create a vintage effect, with as much or as little paint colour as you choose, meaning every piece is unique. Below are the planks with the initial patches of paint in the areas I wanted colour, with the rest left bare.
 Chalk paint needs to be sealed with a coat of wax before you sand it, otherwise it just all comes off too quickly when sanded and it isn’t as easy to control your finished effect.
 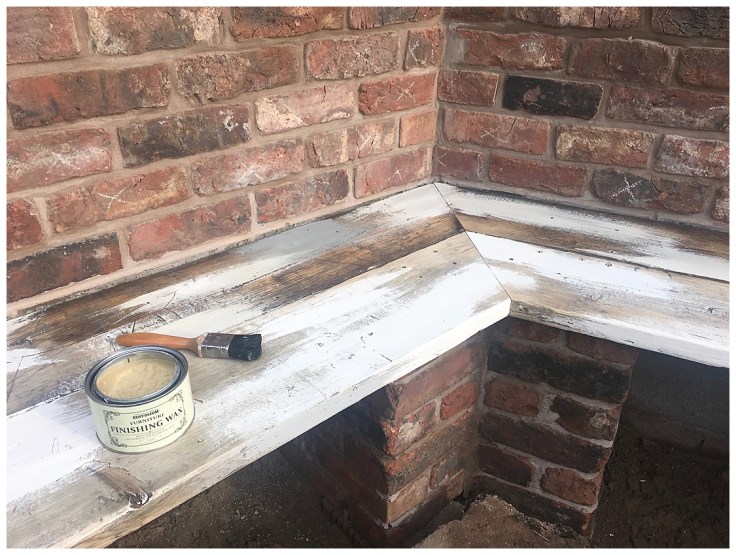 Can I just say at this point that the whole process is MUCH easier when loved ones don’t keep getting in the way!
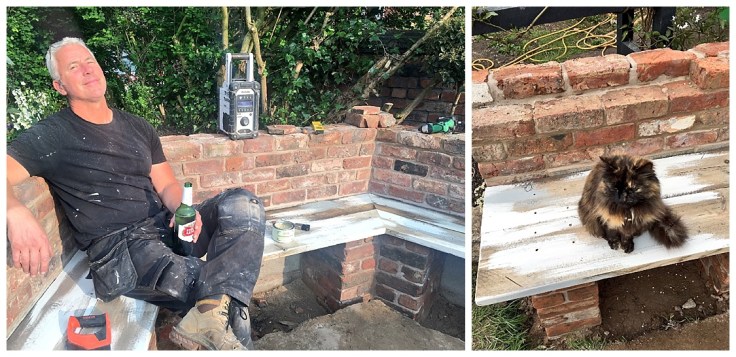 The Rustoleum clear wax is very soft and easy to brush on, more so than other brands I’ve used. With that in mind and because these scaffolding planks are outside, I used an 80 grade sandpaper to ‘distress’ my paint finish, wiped the planks clean with a slightly damp cloth, allowed them to dry, and then sealed with two coats of clear, exterior wood varnish. Manchester weather and all that. If you’re painting internal furniture you don’t need a varnish, just the wax given a good buff up to seal it.
I’m really happy with the finished effect, which brings out the white of the occasional brick and lightens up Tweetin Corner a treat. I do need to wash off the chalk crosses which marked up which fronts I wanted Brickie Brian to use!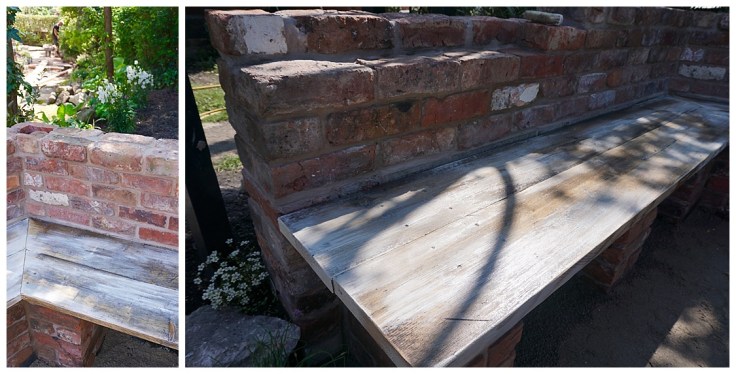
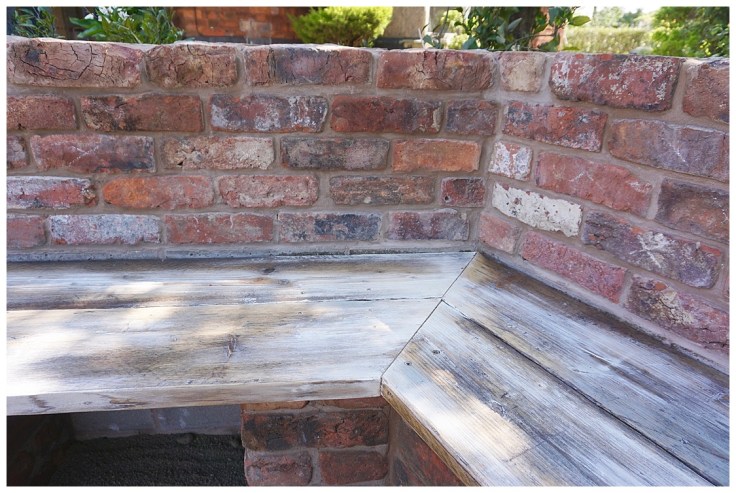 Because we’ll be interchanging the planks and look of the space for shoots and events, I’ve left the fixings visible, but it’s better to fill these if your planks are permanent.
For the last year and a half of our self-build there’s been nowhere to sit in the evenings apart from the one room we live in, and in that room he has the chair and I have the bed. I cannot tell you how brilliant it was to sit down on an actual upright seat, in the evening, and sip a chilled prosecco. When you live like this it’s the little things which bring you joy though, granted, I look more wearily relived than joy-filled!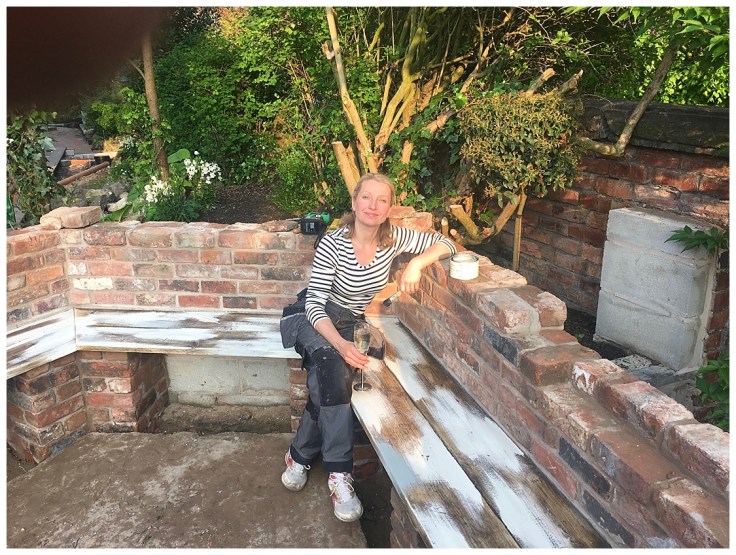 Now we just need to create some seats inside too 😉

Leave a comment