I’ve mentioned this product before in a blog post but it’s helped me so much in the last couple of days I’ve decided this tile adhesive needs a post all of it’s own.
Three years ago what will be our dining room was our kitchen, which was ripped out when we knocked through – right where Mr M is standing below – to build the extension. It’s pretty much been a ripped out room ever since, as we’ve worked on the roof, windows, dormer, bedrooms and bathrooms. This is what the ‘kitchen’ still looks like when viewed from the dining room, as he works on getting some electrics ready before the plasterers start working their messy magic next week.
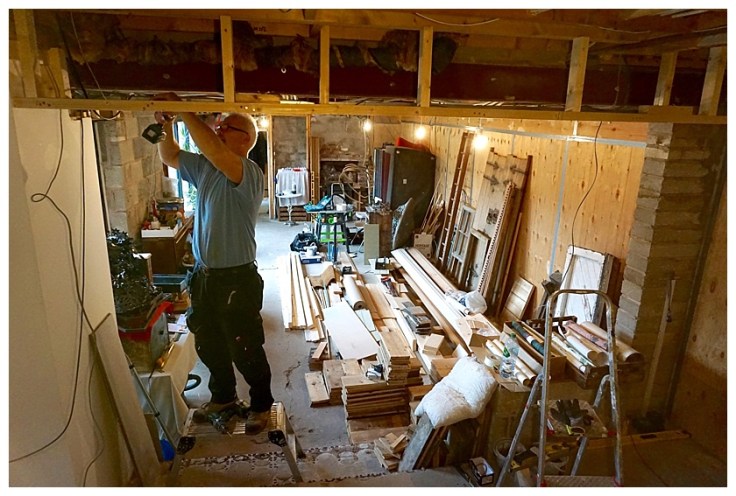 There’s just the two of us, working at our ‘real’ jobs as well as renovating, so things have moved slowly when compared to those renos I enviously see completed and ‘grammed in under a year. But we’re finally getting there!
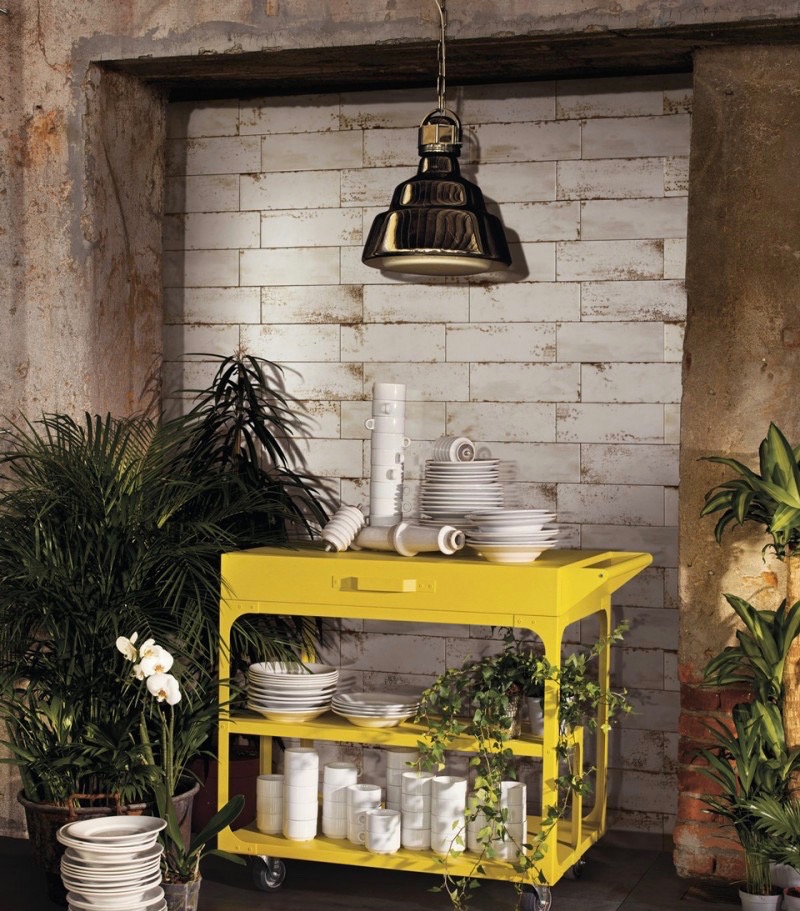
Our Christmas 2017 goal is to have the dining room completed, so we can celebrate the big day in style. We’ve spent the last few days firstly laying the giant parquet and then tiling the chimney breast in the same space. It’s been brilliant to finally see the back of the piles of pine boards which we’ve moved about 27 times, and then to open the glazed ceramic metros which have waited patiently since last February when they arrived on site. At least I know I still love them though eh?
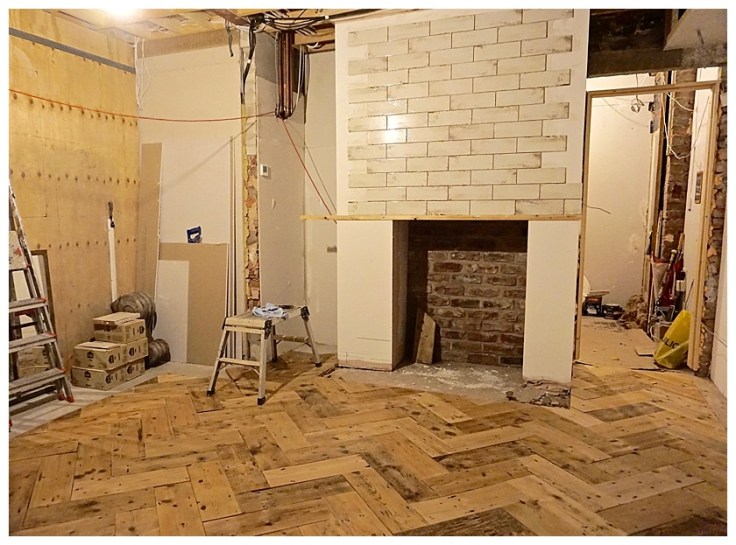
As you can see below, I’ve decided to tile the whole of the chimney breast and we’re going full Peaky Blinders with a gorgeous white brick effect subway tile. Doing the first bit below wasn’t too bad, after all, full tiles in a brick bond go up relatively easily…..
 But edges. Now edges take more time. Then there’s the cuts. And we’re not just talking straight old boring cuts, oh no. We’re talking mitred (angled) cuts all down both sides to wrap the tiles around the breast so they look like bricks. He nearly died when I told him that bit, which obviously I didn’t mentioned until all of the above were already up and he was already fully invested 😉
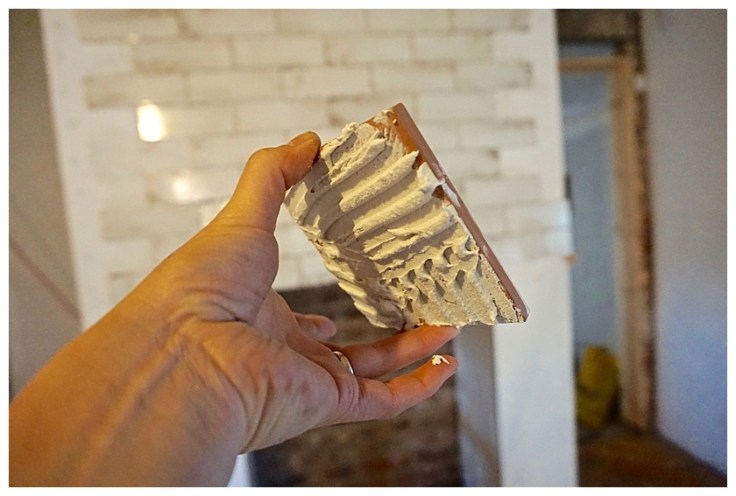
With all this in mind, plus the most pertinent fact that we’re not actually tilers and rarely actually tile, we needed someone somewhere to cut us some slack. Thank you Sooper Dooper No Limits for being our slack. 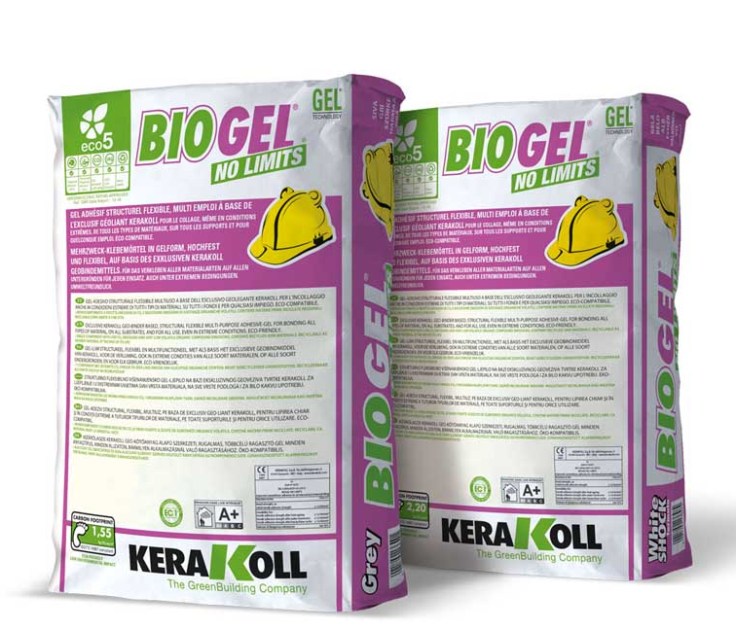 Quite frankly, any product named after a cheesy early nineties rave tune needs to be celebrated but this has far more going for it than that. I’m no expert installer, just an enthusiastic amateur who occasionally does her own tiling, but I’ve used lots of adhesive and this stuff knocks spots off the rest. There’s a list of reasons why below, but here’s the main one for us home-renovating DIYers – it stays soft, pliable and useable for absolutely bloody ages. I mean ages. Ages. Aaaaaaaaages.
No matter how slow you are, no matter how careful you want to be, no matter if you take an literal eon to choose each tile, this stuff helps you out by not ‘going off’ (setting hard) in the bucket for well over an hour. Where it’s especially helpful is for those fiddly, out of the ordinary jobs. Like my chimney breast.
 Not only that but when you position the tile on the wall, it stay there. It doesn’t slip and slide down the wall. It just stays there. You can still you can move the tile about a bit but the ‘grab’ is astonishing, even though if you’ve really messed up and put the ‘wrong’ tile in, you can easily lift it off again using a spatula knife. Terrible interim photo from an old iPhone (yep I dropped mine again) but here’s my chimney as of last night, though as yet ungrouted and without the fireplace reveals tiled.
 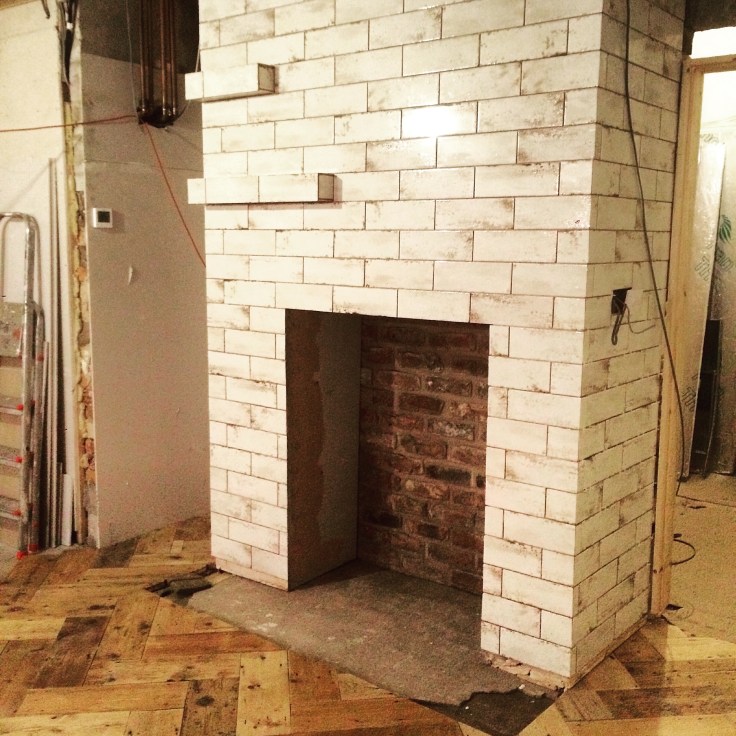 Each bag should be mixed with just under 7L of water for wall tiling and we’ve used about 3/4 of a bag so far. Three mixes at about 1.5L water ratio to powder has allowed approx 5sqm of tiling, with each mix allowing a work time of well over an hour, so I could work methodically and carefully to get everything spot on. It’s around £17-18 a bag, which is more expensive than trade adhesive, but there’s simply no comparison for ease of use and minimum waste.
This is another bit of tiling here at Moregeous Manisons done earlier this year, where I required an adhesive to allow the tiles to literally hang in mid air and not slip, with only half the rear side attached to the walls. No prize for guessing what did the trick.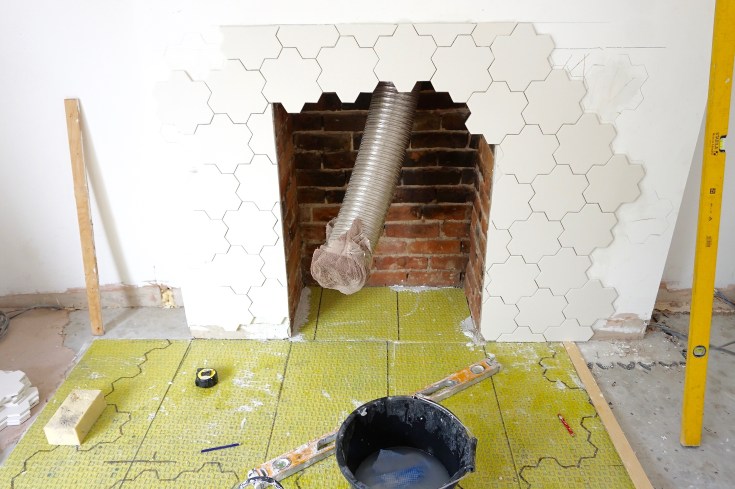
Any other advantages? Errrrrr….. LOADS!
- It’s suitable for walls and floors, internal and external use, and on moreorless on any substrate – meaning fewer half used bags and less waste
- It can be used with ceramic, stone and porcelain as well as practically any other material, so again, less waste
- The mix doesn’t shrink, like, at ALL. Once you’ve made your mix, that’s the mix you get, it doesn’t go sloppier or thicker or change at all. Any tiler will tell you this is a beautiful thing.
- It’s soft and easy to work with and somehow feels cleaner than many adhesives. It honestly isn’t gritty at all, which is good on a DIYer’s battered hands.
- If I tell you it’s a no-slip adhesive, I mean there is literally no slip. None.
- Maybe one of the nicest thing about this adhesive is it’s incredibly low environmental impact. It has a Green Building Rating of 5 – zero guilt product.
- If you’re tiling with white tiles, then they don’t call this stuff White Shock for nothing. If us amateurs get it in between the tiles, then it almost disappears. Not that we should mind, we’re better than that 😉
Listen, we all know that tiling is no fun. That’s why most sensible people pay someone else to do it. It’s hard on the knees, the fingers and the soul. So in my book if you come across something which makes the whole damn process easier, then it’s practically an obligation to share it, which is what I’m doing with you. No they haven’t paid me to write this post, I just know Tile Pain and now know how to alleviate some of it for you guys, my blogging’ renovatin’ pals.
let me know if you try it out and what you think, I’d love to know x
THIS is the technical specification with full geeky details. If you’re a geek like me, it’s veritable bedtime reading.
