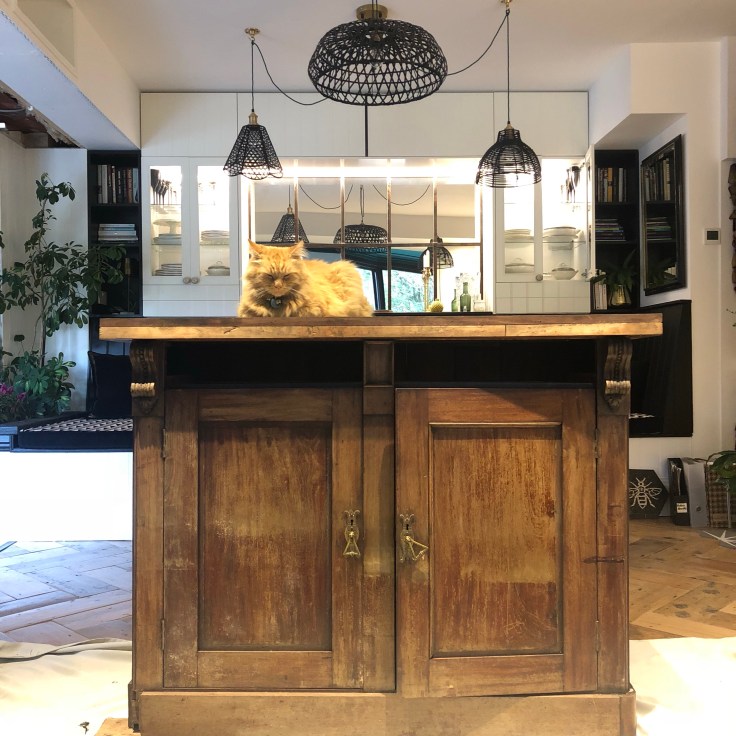
 Just like Rocky a few short months ago, this ginger tinged sideboard adopted when we bought Moregeous HQ several years ago was sorely in need of some tlc. He’d been stored in an outside shed, ending up not only scratched and damp damaged, but also bereft of several of his decorative insert beads. I think there were only two still attached on the right hand side door above, if you look closely.
For years we’ve been too busy with actual renovations to be thinking about furniture. When you’ve actual huge holes in the side of your house, worrying about beads on sideboard doors isn’t high on the list of to-do’s, funnily enough. However, when much of the renovating is done, you suddenly look around and realise a) you’ve not much furniture to fill your 75% completed reno and b) there’s not much* money left to buy said furniture.
*any.
There’s not any money left. You lot are renovators.. You know the score.
So what does the canny renovator do? We make do, that’s what. Rocky and I took another look at the sideboard and considered our options. Rocky said keep it ginger but then, Rocky would.

What needed fixing?
- All the top coatings of veneer and varnish were horribly damaged
- Most of the beads were missing
- Some deep gouges were evident
- The rounded decorative trim from the upper edges had dropped off
But the good news…
- The sideboard was solidly made
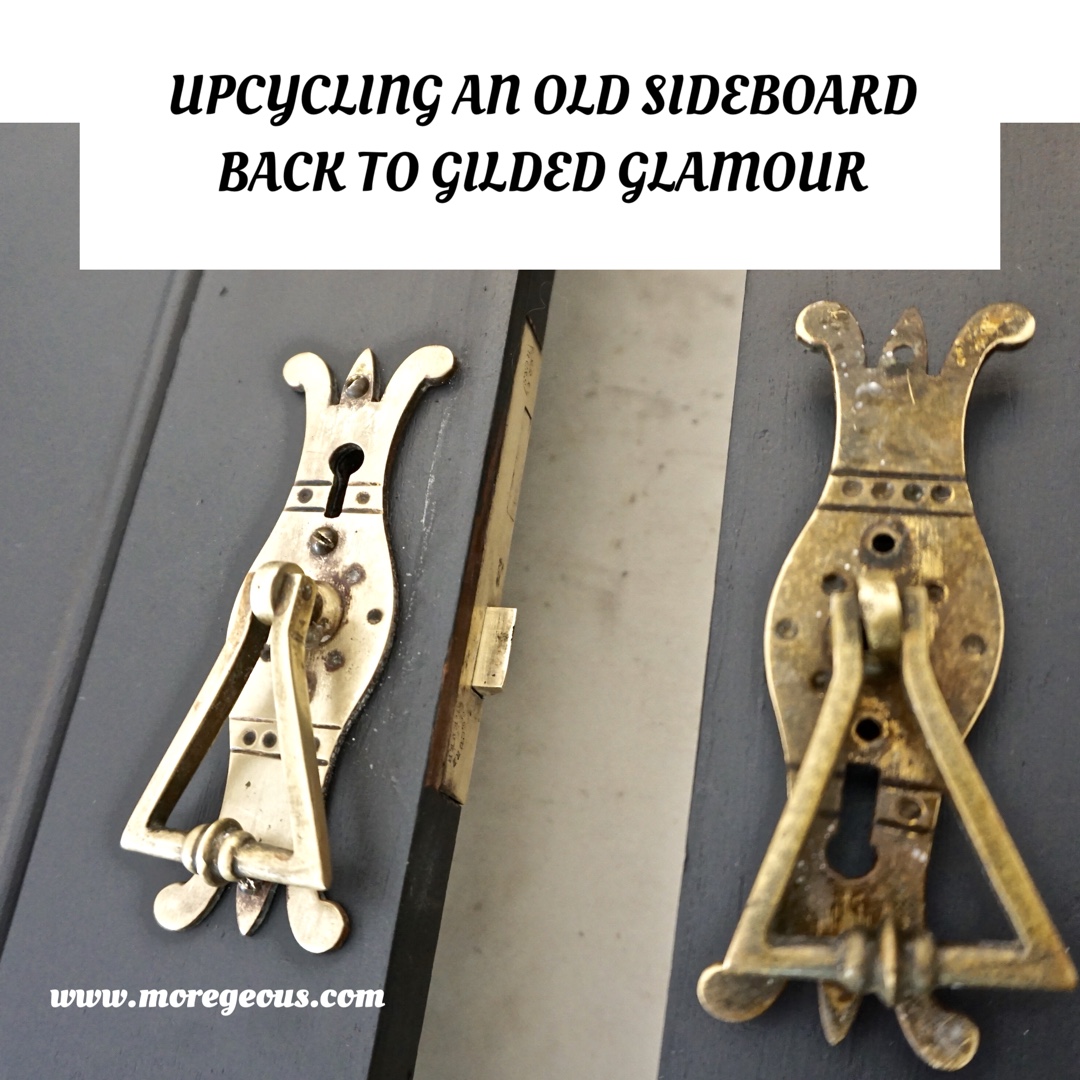
- The beautiful hinges and handles were gorgeous brass, albeit mucky brass
- There was some nice scroll detailing still in place
- It’s the perfect size for the corner of the Moregeous living room
- The four internal shelves and two drawers would easily store all my candles, vases and collection of knobs. Drawer knobs. Honestly. You lot.
As much as brown furniture is making a bit of a comeback and I do love it in moderation and given a contemporary twist in the right decor surroundings, I just wasn’t feeling this sideboard in it’s natural state. Plus, I don’t have the skills to French polish it back to glory. It’s certainly not a valuable antique, I could tell that from the slightly shabby rear, internal shelving and from the fact that the mouldings haven’t exactly been intricately carved or fixed. But, it’s a nice piece nonetheless, and has cost the slightly skint me precisely zilch so far. It just needed making more, well, more Moregeous!
 So what were my options:
- French polishing and restoring – Too costly for this non-antique and not the look I wanted.
- Chalk paint – Easy in the sense that you don’t need to sand and prep and can just chalk paint straight to bare or varnished timber. But, a bit of a faff with the waxing and polishing after. Also I’d decided I wanted a contemporary, matt finish in black, not a waxed sheen.
- Regular eggshell water based paint – A definite contender as I was only going to paint the outside of the cabinet so minimal sanding would thus be required. But… I wanted a flat finish, and one which was pretty hard wearing as furniture gets knocked and bashed if it’s moved around. Many modern matt timber finishes aren’t so hard wearing, in my experience. And the more durable they get, the higher the sheen.
- Fusion mineral paint : Used by many top upcyclers, environmentally sound paint, matt finish, very durable, and minimal sanding required. Plus, no undercoat required either. Coal Black Fusion it was. I used this paint a couple of months ago on my tea tray trolley and was very impressed, so ordered some more online.
 I lightly sanded the timber using a 180 sandpaper so the water based paint had an even better key to the wood. After sanding, I vacuumed away the dust and then wiped lightly with a cloth slightly dampened with white spirit, allowing the timber to dry before painting. You’ll see your cloth go brown with dust when doing this, so the surface is nice and clean for painting. Don’t use water because water lifts the grain on wood, whereas white spirit doesn’t.
Another plus point for Fusion is that it does seem to ‘stick’ far better to unsanded wood, so even though I’m a good upcycler and sanded my flat surfaces, I did just paint the Fusion straight onto the curvy detailed sections as these don’t really take much of a hit in terms of handling.
Prep is always key to painting furniture, you don’t want to go to loads of effort and get a fabulous finish, only for it to chip and scratch away immediately you start using it. But minor cheating in very intricate areas can sometimes be gotten away with 😉 Once I’d sanded, cleaned and painted the first coat of Coal Black, I took a good look at where repairs were needed. Both sides of the sideboard were in pretty good nick with all the decorative beading still in place.
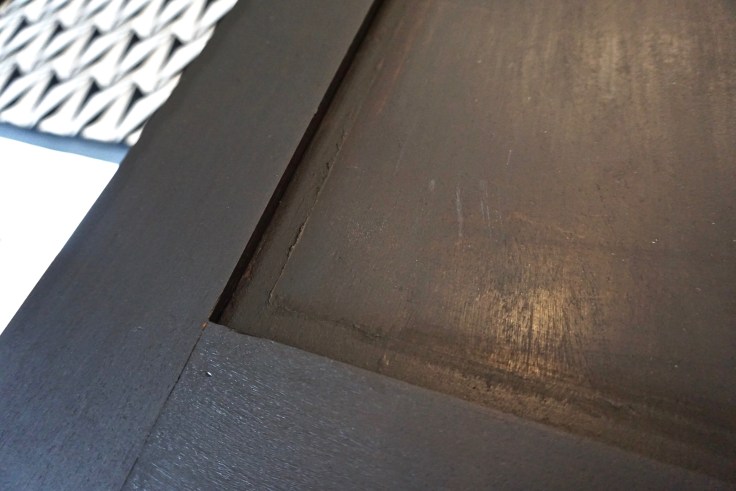 It was a different story with the doors however, there’s the front of one above. The original beads had clearly been glued in place and years of damp meant the beads had simply dropped off and been long lost. Luckily two were still hanging on for dear life, allowing me to measure the size needed to try and find copies. This is really quite easy if you’ve a example of what you need. Both the larger B&Qs or local timber merchants have lots of the more standard mouldings off the shelf and all you need to do is take yours along to compare. More unusual mouldings can be bought online or from specialist companies – google them or ask your local timber merchant where they buy theirs from.
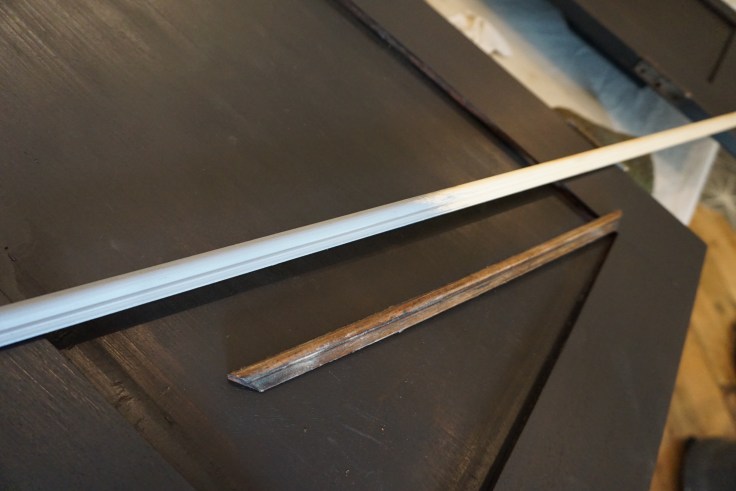
 I struck lucky. There was a new bead remarkable similar to the original in my local stockist, 18mm wide, 6mm high and almost the same in shape. Without going to the huge & unnecessary expense of having more made, this was perfect at about £6 a length – I needed 3. Original beads are usually hard red wood, possibly mahogany or similar, whereas the new beads are soft wood pine. If you’re painting, this won’t matter.
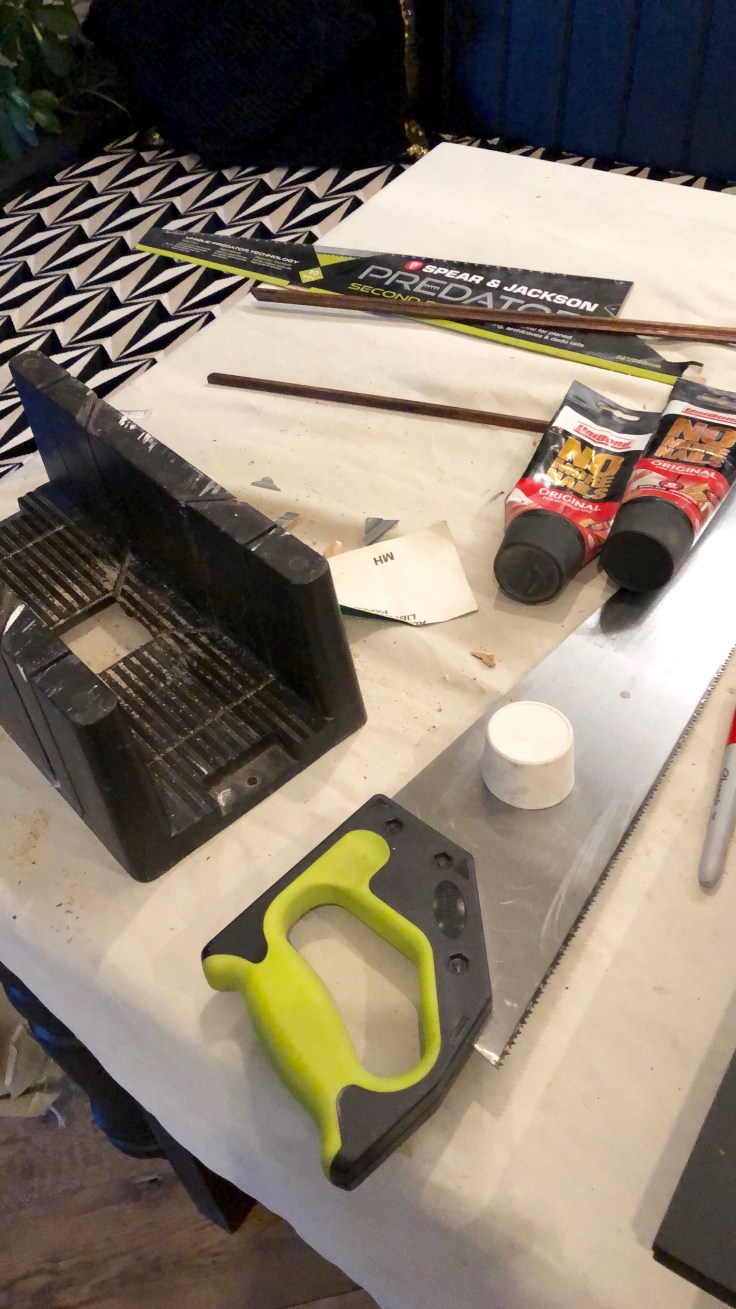
 Using my tape measure, pencil, mitre box and saw, I measured all the lengths needed and slotted them in one by one, I find it’s easiest to measure one, cut and fit, then work my way round, as opposed to cutting them all first. The measurements seem to be more precise for me that way, and I make less mistakes.
I usually cut the first 45 degree mitre I need on the full length of moulding, and offer it up to the door section where it’s required, pencilling where I need to make my cut.
Measure twice, cut once, is the old adage. Probably best to measure 3 or 4 times, if you’re new at this. And check and re-check which angle your mitre’s going, it’s beyond easy to get distracted and cut it the wrong way!
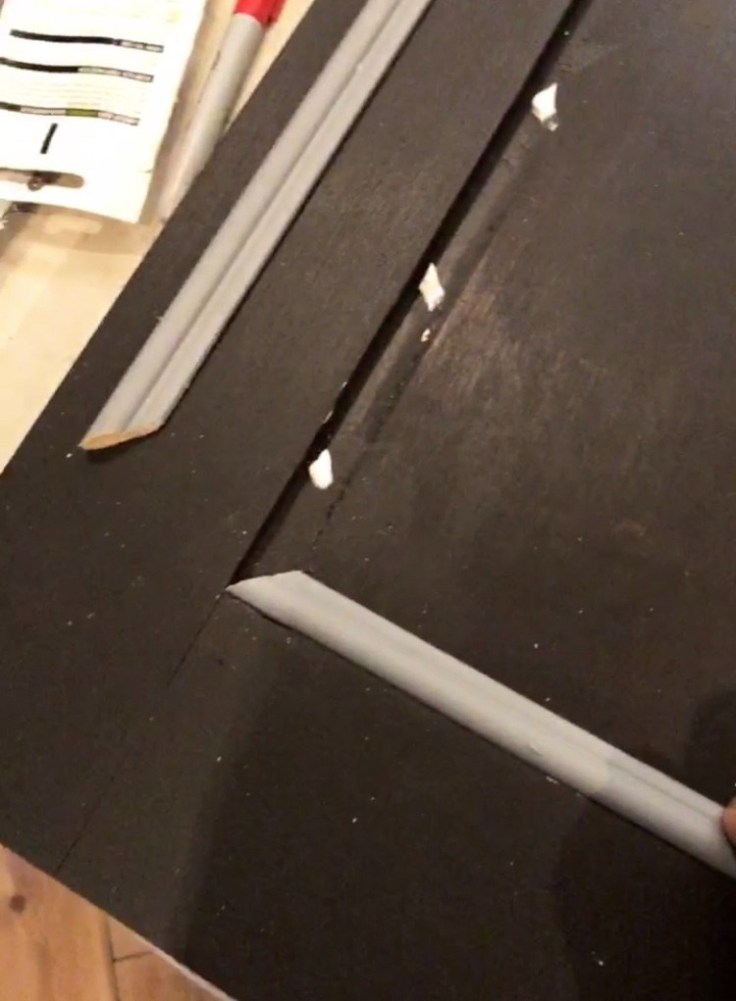 Apols for the blurry image, it’s a screenshot as I forgot to get a photo. I fixed the beads in place using little dabs of No More Nails, with a small blob every 50mm or so. Far easier than pinning in place, with no need to nail punch and fill every mini-hole.
 After allowing the glue time to dry, I then gave everything a very light sand just to get the surface perfect and painted on another coat of Fusion.
Confession time… I was a bit lazy and didn’t take the doors or handles off at first. This is a mistake 99% of the time, as it was here too. I soon told myself off and got busy with a small flat head screwdriver, carefully twisting open the vintage brass screws so they could be re-used to put the doors back on. It sometimes feels like a win not to be bothered taking something apart but honestly, it saves so much time and effort in the long run. It’s way more difficult to paint around handles etc that just take them off.
 That said, I left the rear locking sections in place as they’re nice and square and easy to paint round. Just look at the difference in colour between the old dirty metal and the brass all cleaned up with Barkeepers Friend. All of a sudden the fittings just started to sing out against the rich black paint. Whenever you’re upcycling anything, there’s a point at which the dirt and the muck fades away and the beauty re-appears. This was that moment.
The newly cleaned brass will tarnish slightly with use and regain that beautiful aged brass look but they were absolutely filthy!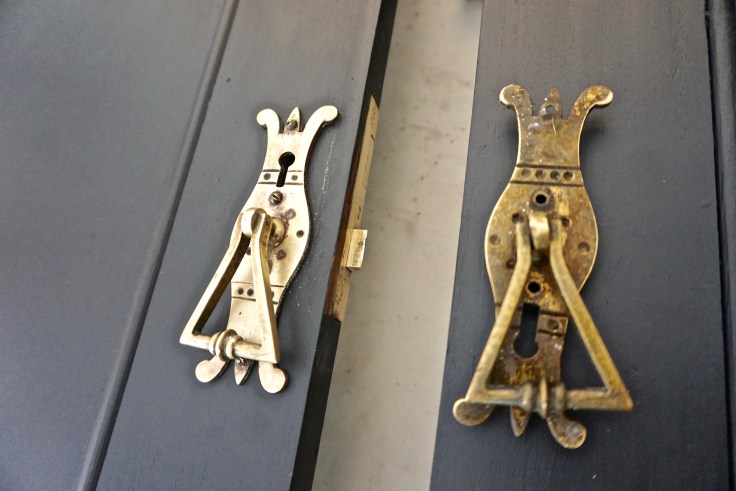 And so we were nearly all done. You’ll notice that Rocky had buggared off for a kip whilst the hard work was being done, typical feline.
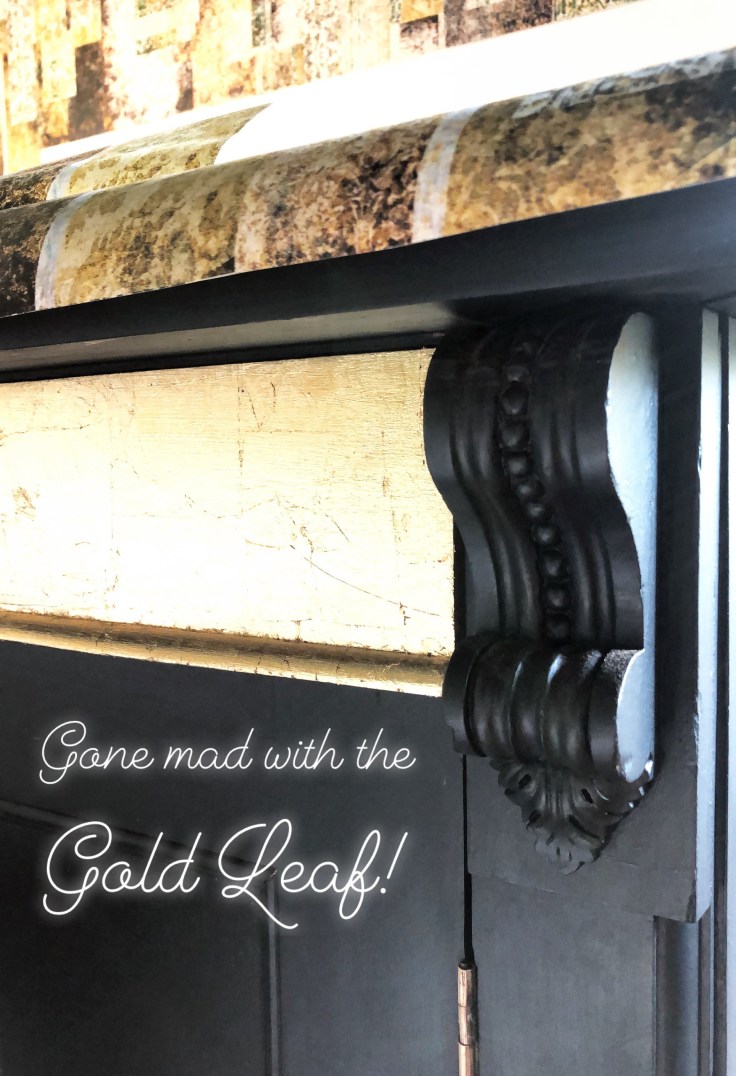
Nearly, but not quite. If you can’t have a bit of fun when re-loving furniture, when can you eh? I decided to play with some gold leaf just on the drawer fronts, enhancing the lustre from the brass handles and playing with the shading in my Blackpop wallpaper.
 And now look, totally transformed!
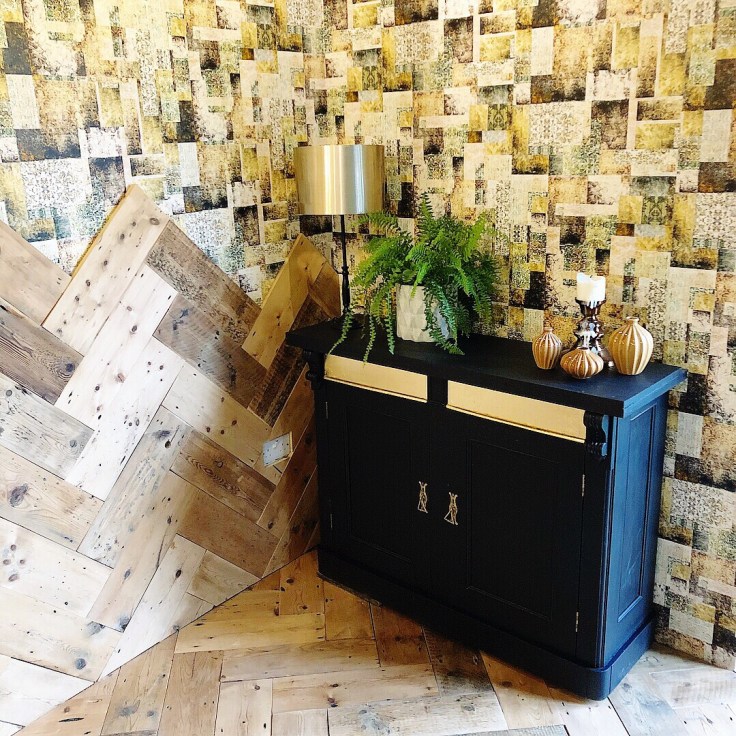 I just need to get those white plastic sockets sorted and find a gorgeous new sofa 🙂
Painted furniture is so popular at the moment and I’m all for rescuing something which is a bit shabby and probably going to landfill in order to personalise it and let it bring you joy. Why the hell not? There are charity shops and secondhand stores up and down the country filled with unloved furniture ready to be given your stamp of approval – go find something to love!
Watch out next week for an old pine table I found for £30 in a charity shop in Wythenshawe, given a new lease of life using a charred wood painted effect and transformed for the Moregeous dining room. Might be a contender for my Buy Of The Year 😉

I haven’t tried the fusion paint yet, i’m still a chalkpaint fan, but might have to try it next time round…… cabinet looks amazing!