

What’s not to love about the all things Crittall – a seriously hot look at the moment and a style which really transcends trends. It is having a moment, there’s no denying that, but anything which has been popular for centuries will stand the test of time when factored into the right scheme. Laura nailed Helen and Rob’s design on the St Albans episode of Your Home Made Perfect and Mr M & I absolutely loved being asked to help with realising the virtual reality on a very practical level.
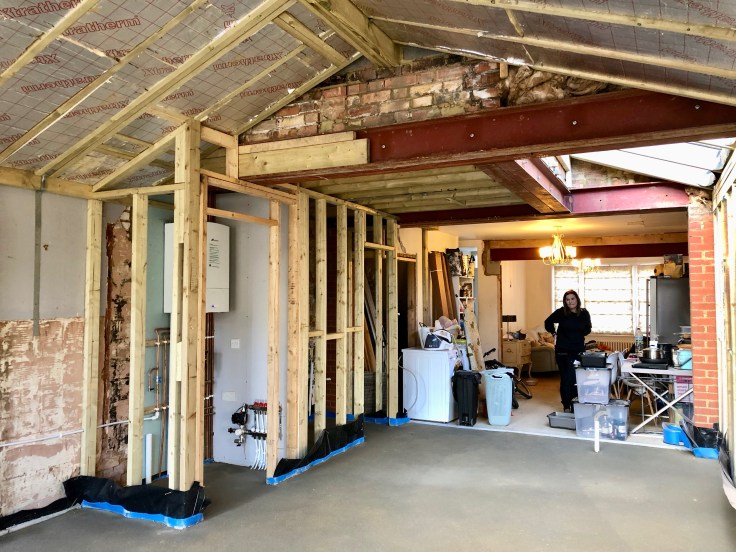
The striking black framed doors, made by a fabulous company based in the Cotswolds (thanks Sam for being so professional and helpful!) just demanded punchy interior decor choices to complete with their boldness. As you can see from the below capture from the VR,the original somewhat blurry images we get and show the builders, Laura incorporated some brilliant storage in the form of bookshelves at the end of the utility wall – who doesn’t love a shelfie eh?

But of course what actually happens on building sites is that builders / joiners look at little nib walls and think to themselves – oh that must be a mistake I’ll leave that out. Not – oh that must be there for a reason I’ll build it AS THE PLAN SAYS. So all of a sudden those recessed shelves aint’ recessed anymore. And there’s so much going on, it doesn’t click with our homeowners, often total newbie renovators, that something like this missed out has the impact it does.
Which then leaves me, when I pitch up to help on some of our sites, with face like this. How to realise the VR vision, incorporating the vibe of the space, with the sometimes extra wishes of the homeowners. We also had here an extra little bit of space within the party wall, so the book case designed to just be along the end of the utility wall could actually wrap around. Now there’s an idea….


Luckily for us, right on the doorstep to this project is the most incredible wood store called St Albans Wood Recycling CIC. It’s a not for profit organisation which has been recycling and encouraging sustainable use of timber since 2008, and boy, do they do good wood. I mean seriously good wood. Please go and buy and support them if you’re local. Or travel to them!! It’s the kind of place I’ve been shopping in since I started using reclaimed wood on my projects back in 1996 – I was literally in heaven, Helen had to drag me out 😉
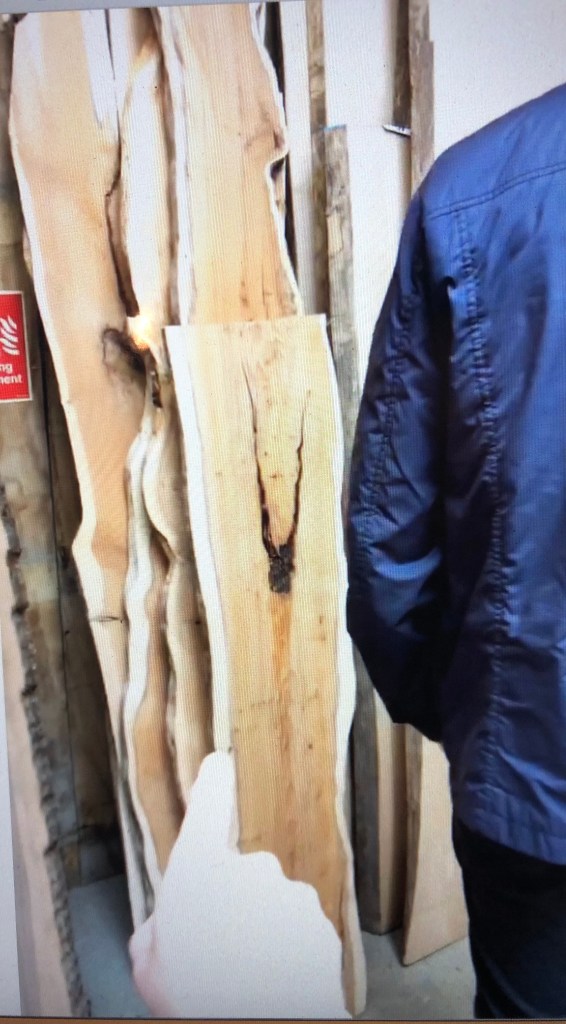


Perfect for our softly industrial scheme were some already sanded scaffolding boards, cleaned up and ready for action. All they needed now was a little bit of head scratching, a lot of measuring, legs, feet, lacquer and the all important, made us laugh every time we mentioned them flanges. I mean, who doesn’t love a good flange.
When you’re building bespoke bookcases it’s important to measure at what you actually want to put on them, to tailor your belongings to what’s being constructed so everything fits perfectly. We dug out some of Helen & Rob’s book from the boxes on site and got cracking!
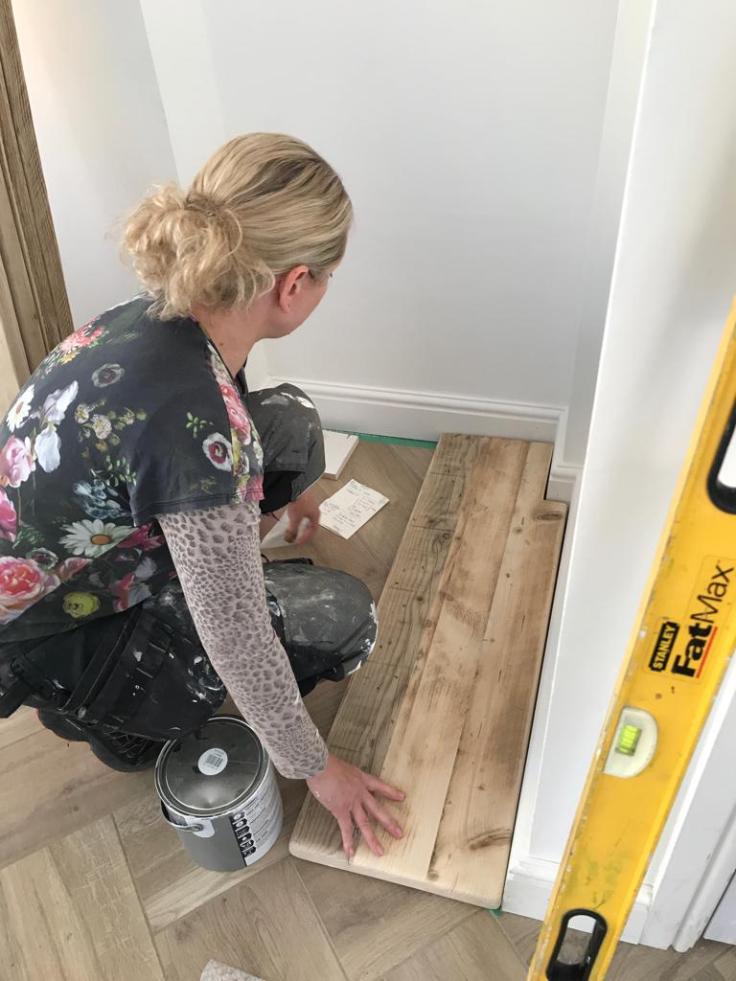
With high skirtings we sometimes rest the base of cabinets / shelves on the top of the skirts but these were a bit too low so we needed higher legs.
What to use, hmmmmmm. This is what we came up with. The bottom legs were ordered as leg sets from Amazon, so the round top section – the flange, the set leg height and the little bolt style feet all came as one kit.

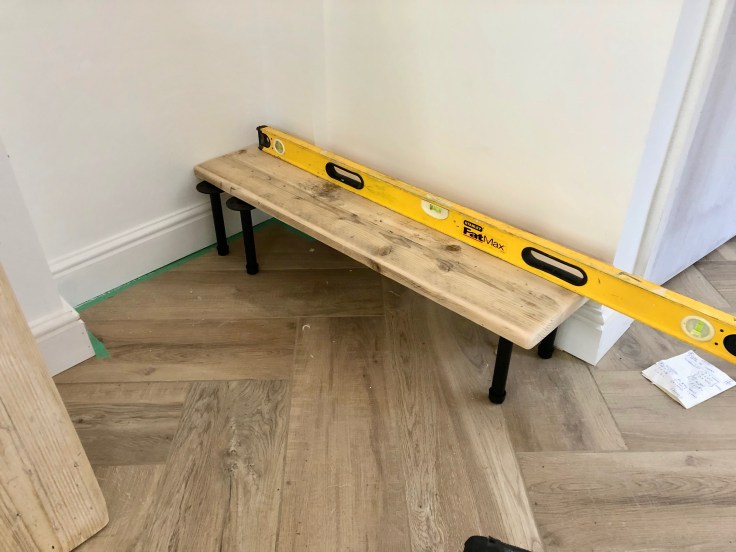
We sat two along the rear section of both shelf bases and then the joining section straddled the flange. There’s a phrase to make your eyebrows raise. Flange rapidly became the word of the build, because when you’re covered in dust, tired and facing an uphill battle, you need all the giggles you can get!

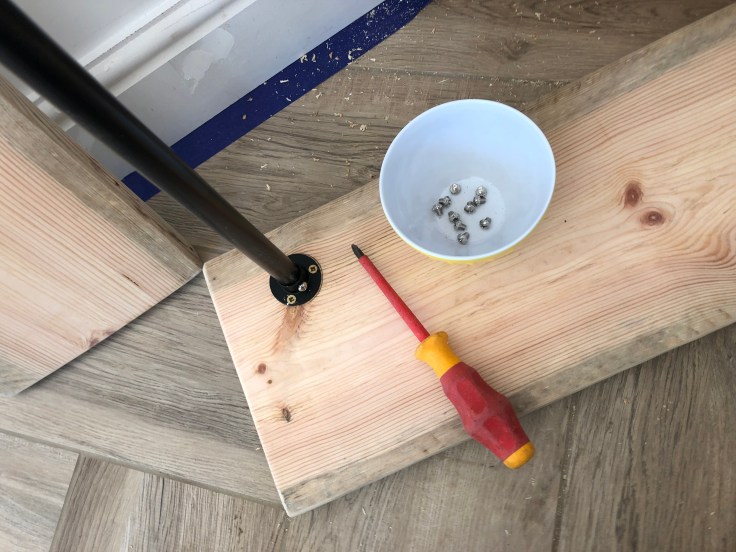
But then of course we needed to keep going, adding more shelves and at different heights. Uh oh, the leg kits were no good as they were a set height. Dum dum duuuuuummmmm, B&Q to the rescue. An inspired idea (though I say so myself) using black metal poles and silver shower pole flanges, which I sprayed with primer and then black car spray.

This way we could have the shelves at any height we wanted! To keep the base of the metal piles in place, we used a chisel drill bit – of the same width as the pole – to core out 3 or 4mm into the top of the scaffold plank surface. The tops were then held in place with the flanges.

The couple wot builds together, stays together 😉

I was not his most favourite person at this stage however. Bank Holiday weekend, 9pm on a Saturday night in St Albans. Good job he loves me eh.
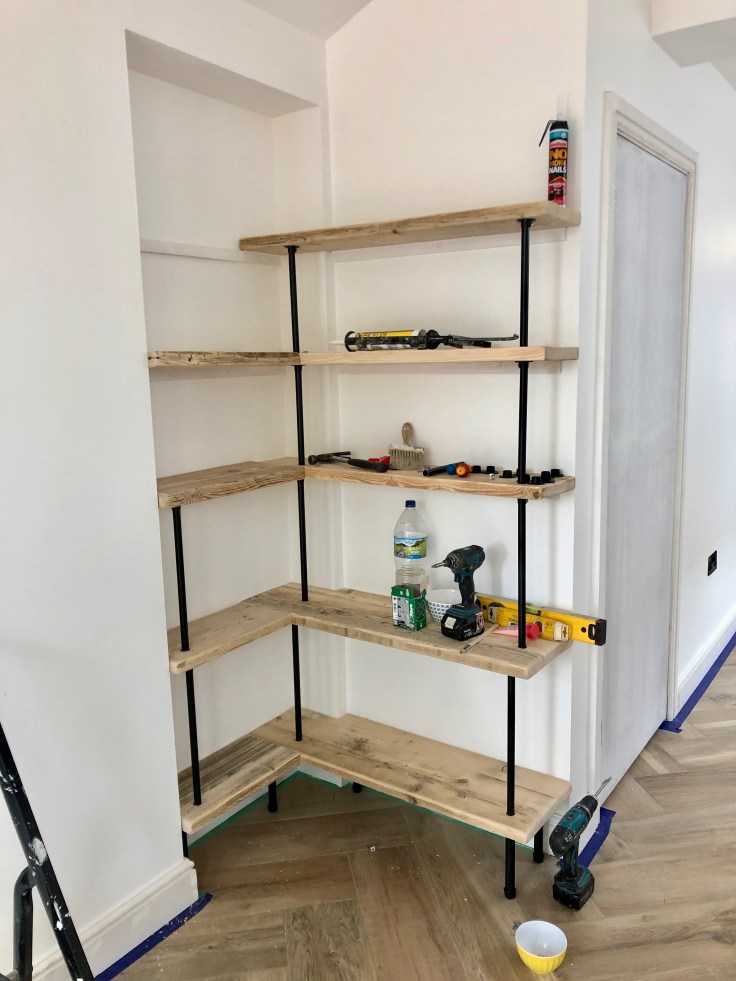
As you can see above, extra sturdiness was also gained by fixing batons on the walls underneath each shelf, and I just ran some No More Nails along the top of the baton as I sat each one in place. You can mitre the corners or run them into each other. I wanted the poles to sit above each other when viewed from front on and side on, so decided to position the corner ones on the longer shelves, and fix a small flat plate underneath each join of long & short shelf. That was we didn’t need two vertical legs in the corner area, which would have looked messy and compromised the book storage space.

Yes, I am short.

Bank holiday sunshine – at least we got some 😉

The last bit of levelling above and then I gave it all a coat of a water based, flat matt lacquer so the scaff boards still look natural and not sheeny shiny.
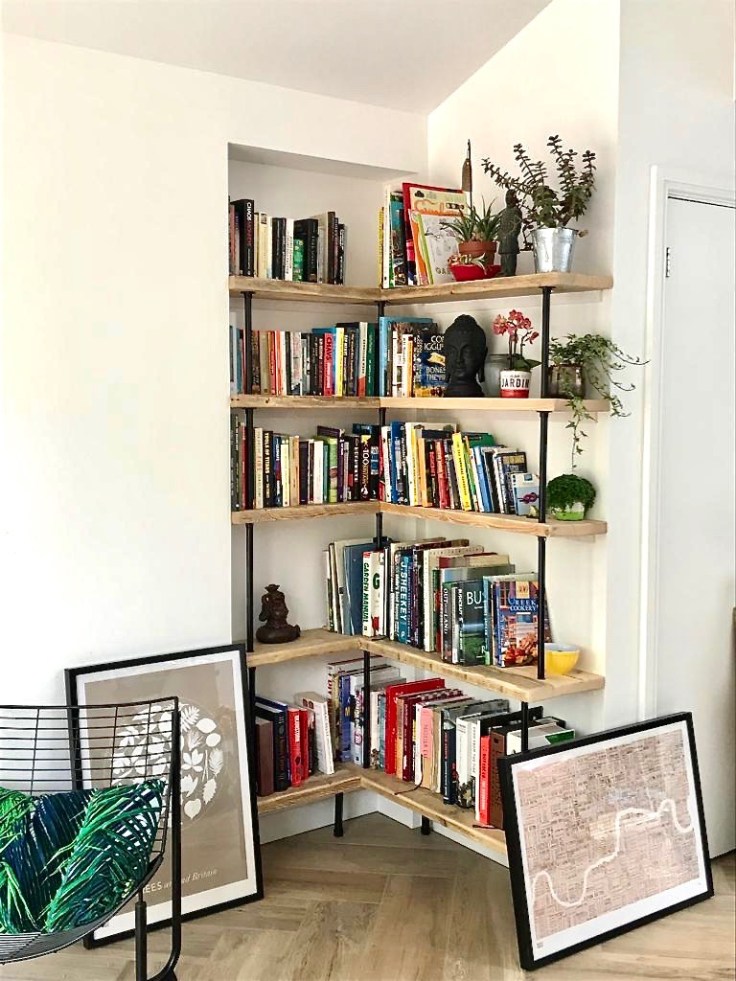
And we were OUTTA there. Leaving the final dressing to the Remarkable team and didn’t they do a great job of it.

A super build (thanks to Builder Patrick), a brilliant design (architect Laura) and brave clients (Helen and Rob). Love being part of it!!
More posts on the lighting over the breakfast bar and the spectacular tiling coming up, including deets of *that* resin grout.
Sian x
