

It’s been a very dusty week for *some* people and I’d say Mr M definitely drew the short straw as he cuts slates into a fishtail pattern with the angle grinder, looking more and more like one of those miming blokes on the high street with each passing hour. The three dormers on the West Wing are undergoing their tiling transformation and I LOVE how they look, so pretty!
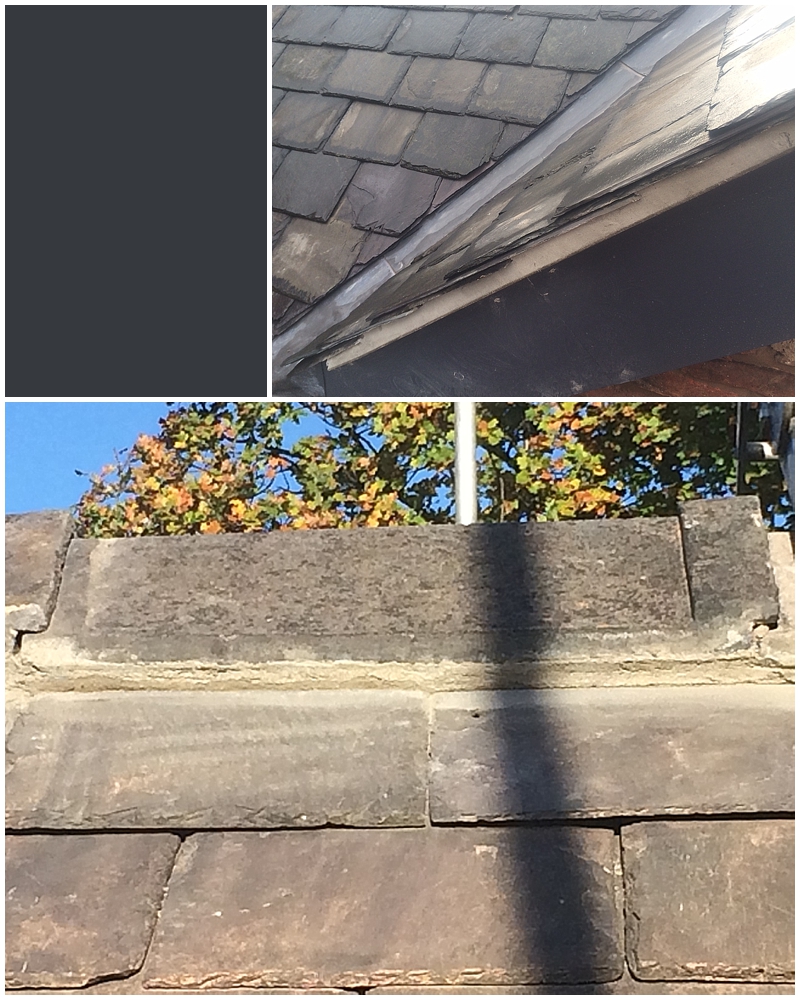
However, as happy as I was with the overall completed work to the garage/workshop roof, something wasn’t quite right. The slates and ridge tiles look great and the Chembond fibres have set rock hard but the colour of the actual mortar we’ve mixed looks a bit, well, rubbish. I’d got Mr M to add some tile grout dye in powder form to the mix and it did seem darker, but as it’s dried, it’s still a bit pale for my liking. I want both the mortar visible at the ridge tiles and the eaves edge pointing to be as dark as the slates and painted fascia board, not the wishy washy grey we have now. Hmmmmm.
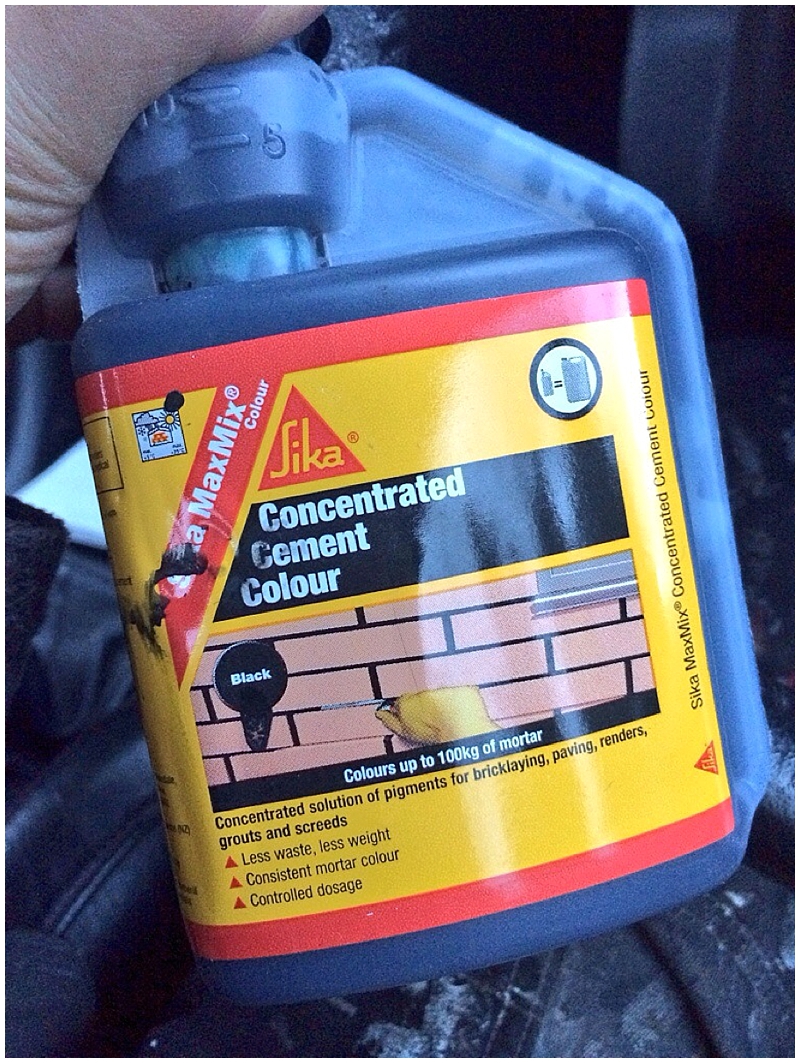
Before any mortar was used on the dormers, a little experimentation was required. Off I went shopping to B&Q and found this – Sika concentrated cement colour in black, 250ml for under a fiver. I bought two, easily enough for what we need.
 On site at Moregeous Mansions….
How much do we need to put in to get the colour you want? he asked.
No idea
Who will tell us what we need to know? he asked.
No idea
Will you have a fit if it goes wrong? he asked.
No idea Yep
So the experiment began. The packaging says that you need 25ml for 10kg of mortar but nothing beats making up a mix and actually seeing what colour you get. There’s a clever little measuring ball which is integral to the packaging, so when you squeeze the bottle, you get exactly the same dose every time. I wanted a very dark grey colour, the same as natural Penrhyn Welsh slate. We added one cap full into the water in the cement mixer before adding the sand in a 3:1 mix. Didn’t look dark enough to me so we added another one, mixed in with some water needed anyway. Always start off with a small amount then add more if you need it, you can’t un-dye a mix if you put too much in to start with!
So for the first batch, enough to do 3m of ridge tiles on the first (far) dormer, we used two caps for a full cement mixer (regular building site size) of 3:1, using white sand. It was indeed hugely different to the garage roof mortar, much darker and much better visually. But it still wasn’t quite dark enough, as it dried I could see the line of mortar drying paler between the ridges and the slates.
On the second (nearest) dormer we added three caps and it’s perfect, a brilliant match for the ridge tiles and the slates. It looks like there’s still a pale mortar line between ridges and slates but this is just a reflection as the mortar is still wet in the picture. I’d highly recommend you take this extra step if you’re having a reclaimed slate roof with mortar bedding and pointing done – no pale grey stripes!

Now we just have to repoint the wishy washy lot on the garage again and I’ll be a happy lady builder 🙂

Leave a comment