
Air bricks. Long a part of my working life, having spent a few years running a damp-proofing company, though I must confess to not really ever paying their aesthetics much attention. 9″ by 3″ or 9″ by 6″ terracotta, that’s the only real decision for most houses, and has been the only style I’ve bought up to this week. Like the ones below. Simples.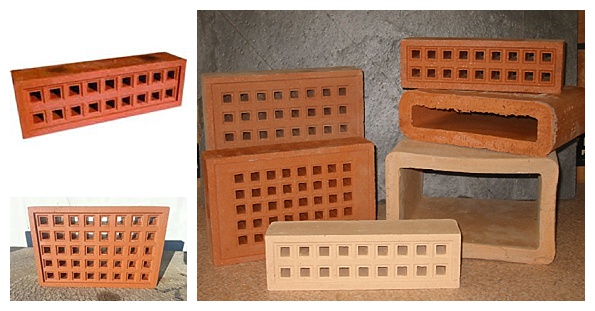
Except nothing at Moregeous Mansions is ever simple and one job always leads to another, or several others usually. We had to take up some of the polystyrene insulation infills (read more about them HERE) from the kitchen floor this week to get the island and kitchen sink drainage connected and had a bit of an unexpected hiccup. This is Mr M drawing on the walls before we took the blocks up, so you get a feel for what they look like, as they sit in between and on top of the concrete joists: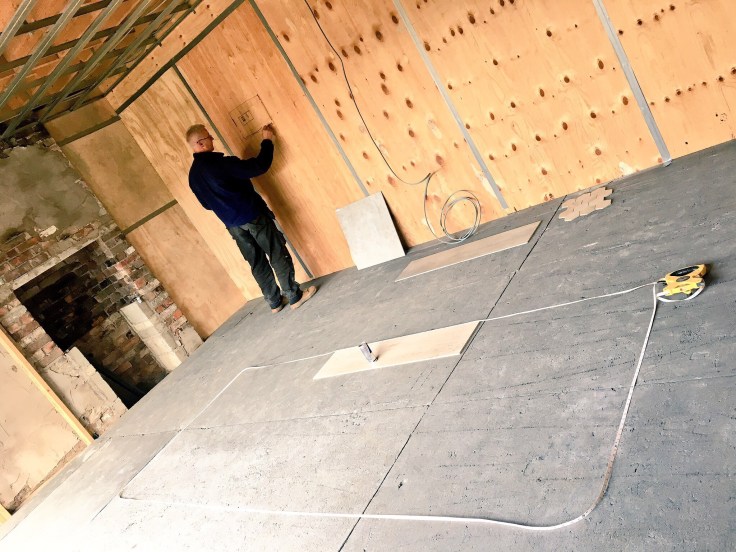 The shallow depth between the earth and kitchen concrete floor joists is ventilated from the living room, but there clearly wasn’t enough of an airflow as moisture was literally dripping from the bottom of the grey polystyrene blocks. Even after such a short time, the sub-floor smelled a bit musty. The constant rain hasn’t helped but nonetheless, something had to be done to address this potentially troublesome damp problem. We hadn’t concreted over the substrate but it was going to prove costly and awks to do this now.
After chatting with our building control company, it was decided to visqueen the floor to create a damp proof barrier to control the excessive moisture but also to add more ventilation – not easy when three of the four sides to the room are internal and the only external wall is 9m long with 7 of those metres being bi-fold doors! Oh how I love a dirty challenge. Gloves on, hardcore in!
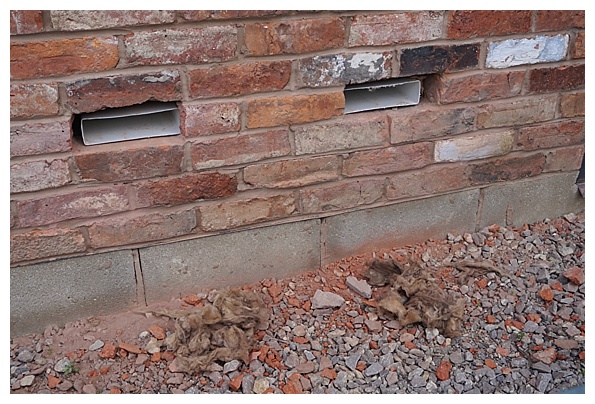
The only way to get more air into the sub-floor was to use air vents and the only place to get external ventilation was through my beautiful reclaimed brick wall between the two sets of bifolds. This pained me. Somehow we’d to get an air-flow from above what will be the high level of the outside terrace into the much lower sub-floor, which ruled out regular air brick installations like the one below, which go straight across the cavity.
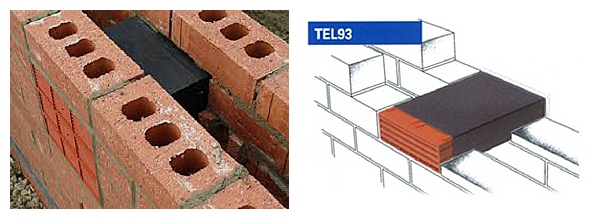 Nor would telescopic vents as below suffice, as even this increased height between in flow and out flow wasn’t long enough for what we needed!
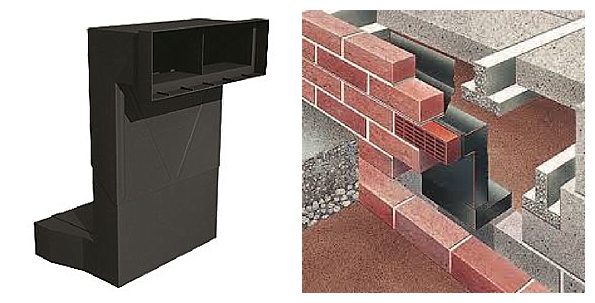 It was Brian, the wonderful Brian of the beautiful Baths terrace, who suggested using rectangular ducting – genius! Screwfix came up trumps with the parts we needed to make our own vents, which you can see below. The lengths extend down below the polystyrene blocks, now back in place, with a 90* turn on the bottom to direct fresh air into the subfloor and also allow moisture out.


 All very well and dandy but what about the external covers? I couldn’t very well have cacky plastic vents or plain old terracotta could I, not on the main front elevation between such amazing bifolds. Mr M knew better than to question and just shrugged when Brian asked where the fronts were, knowing there was a design plan afoot. Onto the internet I jumped and scrolled through lots of cast iron specials, including these on the Britannia Airbricks online store, which I quite liked:
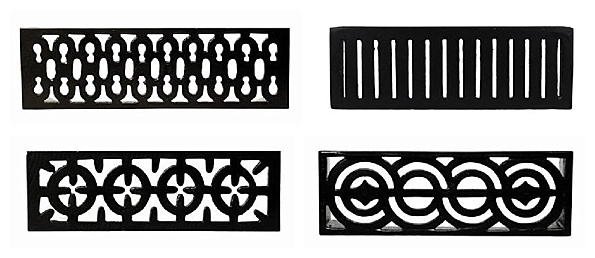 I very nearly bought the top right one as it picked up the linear design of our dormers, but I was worried it wouldn’t give enough airflow…and then I found this! Perfection in air vent form!! Deep grey and with mini-hexagons to match my new terracotta flooring for Tweeting’ Corner, these are not only More Than Gorgeous but also spot on to allow a really good flow of air through into the sub-floor area 🙂
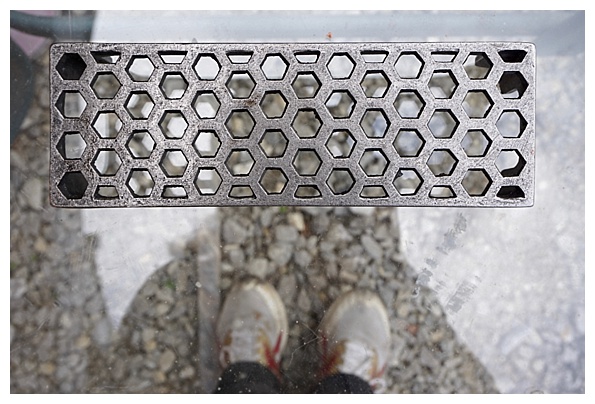
They cost me £12.99 each from an Ebay shop called Alsops Allsorts, you can find them HERE if you fancy a cool new vent or two. The quality seems good to me, they’re nice and heavy, and were delivered on the Monday after ordering on Friday. Top banana! This is where they’re going below, and I’ve packed lots of insulation around the outside of the ducting ready. I’ll pop a picture on when they’re installed and all pointed up.
A part of me feels the need to spray the white bits in grey to make them less obvious…. #perfectionist Is it possible to love an air vent? I think it just might be x
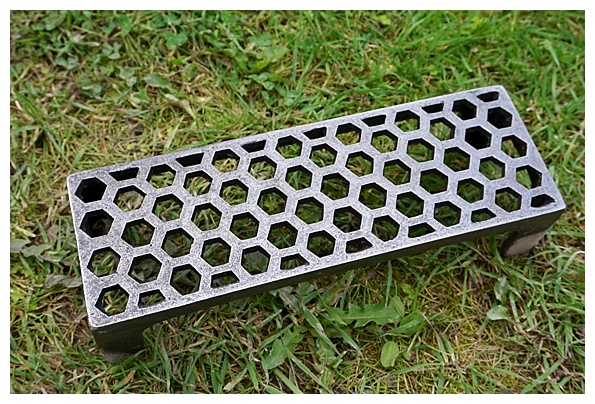

Hello there. Are you able to provide links to the materials used from Screwfix?
Not from products from 2016 I’m afraid, but if you search their site?