 Working on glamorous TV ads and expensive houses is fabulous (and I adore that side of my job, obv), but sometimes as a designer / builder I get asked to help out on projects whose budgets are not quite so adventurous. Can it be said that these types of projects usually aim for the Pennine heights of interior design, rather than the Everest ones? I reckon so, but here at Moregeous we say that a lack of dosh shouldn’t mean a lack of dash.
On a little terraced street in Manchester stands Ladybarn Community Centre, which had sadly been closed down for over a year. New funding meant a breath of new life and after over a decade of community use, i.e. no holds barred bashing, the kitchen was looking a bit tired and in need of tlc. Ok, I say tired. I mean exhausted, bless it. The worktops were chipped, the doors hanging off, shelves were missing and there were barely any sockets. Drawers runners were limping not running and the splashback had been splashed so many times that even I couldn’t revive it, and you know how good at cleaning I am! Everything needed painting, plus the oven & extractor had definitely seen better days. Just a couple of hours work then 😉
Trouble was, no budget for a totally new kitchen, not when we were also fitting new radiators and multiple double sockets in the main hall. Luckily the kitchen ticked space perspective boxes, which is great when you’re looking to keep costs down on a makeover. Layout-wise things worked well, with ample worktop surface for larger groups hiring the hall, a hand wash sink was already included, the dishwasher & fridges working fine plus bang in the middle, the perfect 90cm space for a new oven.
It was time to get clever with planning how we’d magic up a Moregeous makeover to wow both centre users and guests, without breaking the bank. Earlier this year I saw some very cool new surfaces at KBB and I’d also fallen a little* in love with this incredible deVOL design.
*a lot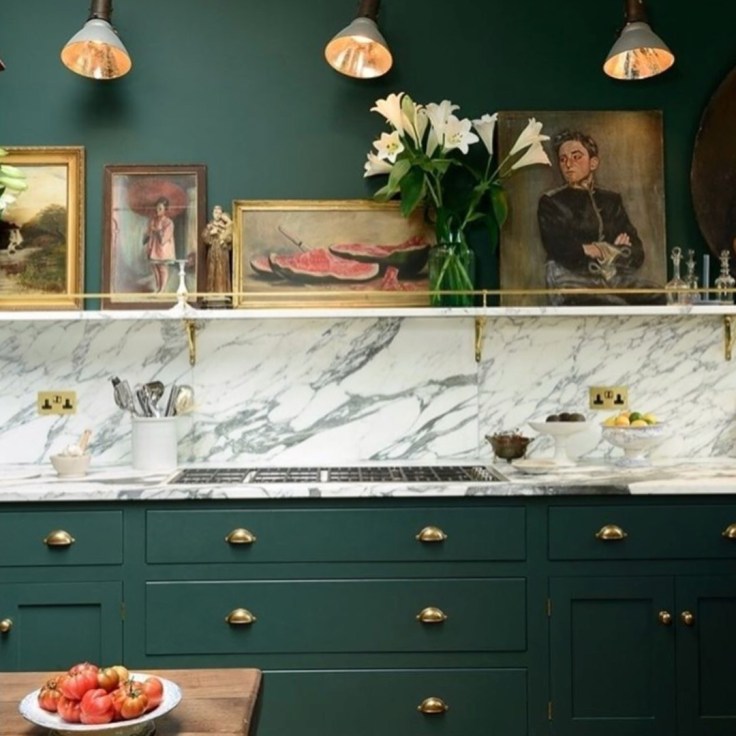 Obviously I didn’t get straight on the phone to deVOL and place an order, as much as I daydream about that day. Nope, in lieu of Pearl Lowe’s budget and bearing in mind that real marble and toddler clubs don’t mix, a cunning plan was required.
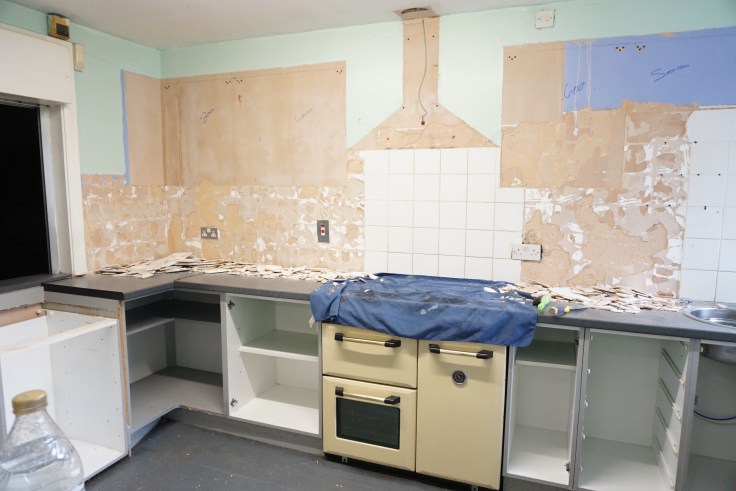
 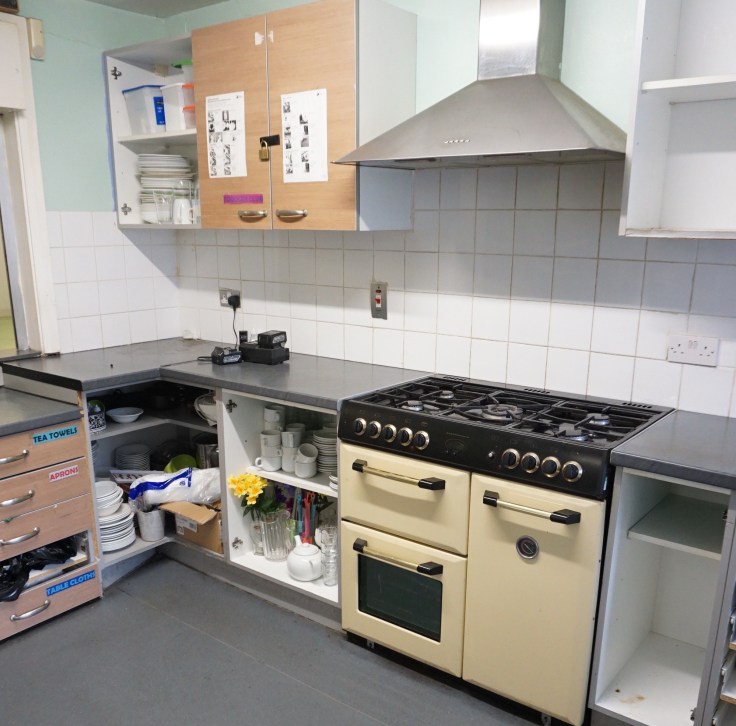 Firstly the base cabinets were mostly in good nick, with the exception of the drawer ones you can see above on the left which were two different sizes (one 50cm wide and one 60cm wide in a 120cm gap) plus all the drawers were knackered. Some of the base unit doors were water damaged from constant drips off the worktop, but nothing which couldn’t be repaired. A few new hinges were needed but these are standard issue for off the shelf kitchens and can be easily replaced. All the mugs and cups were filling the drawers near the oven instead of being reached at eye level, and the cutlery banished to the far side of the room. Much rearrangement was needed. It wasn’t an option to buy new doors easily as the cabinets were old sizes and not made anymore.
 The wall units were more problematic. The ones on the far right were too high, meaning Fizz Club needed ladders to get to their stuff. The one to the immediate left of the oven was not only wrecked from a kettle constantly being boiled under it (steam!) but was also positioned slightly over the oven. The ones on the left weren’t too bad, but overall much more storage and drawers were needed. And those painted pipes and grim tiles? Yuk.
I came up with a plan:
- Cost effectively re-use all the base unit carcasses by leaving most in situ but turning the 50cm one into a 60cm one to balance the 120cm space and create more internal shelf storage.
- Take inspiration from the deVOL look by priming and painting all the laminate base unit doors with a beautiful rich green eggshell finish.
- Remove all the defective worktops and replace using the Bushboard worktops in Turin Marble which I’d spotted at KBB.
- Run the worktop look up the wall as an easy to clean, co-ordinated, high level upstand.
- Buy a new induction range oven, safer for general community use than gas. Add a new stainless steel splash back and hood.
- Buy new Ikea wall units to balance the design, add more storage, allow drawers above worktop level and prevent future heat damage by setting both sides back from the oven.
- Take the microwave up from the worktop and insert into a purpose designed cabinet, ready for a to-be-added-later-when-more-funds-are-raised steel microwave.
- New taps as users were getting an unplanned shower when they turned them on.
- Box off the awful wall mounted pipes
- Clean with Cif & metal scourer and re-use all the brushed steel handles
We had four days whilst the centre was closed for Easter. We got cracking! Literally. Those tiles didn’t come off in one piece.

 Clearly Mr M and I weren’t doing this alone and as usual our crack team of Moregeous men got involved, working on the heating and electrical challenges in the main hall as well as the kitchen.
 Beavering away with door painting was my responsibility, after emptying all the cabinets into carefully separated piles for the individual groups who all have their own cupboards. I was warned, on my head be it if I mixed up the Playgroup’s baking tools with the Toddler Group’s coloured plastic plates. And woe-betide mixing the Fizz Club’s biscuits with LCT’s snacks. No pressure.
I had colour coded tables, post-it notes and five tables of stuff. Just so much stuff. All of which needed cleaning.
At one point Mr M moved some crockery and I could feel myself going into emotional freewill. Had I ordered enough worktop? Would the doors be dry in time? Oh god, the plinths broke. Then I lost all the hinges. I almost wept when the new oven arrived. Things were getting tense.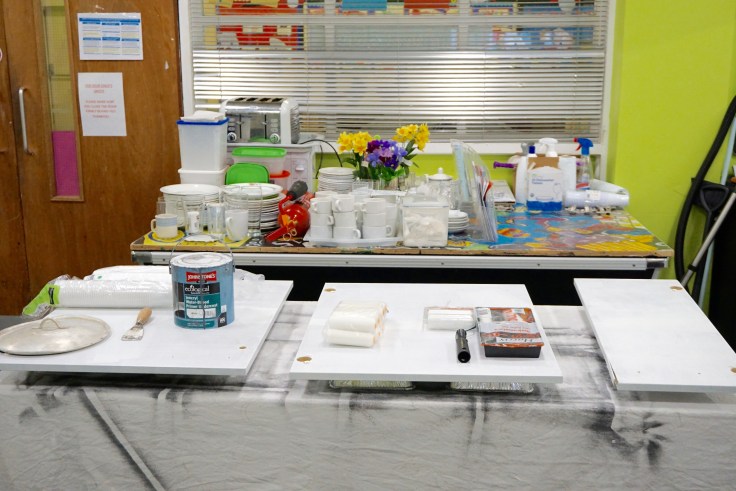
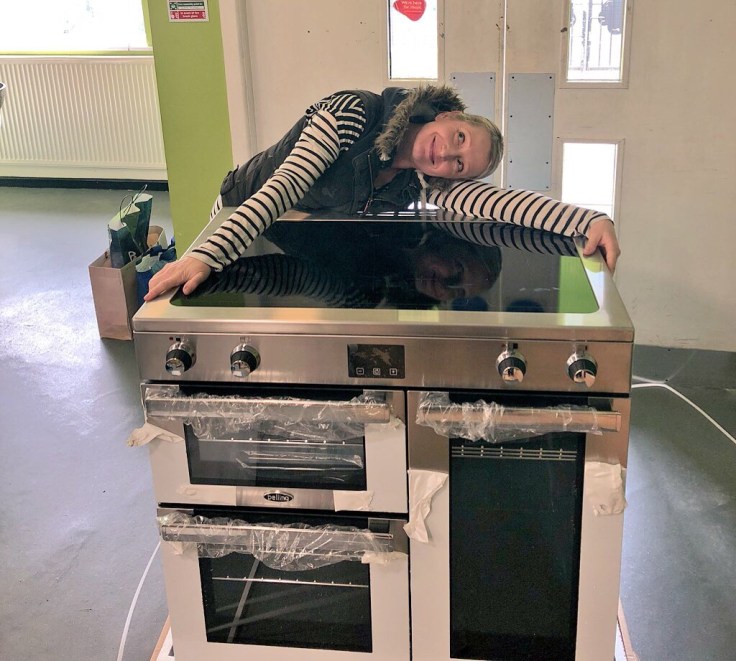
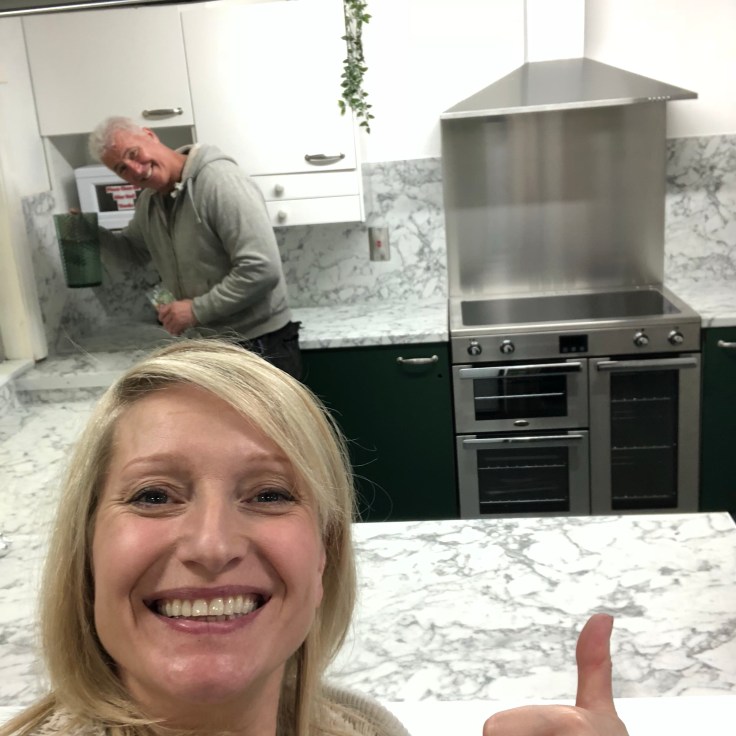
 As usual I found myself on things, under things and inside things. It’s a good job I’m short. And tough. An hour after this photo I had root canal surgery and then two hours after that I was back painting. Dedication here, dedication.
 Lots of people have asked me about the painting of the doors so rather than try and cram all that in one blog post, there’s a handy guide scheduled for you this weekend. It’s dead easy when you know how and you do it properly. It’s the doing it properly where most DIYers mess up.
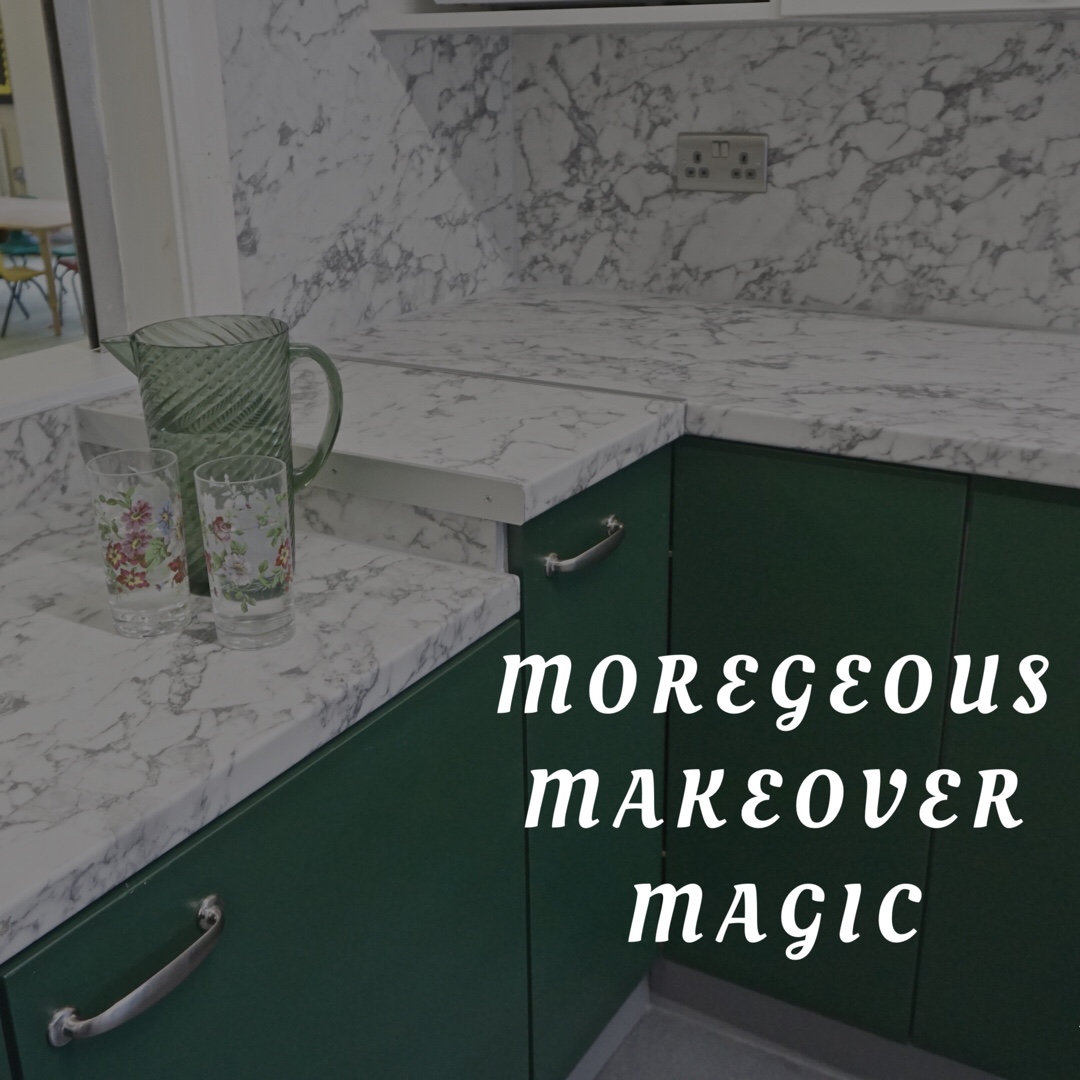
So was it Mission Accomplished for the end of the Easter break? Did Team Moregeous nail it on budget and on time? Yeh baby, course we bloomin’ did. But it’s up to you lot whether you think we cracked the deVOL inspired design side things! Here’s a couple of Before and Afters to help you make up your makeover mind…..
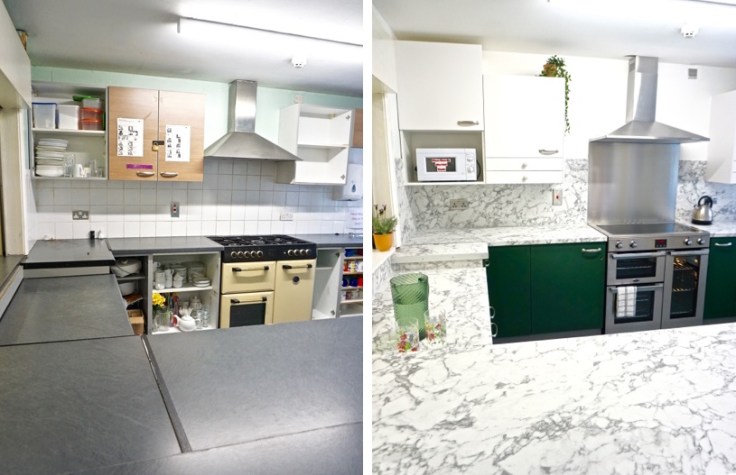
 Personally, I reckon we smashed it. The Turin worktops look ace and are incredibly practical, capturing the marble look without the marble worries. Steel end caps and jointing strips mean no risk of water damage or the edges lifting or chipping. New brushed steel sockets instead of white plastic are an affordable way of uplifting the surface finishes.The dark green lower doors add interest and elegance, but haven’t increased the kitchen budget by anywhere near as much as buying all new base units. Keeping the same handles kept costs down too.
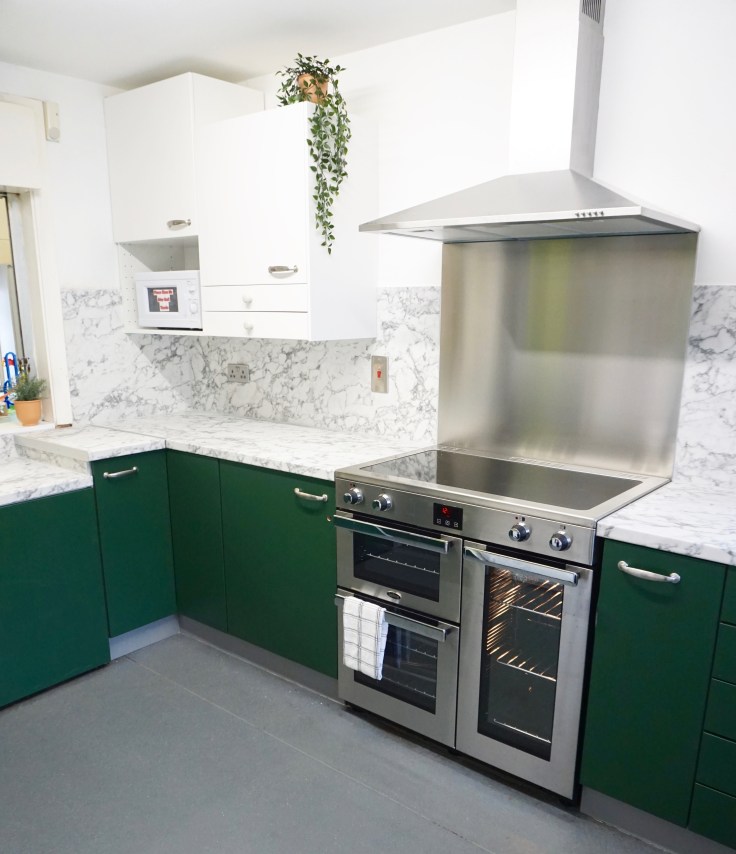 The new Belling oven is crisp and stylish, with a super cool induction hob for instant cooking and no fire risk. One day we’ll fit a lovely new stainless steel microwave too, when funds allow!
 The clever Metod people at Ikea have designed these small 10cm high drawers which can be added into wall units, so as we were short on drawers, I popped in two on either side of the wall unit run.
Perfect for packets of biscuits I can attest. This job? All about the biscuits.
I needed something to open the drawers so chose some cute little crackle finish knobs from B&Q which I think picks up the patterning of the worktops. I like mixing up handles and knobs. Don’t be afraid to. Everyone now has their own spacious cupboard, the 657 brew mugs are in a wall cupboard near the sink and the cutlery has it’s own drawers. Fizz Club don’t need ladders anymore. Toddler Group even have a bread shelf. It’s a win.
A quick polish and she was ready for her close up. No not me, the oven!
 It didn’t take long for the kitchen to be in full swing again, redesigned, clean, organised and ready for….
 ….. chocolate, strawberry cordial and curry lunches. Gawd, thank heavens we didn’t use marble 😉
Huge thank you’s to the team at Ladybarn for trusting me with your kitchen space and your hard earned cash, to Bushboard & Belling for being so brilliant on deliveries, price and help, and last but not least to Mr M and my boys for helping me create some more(geous) magic.
Job done.
Next!
