
My review-type blog posts have dwindled away pitifully, mostly due to a lack of time to write them and I’m a little bit annoyed with myself that I stopped. Most of the products we use here at Moregeous HQ or on rentals are things we spend our hard earned cash on, though a handful are trade products given to me to try on TV shows or IRL. When I find something which gives me all the feels I get super excited, immediately share it on Instagram but then rapidly move onto the next task. The problem is that Instagram is so fleeting. Not everyone watches Stories, so good reviews and recommendations just drift into the ether. I’m often asked the same type of DIY or product based questions on DM, so I’ve decided to kick off some more OMG THIS IS SO BRILLIANT posts. That ok with you, gang?
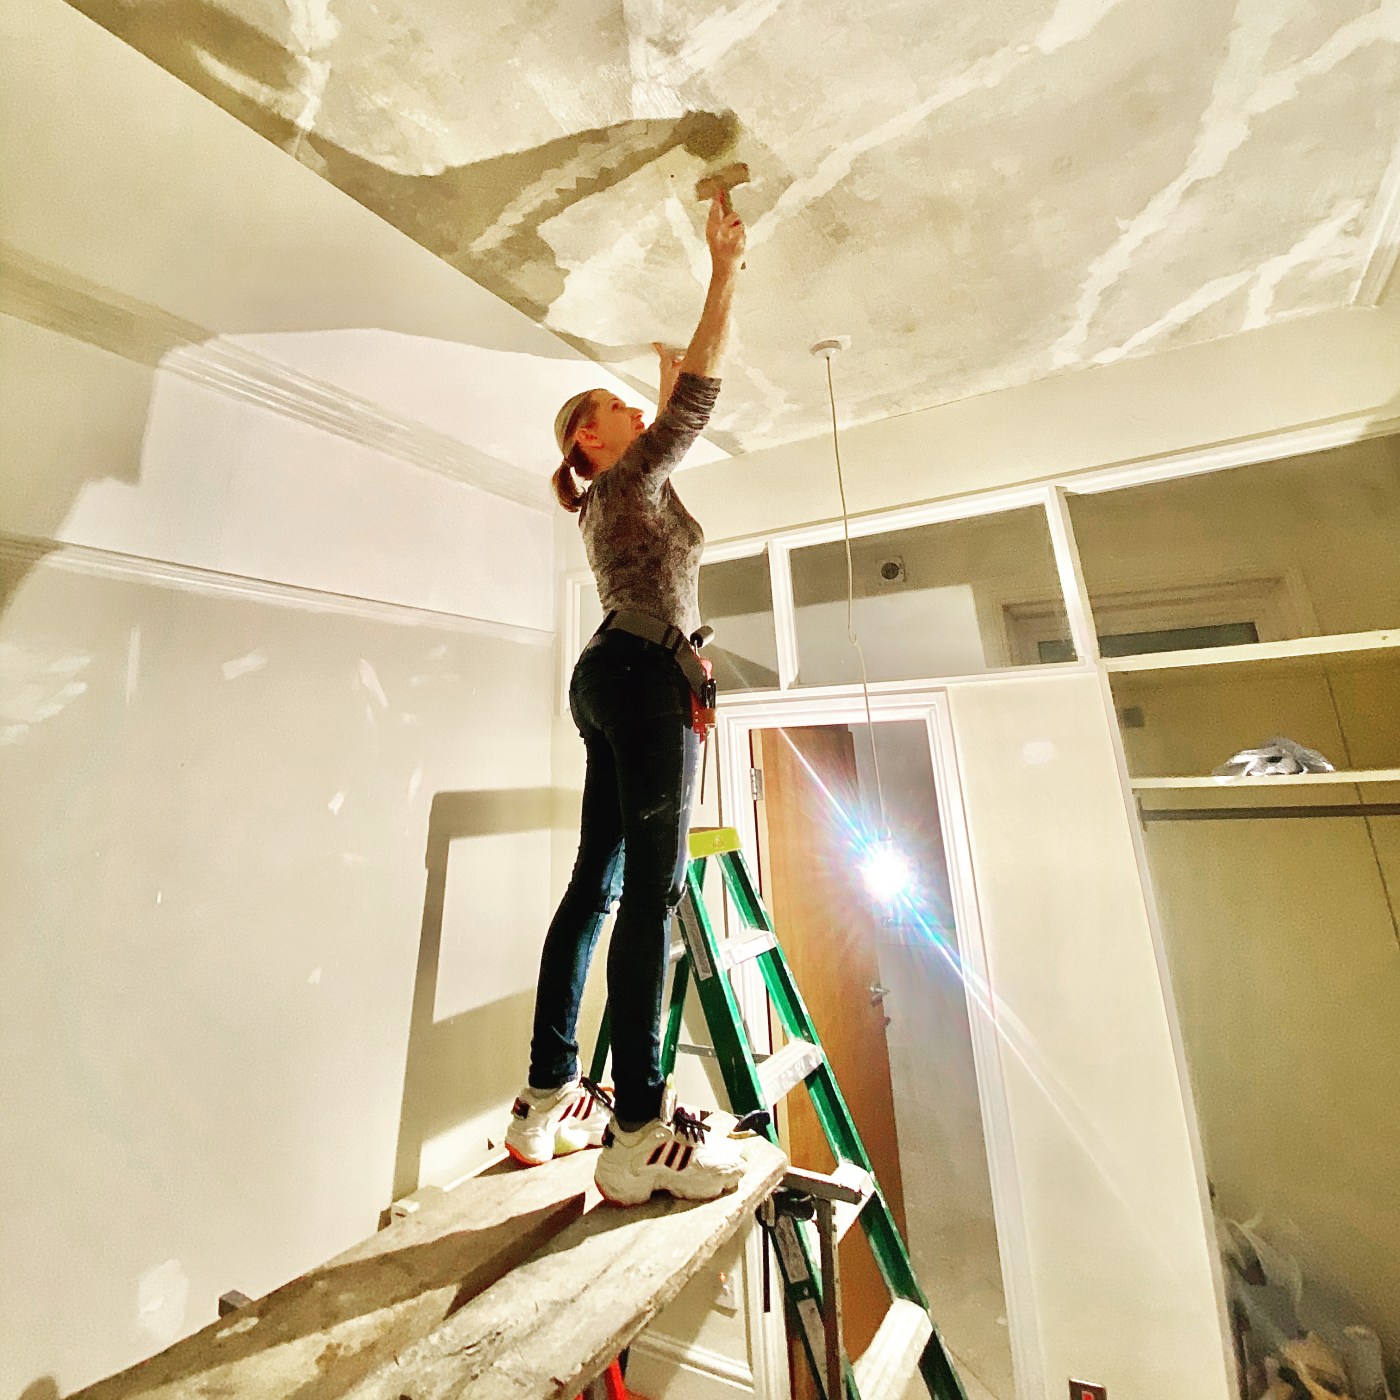
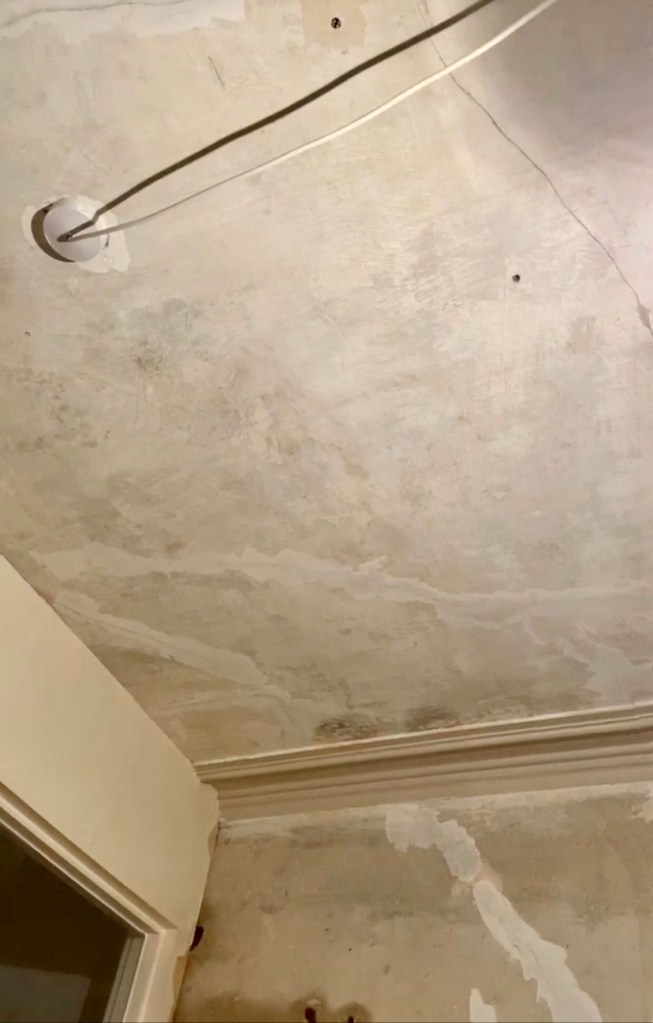
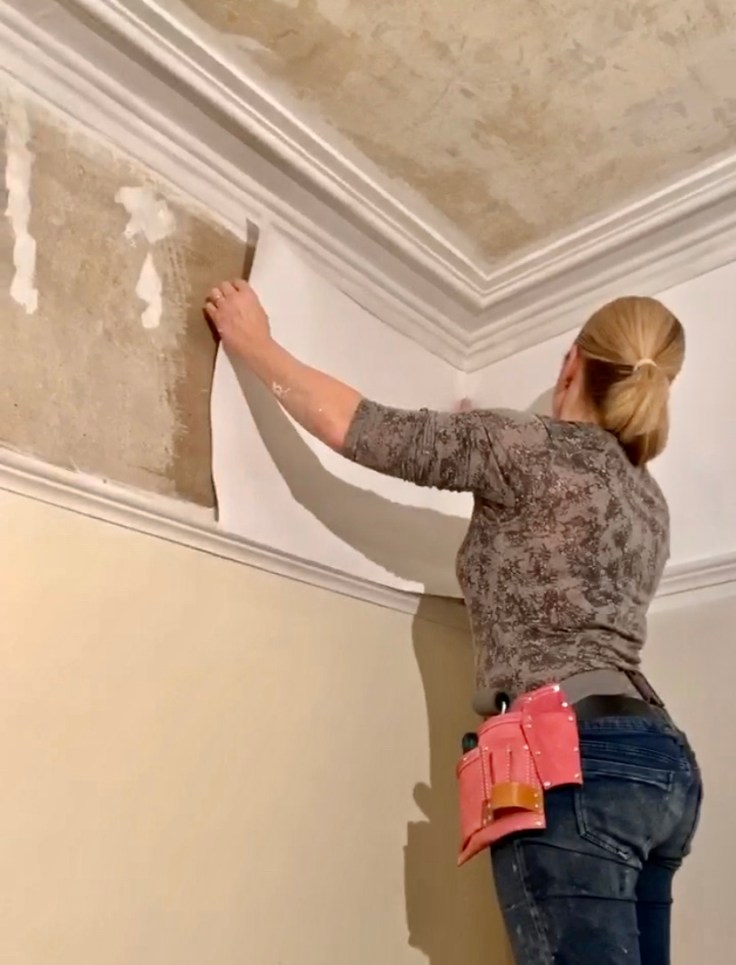
Those of you hooked on IG will have seen us working hard on rejuvenating a rental in January. As can clearly be seen on the photo above, in recent weeks I’ve not only discovered a cracking lining paper but have also gained 12 supermodel inches. High praise to the 0.5x iPhone lens for this miracle. Enough of my extraordinary new legs however and back to the lining paper.
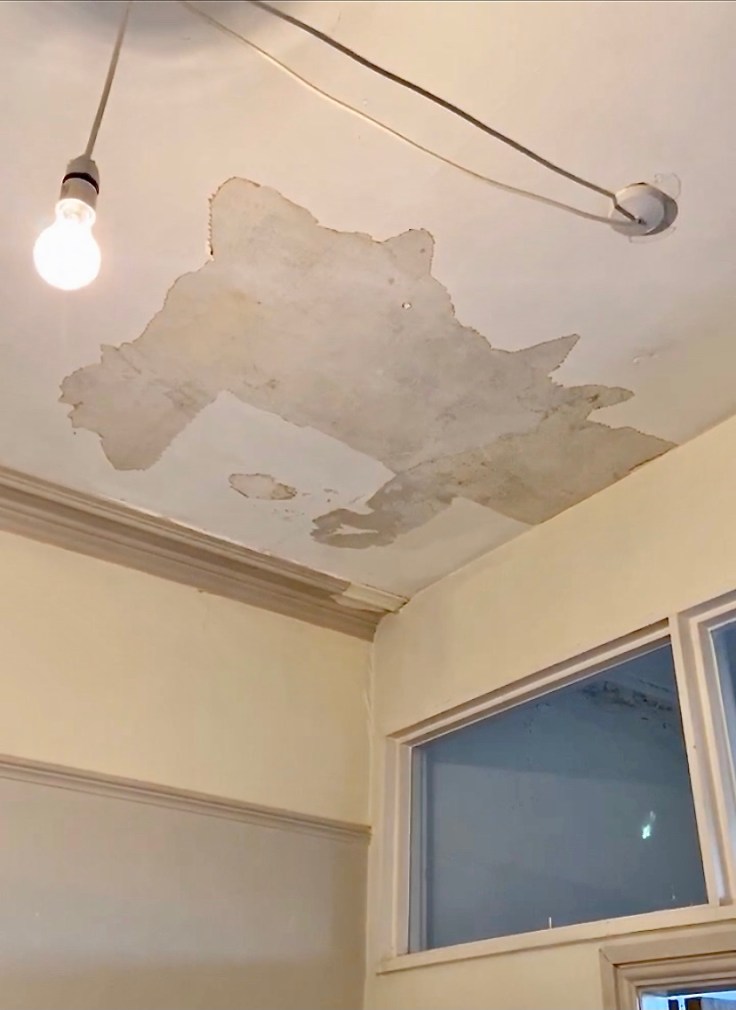
The initial 2021 plan to ‘tickle up’ this one bed rental between tenancies included repainting the bedroom ceiling to lighten and brighten the room. The bedroom sits centrally in the flat with only borrowed light from the shower room at the rear, still had it’s original, bobbly-textured wallpaper and hadn’t been painted for yonks. Back when I’d bought the block, my renovation funds were very tight, so the property wasn’t taken back to brick and replastered as I did with later rentals. There’s also been a leak from above in recent years, with the water finding an escape route smack bang in the middle of the bedroom ceiling. Oh the joy of water eh, a source of constant terror for homeowners and landlords alike. As I stood on the trestle boards and poked at the the paper around the leak, I heard that whisper in my ear, the one which quietly and very wisely says Don’t Lift That Tiny Tear One Inch More Or You Will Regret It. My problem is that I don’t like doing half a job and I never listen to that warning voice, do you? Especially when it comes to peeling old wallpaper. I listen to the voice which says Go On, See How Easy That Paper Is To Pull Back….
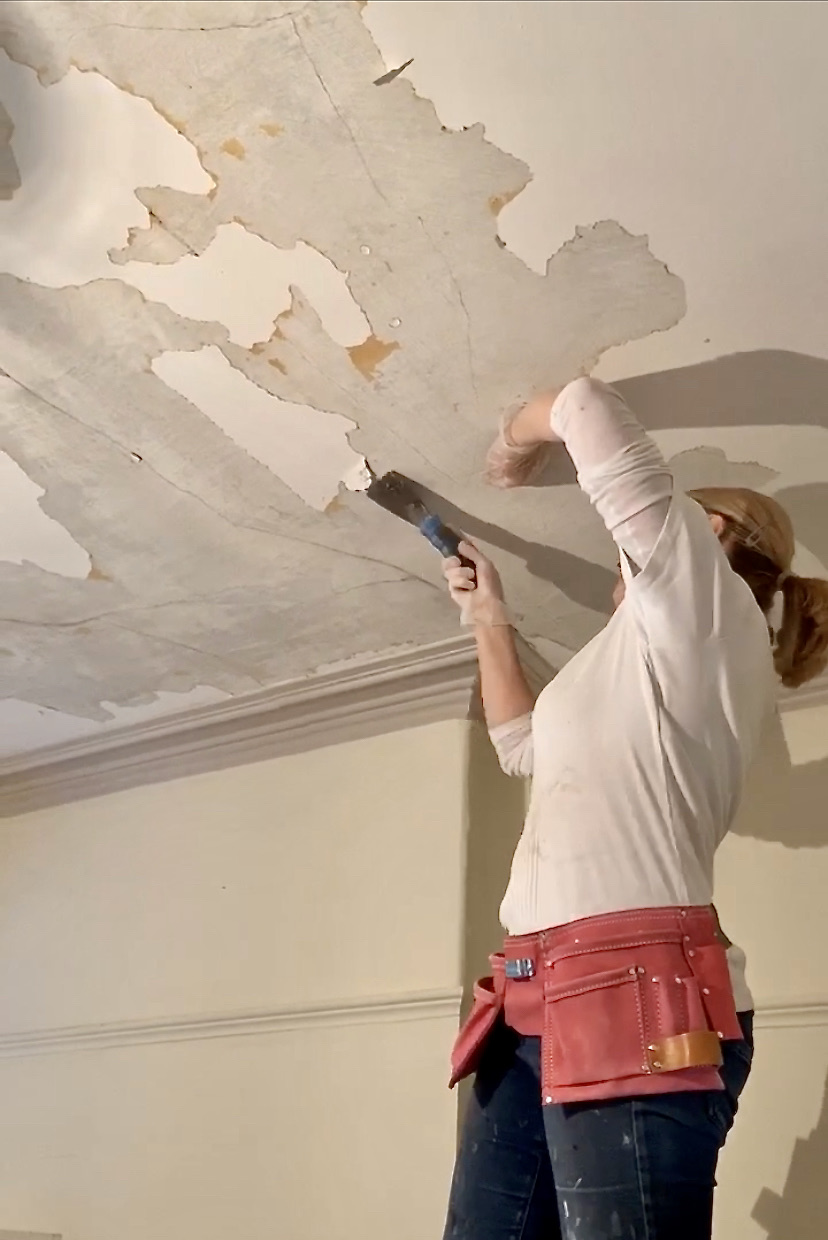
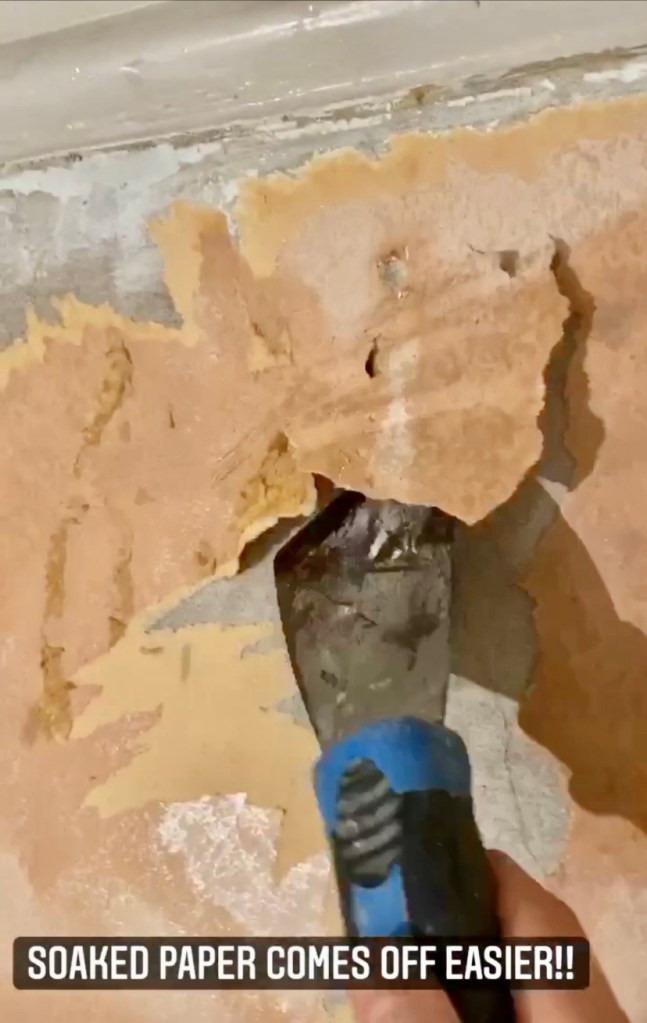
Old wallpaper is exactly like a box of Pringles – once you pop you can’t stop. Remember being little, deliberately layering thick sticky craft glue all over your hands, just so you could peel it off in sheets? Old wallpaper is totally addictive in the same way, only once the first five square feet are done, the novelty wears off and the sweating starts. And the swearing. To be fair, most of this came off with just the scraper, but the stubborn bits sure were damn stubborn and let me tell you, in this enclosed space, the wallpaper steamin’ stripper wasn’t much fun for a woman in a thermal top.
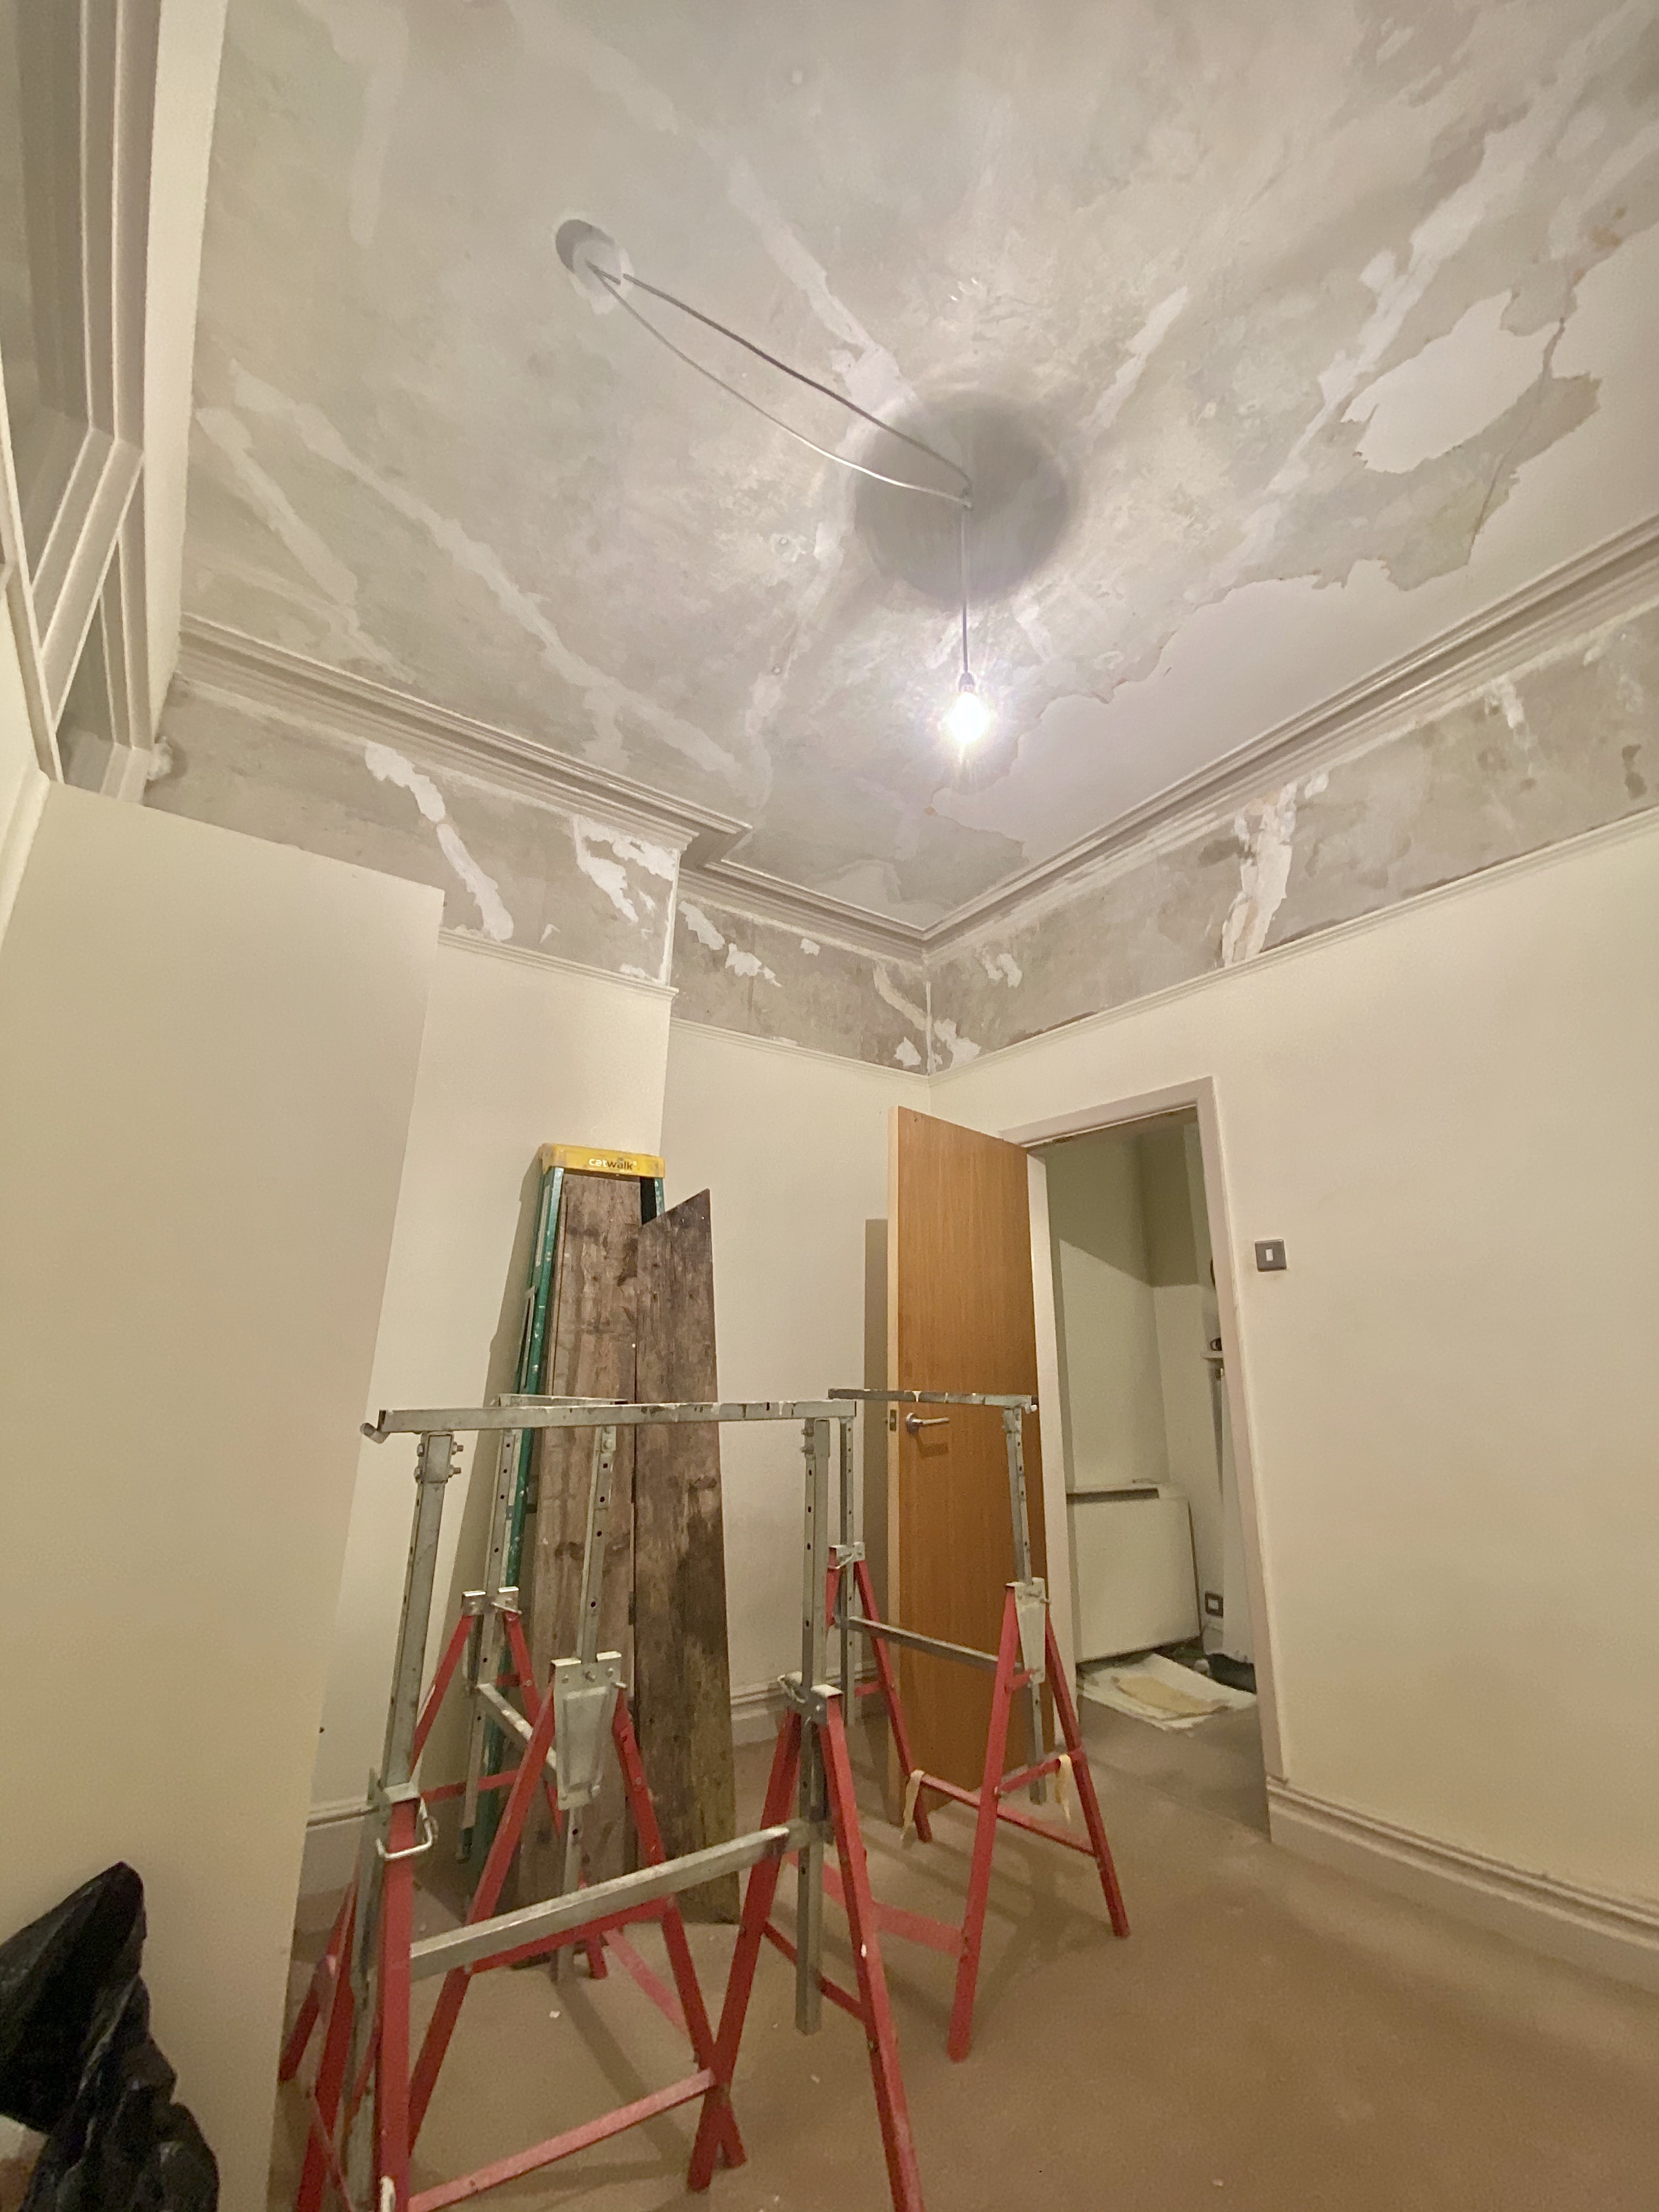
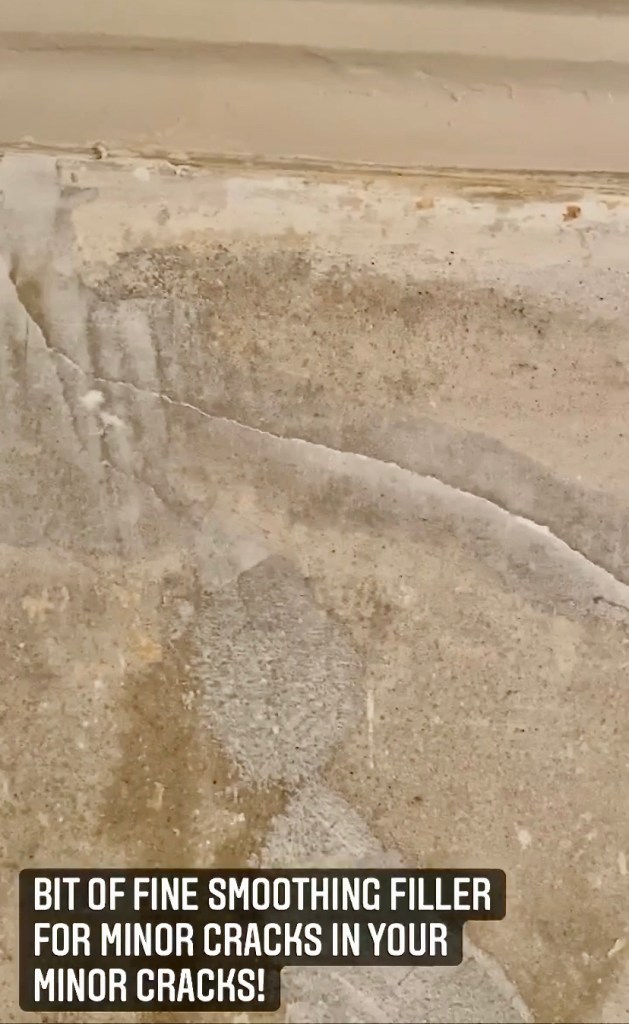
There were cracks everywhere. This wasn’t because the ceiling was falling down or dangerous, the old original lath and plaster was still pretty sturdy, but over 120yrs of people living above, movement was inevitable. Old plaster slowly and inevitable dries out and partially decouples from timber laths.

You can tell if things are unsafe by literally pressing on the areas around the cracks. If the whole area moves and feels as though the connection with what’s above has been totally lost, you probably need to get some expert advice on either replacing or over-boarding the ceiling. The latter means screwing another layer of plasterboard on top, or strictly speaking underneath, what’s there. This can be problematic on ceilings with decorative cornice, as the depth of the new plasterboard can impact on the edges, but a good plasterer / builder will advise. If the ceiling is structurally sound but heavily cracked, as with mine here, then one option is to use a good quality lining paper.
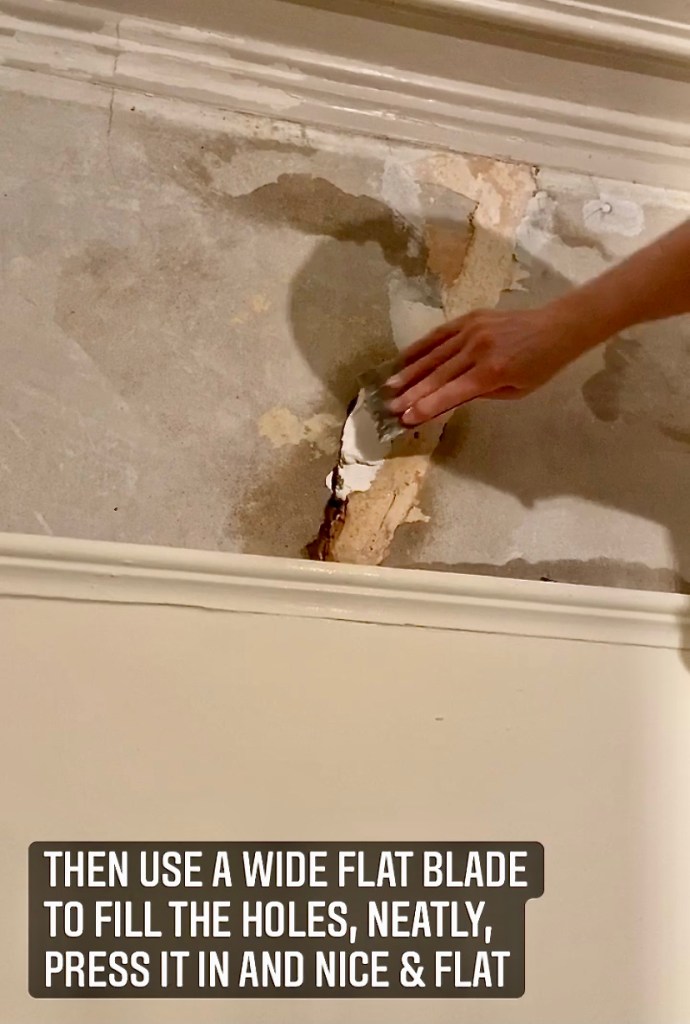
First I stripped back all the paper from the ceiling and the areas above the picture rail, with a scraper and then the remnants with my steam stripper. I filled any larger holes with mixable filler (powdered Polyfilla mixed with water) and the finer cracks with a ready mixed flexible filler I’d bought from Screwfix called Toupret – they have a good selection, google ’em. I let that all dry overnight, then sanded over the whole ceiling and the walls using a block and some 120 grit sandpaper. I brushed it down using a soft brush to get rid of all the grit / anything which might spoil the final paper finish. Just rub your hands over the surface to feel for any lumps and bumps, cause as good as this paper is, if you have the Himalayas under there, they’re gonna show.
To get a decent and not-too-porous wall surface to wallpaper on, I then ‘sized’ the ceiling and walls. You can buy proprietary products for this step, but as these walls had been papered before and were ‘old’ walls, I simply 50/50 watered down my ready-mixed wallpaper paste. If you’re wallpapering a ceiling then you really want to make sure that the paper sticks because this is a labour intensive job which you only want to do once! You do not want lengths of the paper bubbling off the surface or not sticking properly. Sizing ensures that the walls surfaces are non-porous and have a slight shine and it stops porous surfaces from sucking the paste off the back of your wallpaper. It also helps when you’re applying the new paper onto the surfaces as they don’t stick tightly quite as quickly, giving you some adjustment time if you need to slide papers into place, or lift and adjust. I applied the size with a clean paint brush to the edges and a roller to the rest as it was a large area! The walls instantly darken when the size goes on, so it’s dead easy to see where you’ve done and where you’ve missed.
So what’s this fabulous lining paper all about then? Well, this is the one I used – It’s called Wallrock Fibreliner Original 150 – and it was absolutely fantastic.
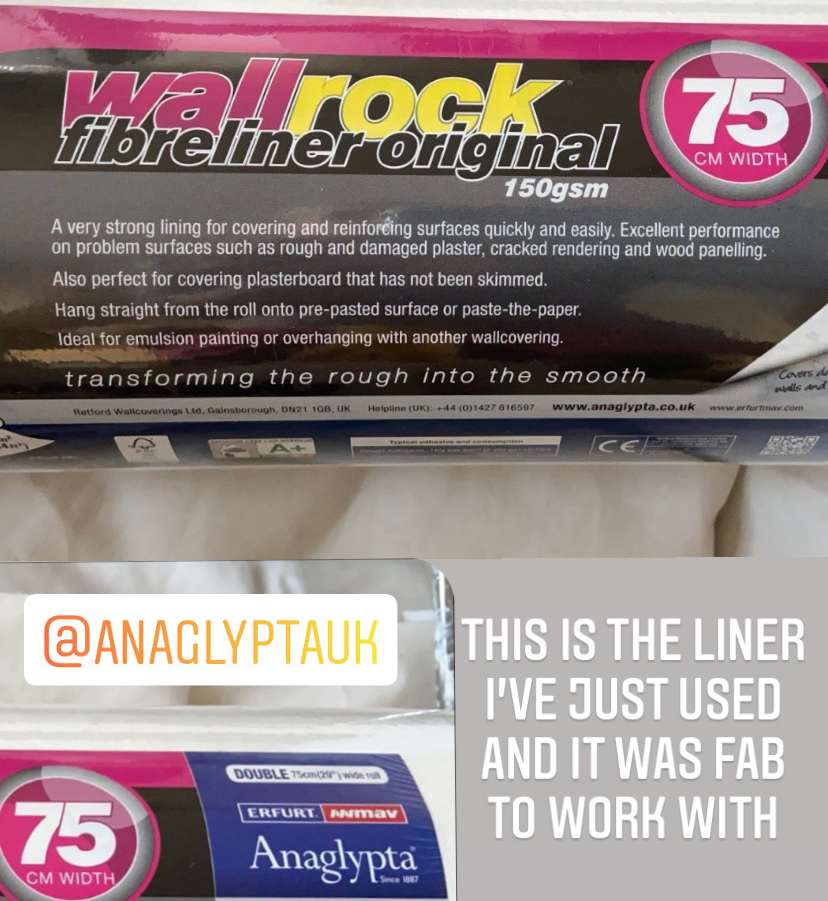
Unlike old school lining paper which often dries out and cracks over time, this new wave of papers have an inbuilt, high tensile strength due to the fact they’re made from relatively long fibres of wood pulp which allow them to move and not split or tear anywhere nearly as easily as regular paper. There are lots of fibre liners on the market, but the Wallrock range happens to be the one I bought and I really liked it. The brand also uses paper sourced from sustainable forests which gets a thumbs up from me. It almost feels woven when you touch it and try to pull it apart – literally feels strong and resistant to tearing.
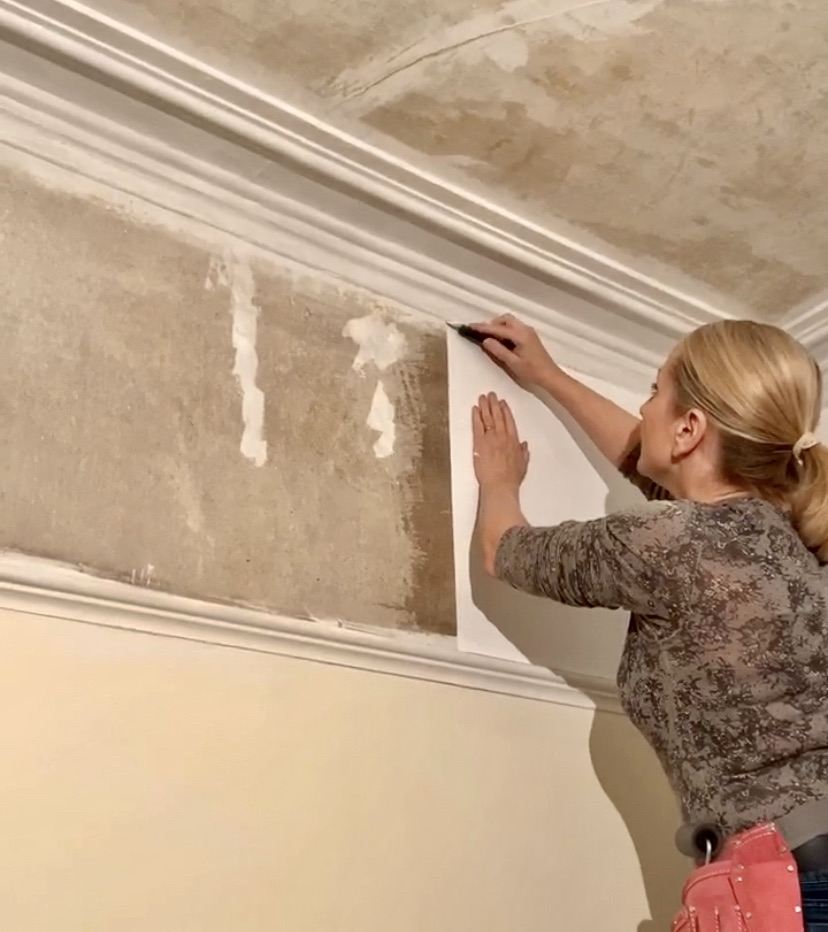
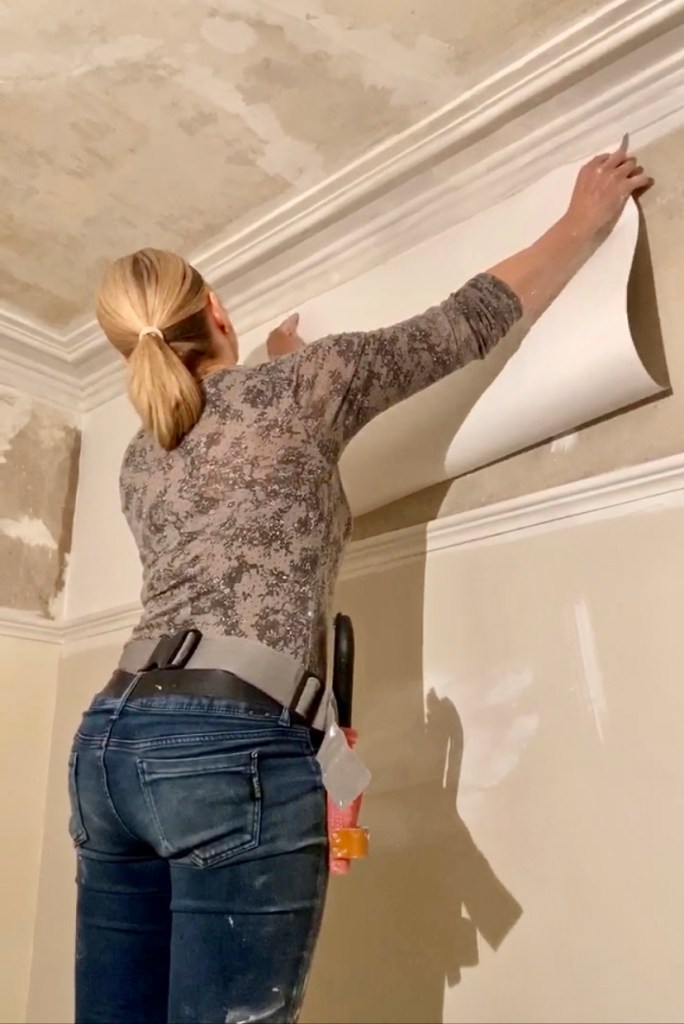
I bought the 75cm wide version but that didn’t make it unwieldy or hard to use because of the extra width (standard wallpapers are approx 53cm wide), in fact it meant that it felt super quick to do the room. I also chose to paste the surfaces, but you can actually chose to paste the paper if you wish. The paper handled well and didn’t crease easily, it lifted off easily when I made a mistake too – great for amateurs having a go and maybe getting it wrong and having to make a correction. It cut easily with my decorators scalpel along the edges, see above, and was easy to lift back and cut with scissors, then pop back into place. I started with the walls to ease myself in and then did the ceiling, which was absolute madness to start at 9pm but at least shows the ease of the product used – it didn’t tip me over the edge despite being so late at night!
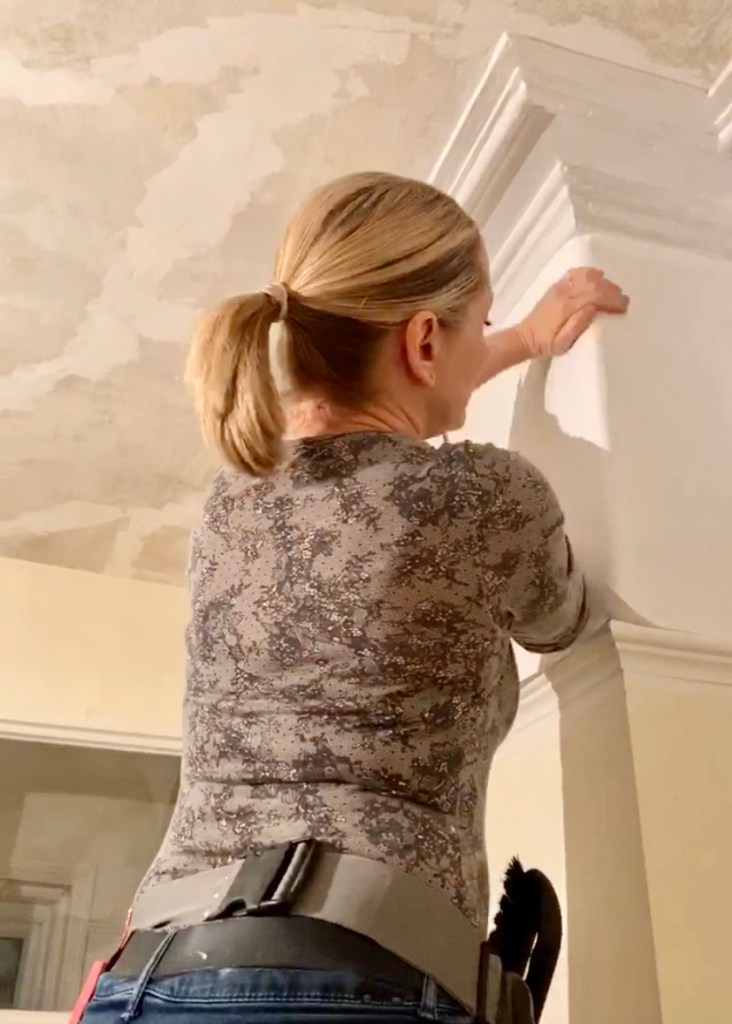
The paper rounded external corners really well and folded into internal corners perfectly too. There was one internal 90* corner of the room which wasn’t vertically plumb (usually the case in old houses) so I had to have a slight overlap on the join. As the paper is understandably quite thick, I used a surface filler with a wide blade to blend them, and then sanded over the join which gave a great finish.
So that’s enough about the process, how did it paint and look in the end? You know what I’m gonna say already gang – it painted up a dream. Honestly, it looks like a totally new ceiling, I couldn’t be happier with it. All that late night pain has faded away 😉 It’s always, always, always irritated me, this room, with it’s bumpy wallpaper and cracks on the ceiling. No amount of painting ever made it look fantastic but with back to back tenancies, we just never got round to doing a proper job. But now this, this is a proper job, with my new favourite lining paper!! Always allow your newly installed lining paper to thoroughly dry before painting. I used a trade matt emulsion from Johnstones for all the areas above the picture rail.
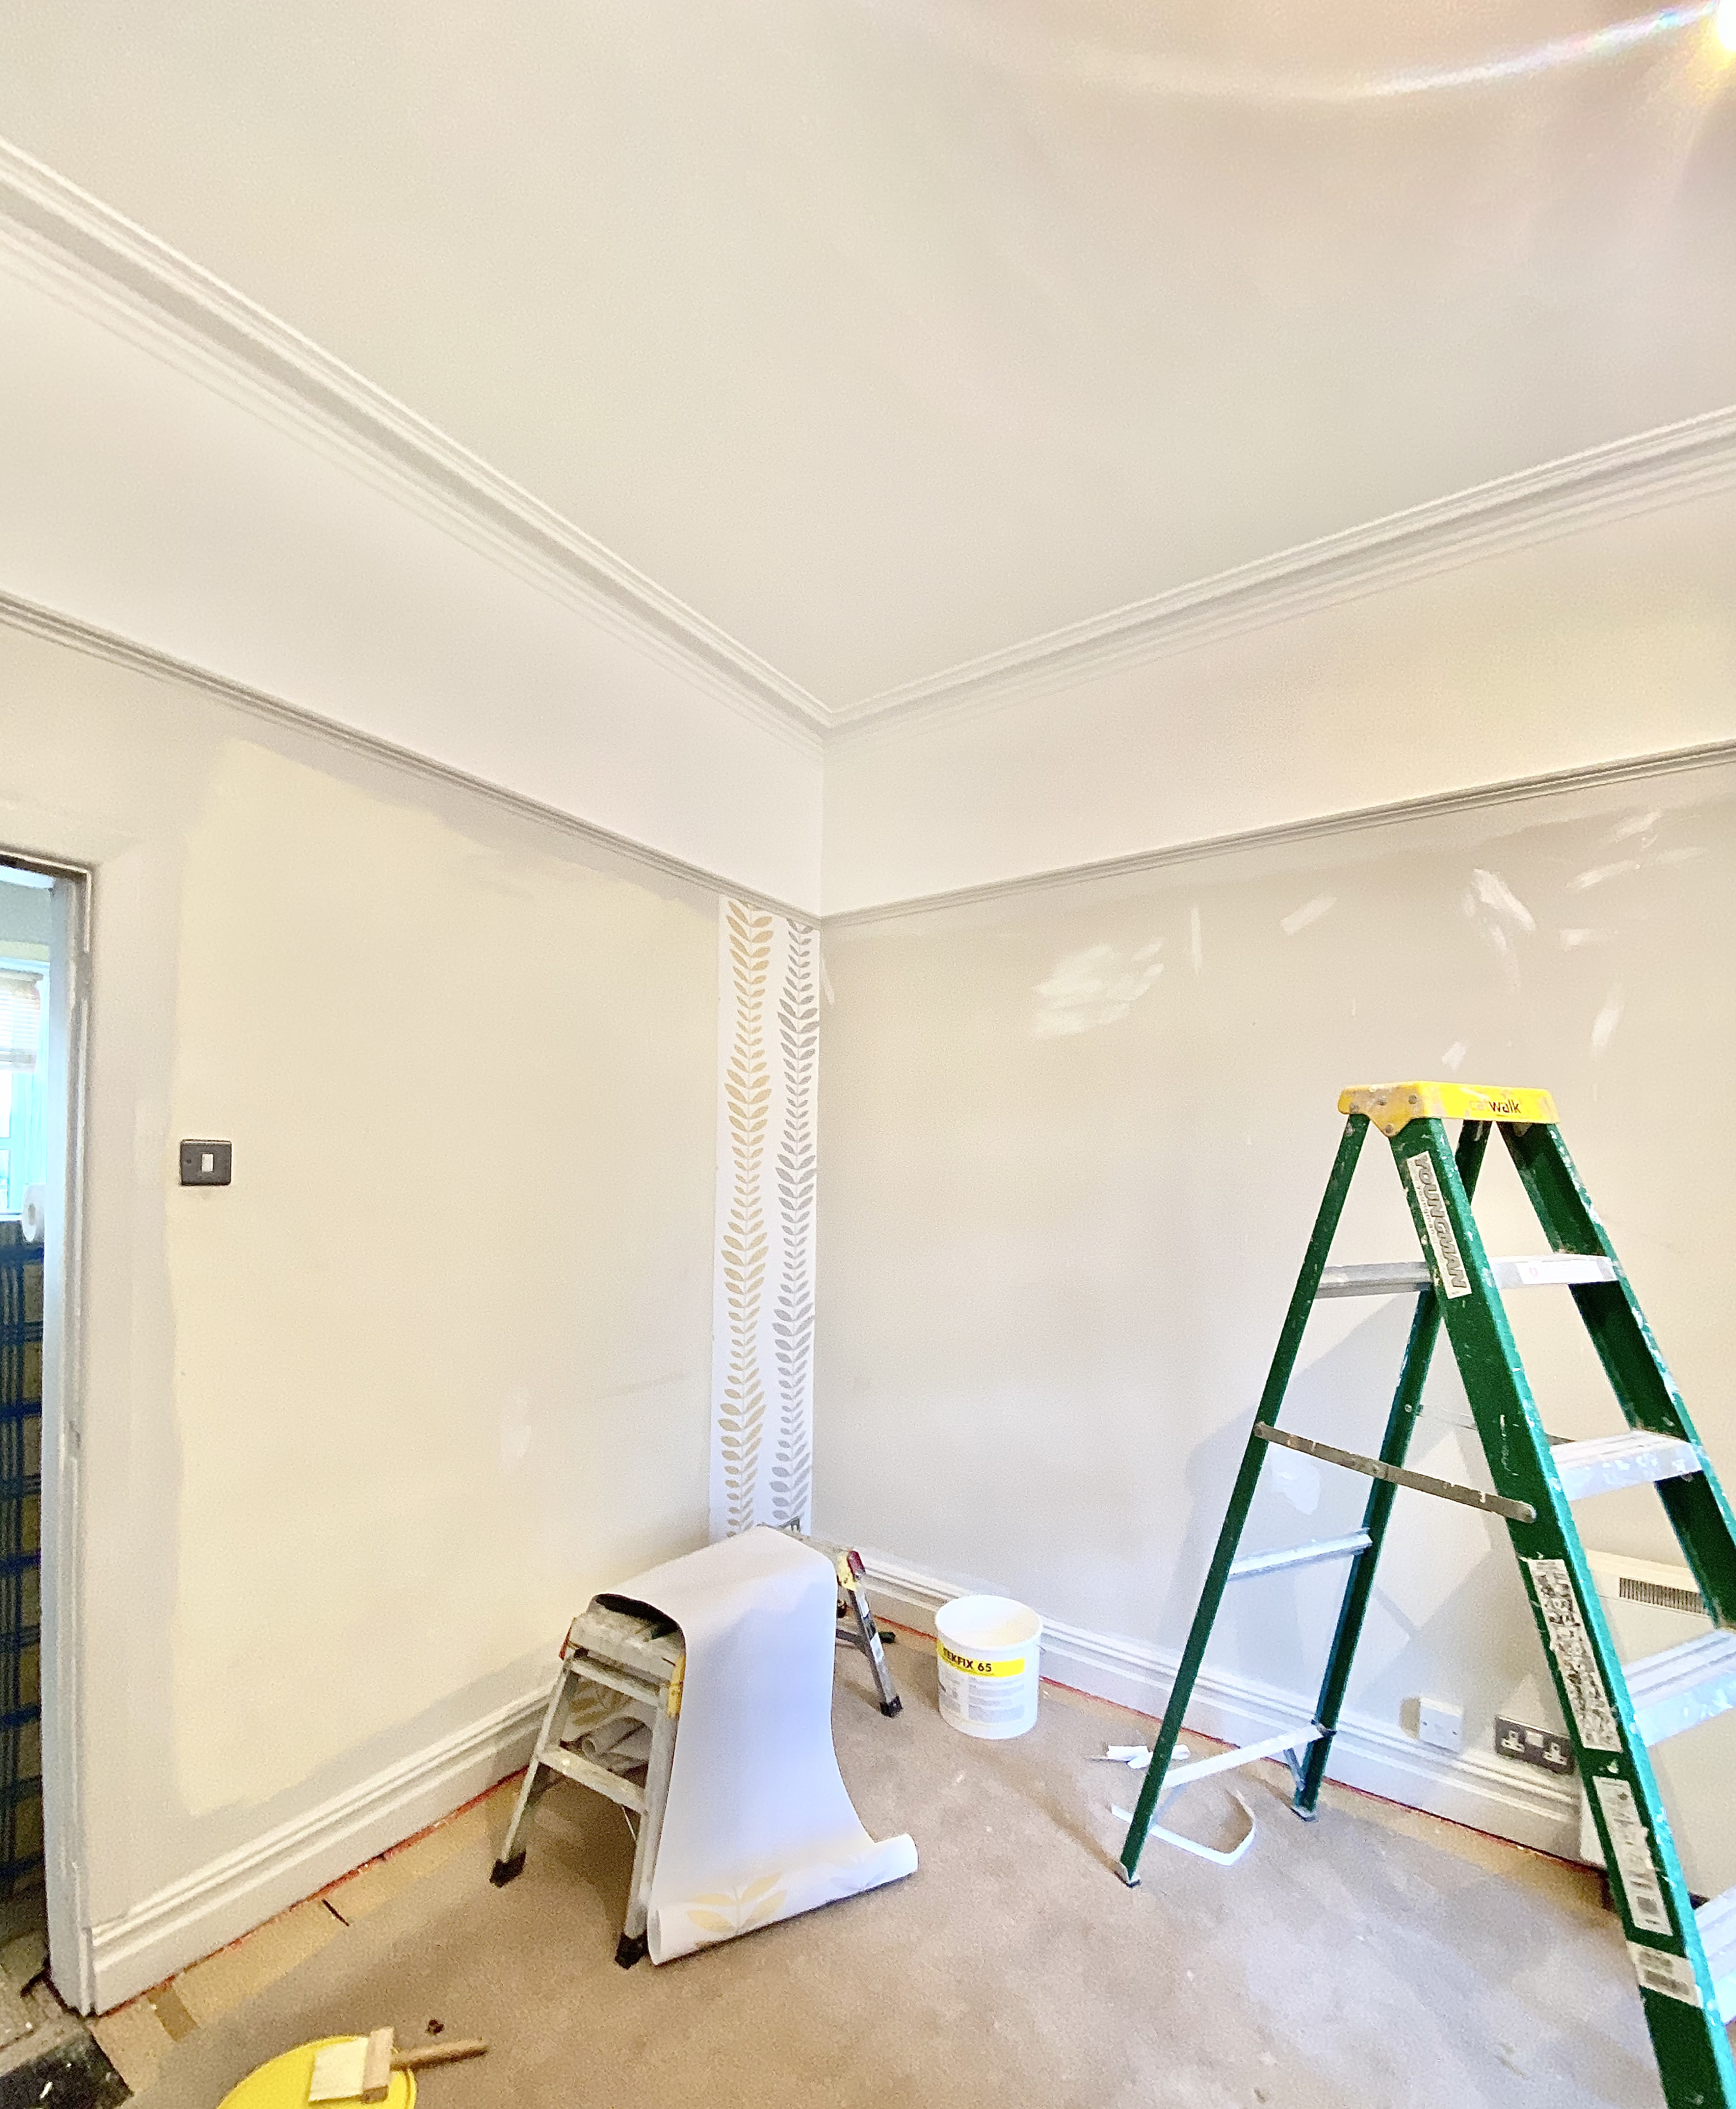
As you can see above, the ceiling looked great but there was still work to be done down below. I’ll blog about that another day! Please feel free to ask me any questions about this project in the Comments section, Si x
If you fancy buying Wallrock Fibrelining paper for your project you can google it, but also this is a lovely Manchester company which sells it and HERE IS THE LINK to the products. This is not a paid post or ad, and there’s no affiliate link, I just connected with them on IG and they seemed like a nice bunch 🙂

lLove, love,, love old houses…….you always have such a great attitude and just get on with the job in hand…. I’m a fan for years….YOUR AN INSPIRATION to all of us…. Well done you SIAN.
Thanks very much Margaret, that’s very kind x
Would wallrock fibreliner cover a ceiling with a thin layer of artex?
Hi Karl, it all depends on the thickness and stipple of the artex really. Wallpaper will only ‘cover’ cracks really, when there is a very textured surface it always shows through.
Hi. I live in a very old building and recently had some water damage to the ceiling. Someone quoted for repairing and repainting for me and included an optional step of Wallrock paper lining the ceiling. As I didn’t know what that was I googled it and came across your nice blog post. I’m still not really sure what it is and what it’s for though as I’m not so savvy with DIY. What would you say are the pros and cons of adding this step and would you recommend it for a building that’s at least 150 years old? As the additional cost of this step is ~60% of the prep and paint job. Thanks for your thoughts!
it’s not great at hiding flaws, there are thicker less eco friendly things to use for that, but it does reinforce and unify the substrate eliminating potential paint coverage or adhesion issues, it claims good breathable qualities but a vinyl paint would kill that
I’m sorry I missed this question. I wonder what you did! I would say that with an old cracked ceiling this step is a very good one to factor in as the Wallrock will help to prevent future cracking to a certain extent, as old building tend to move. It not only covers a multitude of sins but also is somewhat flexible when old buildings move, unlike regular paper.