You’ve all been so unbelievably patient with me, it’s quite astonishing. As Mr M and I have taken on cold winters, a battered house and endless dust, you’ve stalwartly put up with years of my brick, sand, sawdust and grim-filled images. And you’re still here! Honestly, thank you. I faithfully promise more glamour, colour and fun from hereonin.
It’s all beginning to come together and we’re starting to get to grips with the good stuff. The pattern, texture and colour. Exciting finishes, choices and surprises. All good things come to the patient renovator and her social media buddies, right?
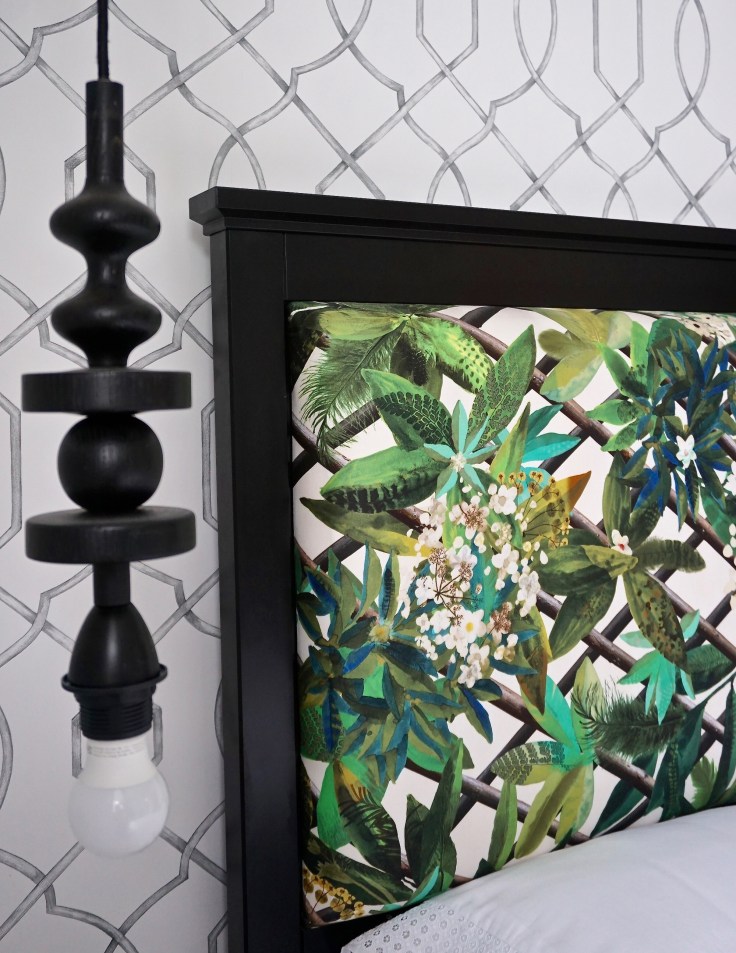
My recent dilemma on gorgeous green tiles and a plain new headboard inspired some strong opinions on Instagram and I loved your feedback. So, did I end up hacking the headboard? 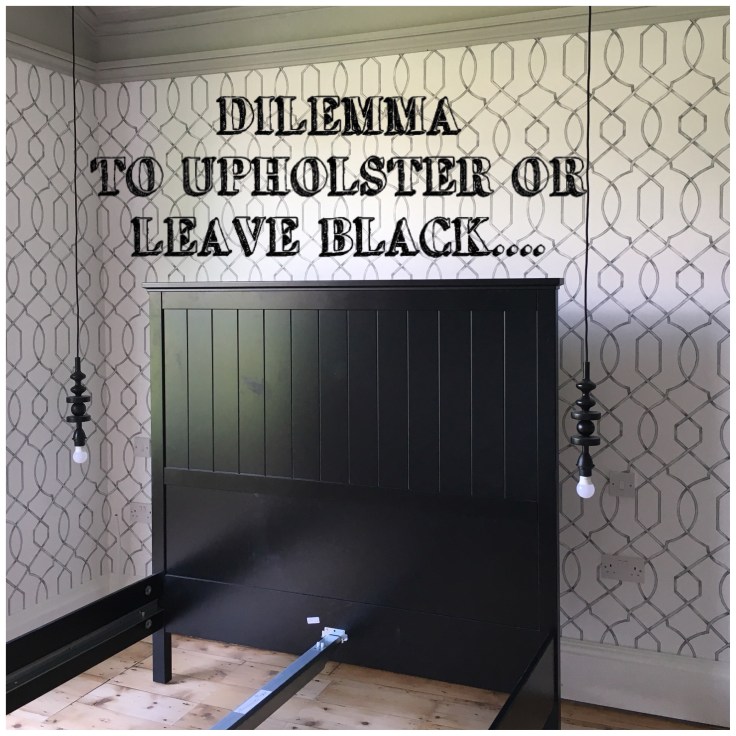 To be fair, I liked my Ikea find just as it was: simple, striking and for a new & super affordable bed, very elegant. It suited the trellis wallpaper and looked ace next to the long-stored Habitat pendant lights.
But.
But but but.
In my head I’d always seen a vibrant statement headboard against this paper. And surely this bed is literally crying out for an Ikea Hack isn’t it, with it’s perfect rectangle, slightly recessed in the outer black frame….
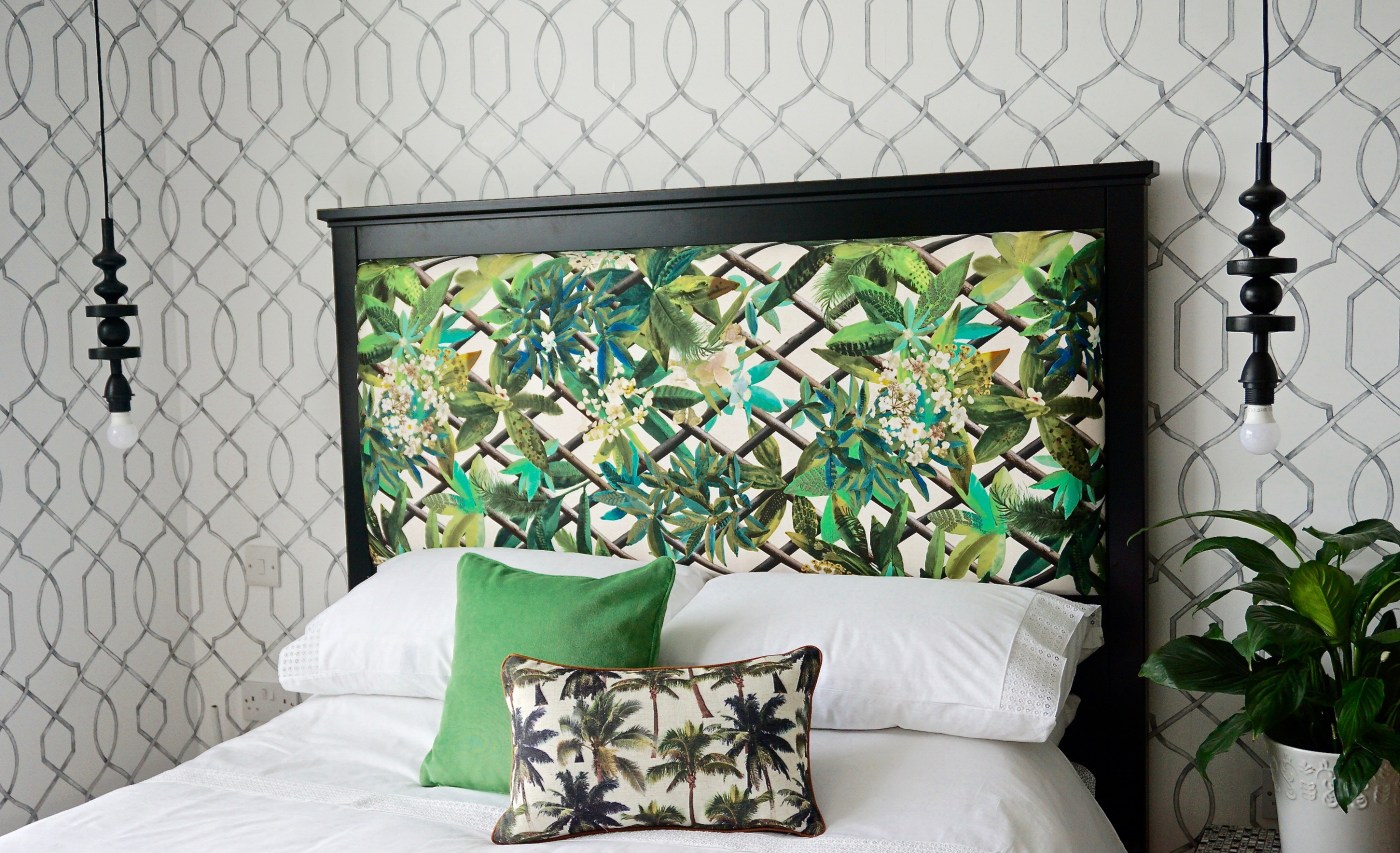
I already had some fabric, a couple of metres of the most lushtastic botanical and bamboo greenery which reflected the vibrancy of the new fireplace tiles.  Now I just had to make it!
Seriously, it couldn’t be easier to do with this type of bed. Here’s how:
- The ‘ space’ for the newly made headboard is 144cm x 60cm, plus allow extra for the depth of foam & folding round the rear side. I had 2 linear metres of fabric at 130cm wide and still have some left over for a couple of small cushions.
- Use a piece of 6mm MDF 60cm high and 144cm long for the headboard back/base. My material is relatively thin but adjust and reduce by a few millimetres if yours is super thick. Headboard backs are usually 12-18mm for more rigidity but because this sits so nicely in the rebate on the Ikea black bed and is then fixed through the back to hold it firmly on, 6mm is deep enough.
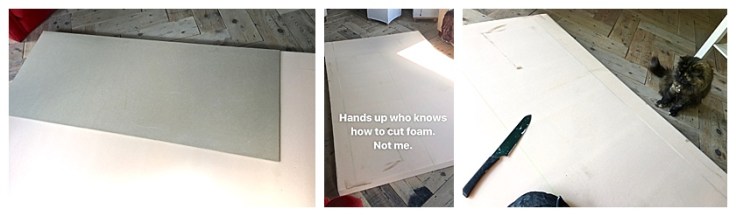
- My upholstery foam is 3″ or 75mm deep for extra deep luxury, bought from a local factory. I got more than I needed as I want some for another project, but you can have it cut exactly to size. Then I realised I’d previously had them cut it for me and I didn’t know what best to cut it with. Google. Breadknife.
- Stick the foam onto the MDF with spray adhesive so all the edges match up nicely. Check it all fits fine in the space on the Ikea bed before you start stapling!
- Work out exactly where you want your fabric pattern on the front of the headboard and adjust the material accordingly, then fold it around the MDF. Use a staple gun to fix it roughly in place to the back of all four sides of your MDF. There are already a tonne on How To You Tube videos on this online, check em out. I don’t have an air stapler or anything fancy, just a hand held one from B&Q.
- Once I knew exactly how the pattern was going to lie, I carefully stapled the fabric to the back of the MDF, carefully smoothing it tight as I went and taking particular care with corners. Constantly check the front for tautness, no ripples and keep the pattern level.
- Make sure all the fabric is super flat on the back too, and carefully cut away any excess from the corners. The rear of your new headboard needs to sit neat and flat against the black frame of the bed.
- When it’s finished, lift into place and screw through from the rear using 20-30mm wood screws, through the frame of the bed into the MDF. This is a two person job. It’s pretty easy to see on the back of the bed where the screws should go as this section is recessed in from the main frame. And you’re done!
So…… what do you think?!

- Here’s a tip. I once did an upholstery course which was not only thoroughly enjoyable but also gave me the confidence to tackle basic projects like this. There are lots around. Do have a go, you’ll love it.
- This headboard took me around 2hrs and cost me about £140 as I used a fairly luxurious fabric, though I did buy it on Ebay for a steal.
I absolutely love it and keep smiling every time I walk in the room. Yes, the bed was pretty cool before it had a Moregeous hack, but now it’s totally unique and personal to the Pavilion bedroom. Right choice? What do you think?!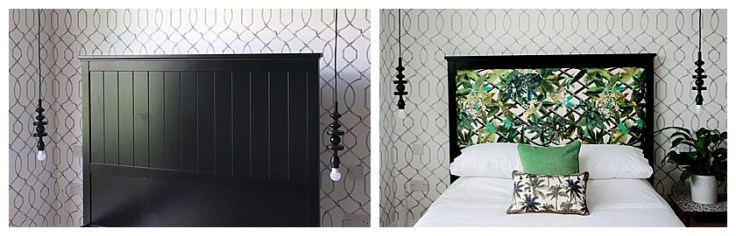 I may have jungle fever but I reckon this bed – called Undredal and btw I paid full price as this isn’t a sponsored post – would look good with a whole host of different fabrics from geometric to plains. Whatever floats your bedroom boat!
 Guess who else loves it too, and was straight on the bed as soon as it was made, literally within minutes. How does she always know when there’s something new and comfy in the house? How??
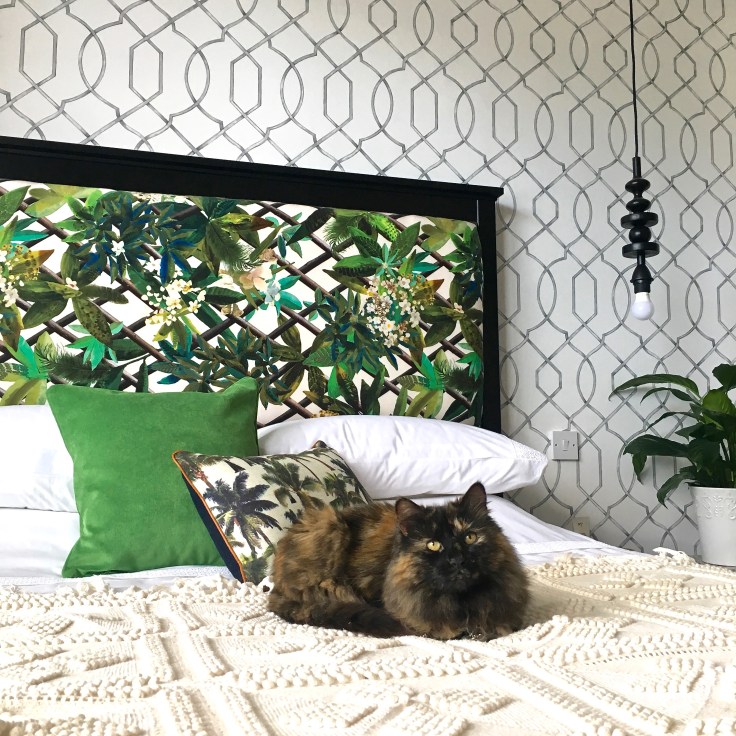
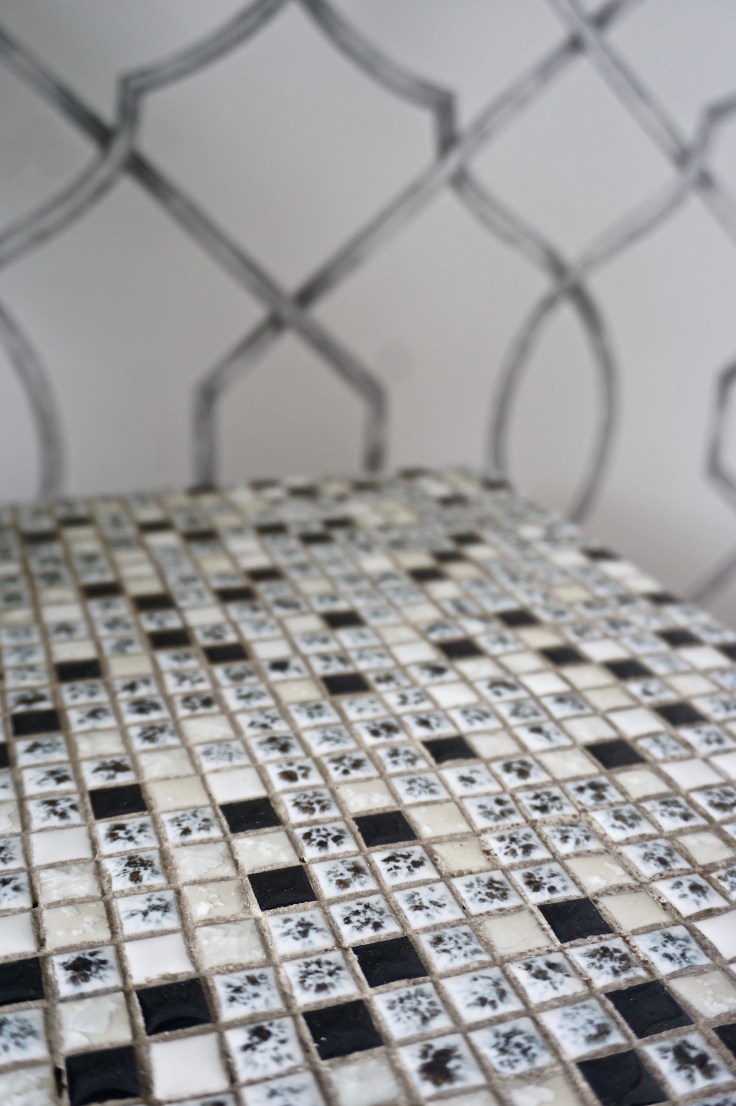
The mid-century side table I found at the Victoria Baths Vintage Fair is perfect against the wallpaper, the tiny black mosaics accenting the black detailing around the room. You know when you have a feeling about something but don’t yet know where it’ll go? I had that with this lovely little table, complete with magazine rack, a steal at £20. Now I just need to specify some gorgeous light switches and sockets.

 I even picked up a super cool monochrome fitted sheet from MissPrint. A little unexpected surprise when guests pull back the crisp white sheets.
It feels amazing to have a second bedroom almost finished and we’re well on with two of the bathrooms. And then the master bedroom. And then….. no, I daren’t say it. Oh go on then….
And then….
THE KITCHEN!!!!
However for now, I’m content with my gorgeous guest bedroom. We were just putting some finishing touches to the cute little ensuite – remember *those* tiles – when we were blindsided by sunshine and spectacular weather. Gotta grab it when you can in Manchester, so instead we’re outside moving a huge vine frame and making a wood store. Like you do.
Sorry if you told me to keep the black bed. I ignored you. But maybe you can buy one and keep it plain 😉
Do let me know if you decide to hack this Ikea bed and I’ll share your versions x

I keep coming back to look at this. It’s fantastic 🙂
Looks fabulous, I keep coming back for another look!
And it was so easy to do, which is the great thing 😉 Thanks for your lovely comment Vicki, Sian x