Renovating is expensive, we all know that. No matter how well you plan, draw up spreadsheets or keep an eye on the pennies, there are always extras and there’s never quite enough left for finishing touches. Especially for the garden, the area which always seems to come in at last place on most renovation To Do lists. So, being creative with salvaged materials and hunted bargains is an excellent way to not only be canny with money, but also make things which are totally unique.
Not throwing anything away “in case it comes in useful” is quite literally how I live and everything is carefully assessed before being disposed of. It drives him potty, he’s always complaining about the piles of stored treasure which need some form of Moregeous magic working on them. Though if his garage woodpile is anything to go by, we’re both cut from the same cloth. Those of you old enough will understand this mentality encapsulated in a single word – Steptoe.
Long time readers saw the stack of bricks and slates from our demolition and all useable reclaimed materials being salvaged and used in our build. Once the extension was complete, we didn’t simply skip everything though. All the left over bricks were piled neatly in a corner of the garden and have been used to create seating and mini walls as the garden has progressed. Likewise with bits of timber or ply, unless they’re really too small or misshapen to be used, they’re leaned up and covered, awaiting their own adventure.
We used some of the bricks to start a tall hexagonal barbecue when we laid the terrace two years ago but only just got round to finishing it this summer. Of course, as soon as the coals were lit, we realised – doh – no table! Could we rectify this glaring omission with scraps and leftovers? Course we could.
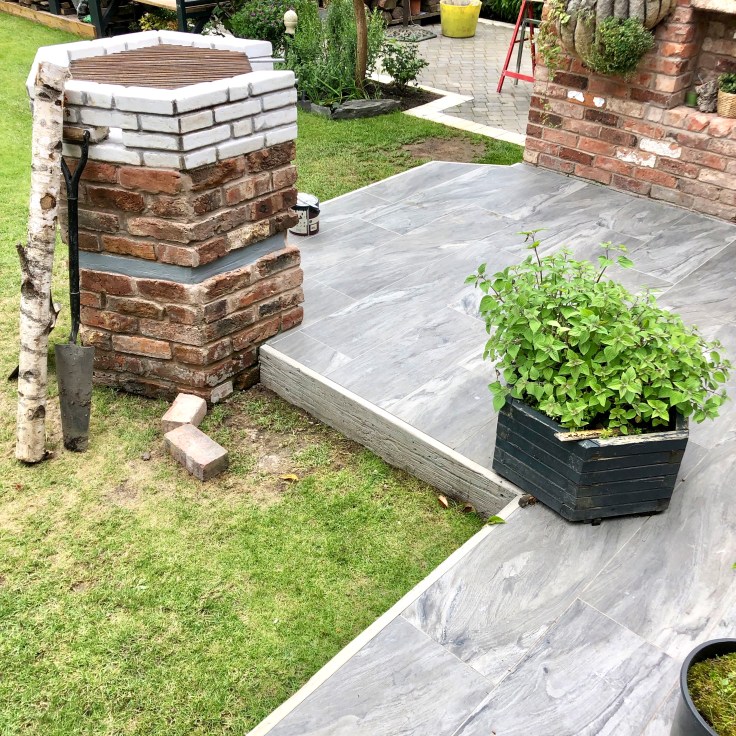
The towering inferno is positioned at the corner of the terrace and needed a table to the side. No good flippin’ burgers with nowhere to flip ’em too. Yes, we could just plonk a table there whenever cooking but I quite fancied creating something more substantial and interesting. When we redesigned and installed a new interior for Manchester’s Flower Lounge, there were some forlorn looking silver birch lengths in the back yard about to be thrown out.
Yep, couldn’t help myself. Had no idea where they’d be used but they looked like treasure to me and they’ve been winking at me from the corner of the garden ever since. Leaning one up against the BBQ gave me an idea – legs 🙂
The pieces of silver birch were easily long enough to give the height we needed for a table but did look a bit odd just rising up from the lawn below. Well, the two higher ones did, as the other two were to be balanced on the flat surface of the terrace above.
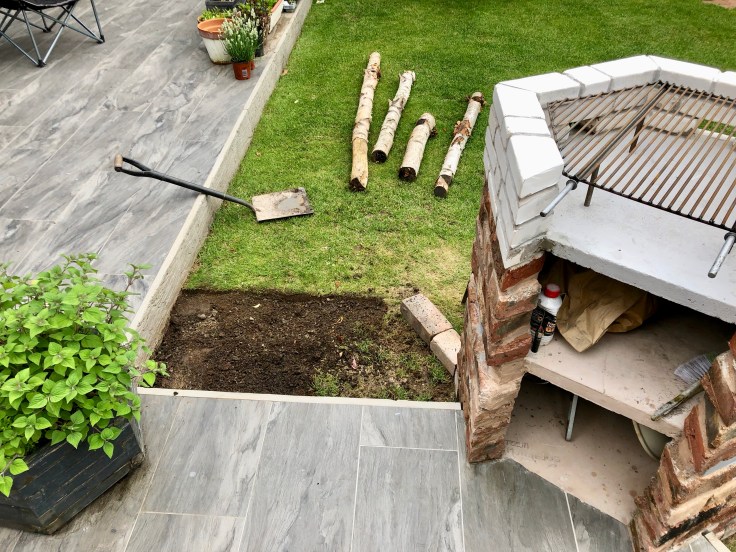
So, I decided it’d be cool to have a flower bed to soften the edges of the built area, and create colour and movement under the new table. We used some more of the reclaimed bricks as a small retaining wall, sitting the first course on a bed of a grit, sand & cement for stability.

The grey front facing ‘timber’ you can see is a composite called Millboard which I’ve specified for clients and used here at Moregeous HQ. As it’s a composite, it won’t rot in contact with soil so is perfect for this type of application.
If you’re going to create a new flower bed post-renovation works, give the soil a really good turning over to filter out any builder debris and mix with some bonemeal to give new plants a fighting chance.
We checked and rechecked the legs for levels before positioning the top in place and adjusting it from all angles. Make sure anything you build looks good from front, back and sides before screwing the timber top into place down into the legs. And hold the legs vertical and plumb when the screws go in so the legs don’t end up wonky donkey!
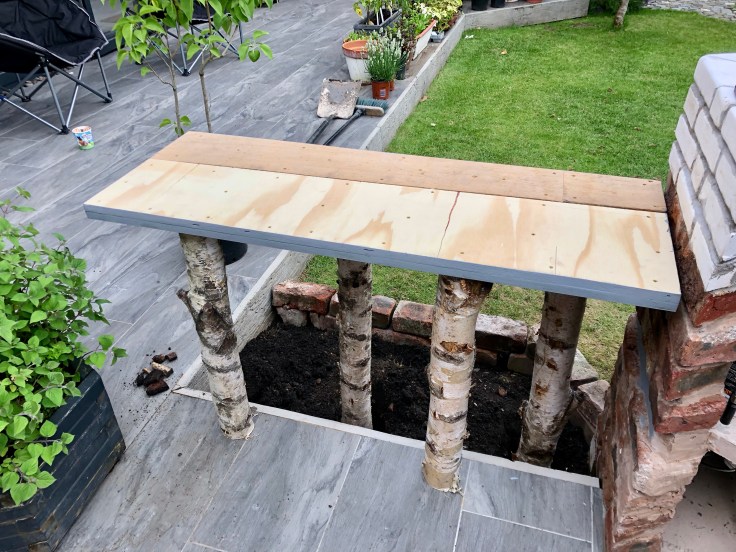
We used a double depth of 18mm ply for rigidity, one solid piece and then some off cuts on the top, just to use them up. As it was being tiled, ply is fine to use on an outside table, but be mindful to protect the edges as they are susceptible to expansion from damp. I painted our edges in aluminium paint which is beyond excellent for exterior woodwork, there’s nothing else like it.

I actually did vanish the legs to seal and protect them, which made them go a little off-white, but not so as anyone else would notice. This might be overkill but I want the bark to last and not peel off, after all the trees are ‘dead’ now and I’m not sure how long the bark stays on – does anyone know??

We levelled the table and positioned it perfectly, before pouring water then post-mix around the two flower bed legs. Post-Mix is a gravelly pre-mixed and bagged substance which seals and protects timber posts in the ground. Very handy. I made sure the post-mix rose up slightly so wet soil isn’t in contact with the birch legs to rot them at the base in winter.
Of course you can’t just leave a plywood top exposed to the elements. Fine in dry weather but rain and snow? Wouldn’t last a UK year so tiles were the only choice really. Which meant debate time. My job as project manager / specifier / designer means I often have random half boxes of tiles lying around. See below for proof!

Was it to be the white metro in a brick bond pattern to carry through the white brick feel of the BBQ, or soft grey hexagons, the shape of the BBQ itself and of the reclaimed French tomettes across on the other side of the garden? The Insta vote was split 67/33 in favour of hexes and I had to agree.
When choosing any finish, never look at it in isolation, but also weigh up all the variables. When all was considered, the metros were very shiny and didn’t feel organic enough for outside. A bit too ‘coffee shop’. They needed to be cut to fit on the table and also were ceramic and thus more prone to cracking in very cold weather. The hexagons reflected the shape of other choices in the garden. The grey was softer, more in keeping with the reclaimed bricks and the terrace timber planks. Plus made of porcelain, so much hardier.

Something still didn’t feel right though. When that happens, listen to your gut. Stop and think for a while.
Can you see what it was?

Of course – the hexagons had been laid the ‘wrong’ way. I flipped them so the flat edge mirrored the barbecue shape. This also meant less fiddly cuts at either end – bonus!
When tiling, think about where tiles begin and end when deciding your layout pattern.
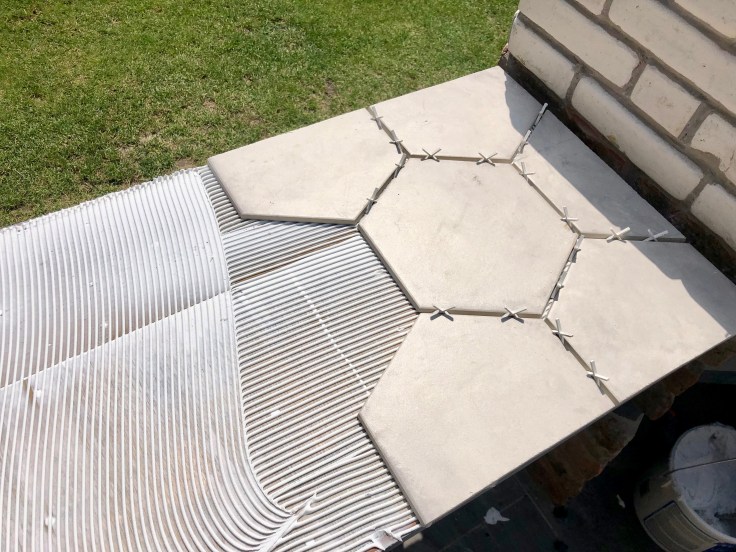
On a simple table like this I’d advise doing your cuts before laying, as we did below. I simply laid the middle tiles, laid the side tiles flat in place and then pencilled under the edges as the marker line, using a wet cutter to get a good cut.
Always use spacers with hexagons, never try it by eye. Never.

Another tip is to then transfer the tiles exactly as your pattern, onto a sheet next to where you’re working. This eliminates any potential for mistakes. It’s a great idea when tiling small areas such as fireplaces too, especially with complex patterns.

For ease I used a pre-mixed tile adhesive as we’ve got some more small areas of tiling to do inside. A perfectly flat piece of ply is dead easy to tile onto so you only need a thin bed of adhesive, run through with a 6mm notched adhesive trowel.
It is a good idea to prime your timber surface first to ensure the adhesive sticks properly. The accepted wisdom is now not to use watered down PVA but a proper acrylic primer. BAL do them, or Topps. They stop the surface being too porous, so are recommended for timber surfaces but also screed or concrete too.

Ooooo, I nearly forgot. So that the terrace based birch doesn’t sit on wet tiles in the winter, we popped rubber door stops on the bottom of the legs to elevate them. They kinda float but you can’t really tell unless you look closely. Whenever you’re making something with timber outdoors, always consider if it’s in regular contact with water, cause if so, it needs protecting somehow. Wood’s fine outside when it’s still ‘alive’ and growing but once chopped down there are no natural oils being produced to protect it, so it quickly rots.
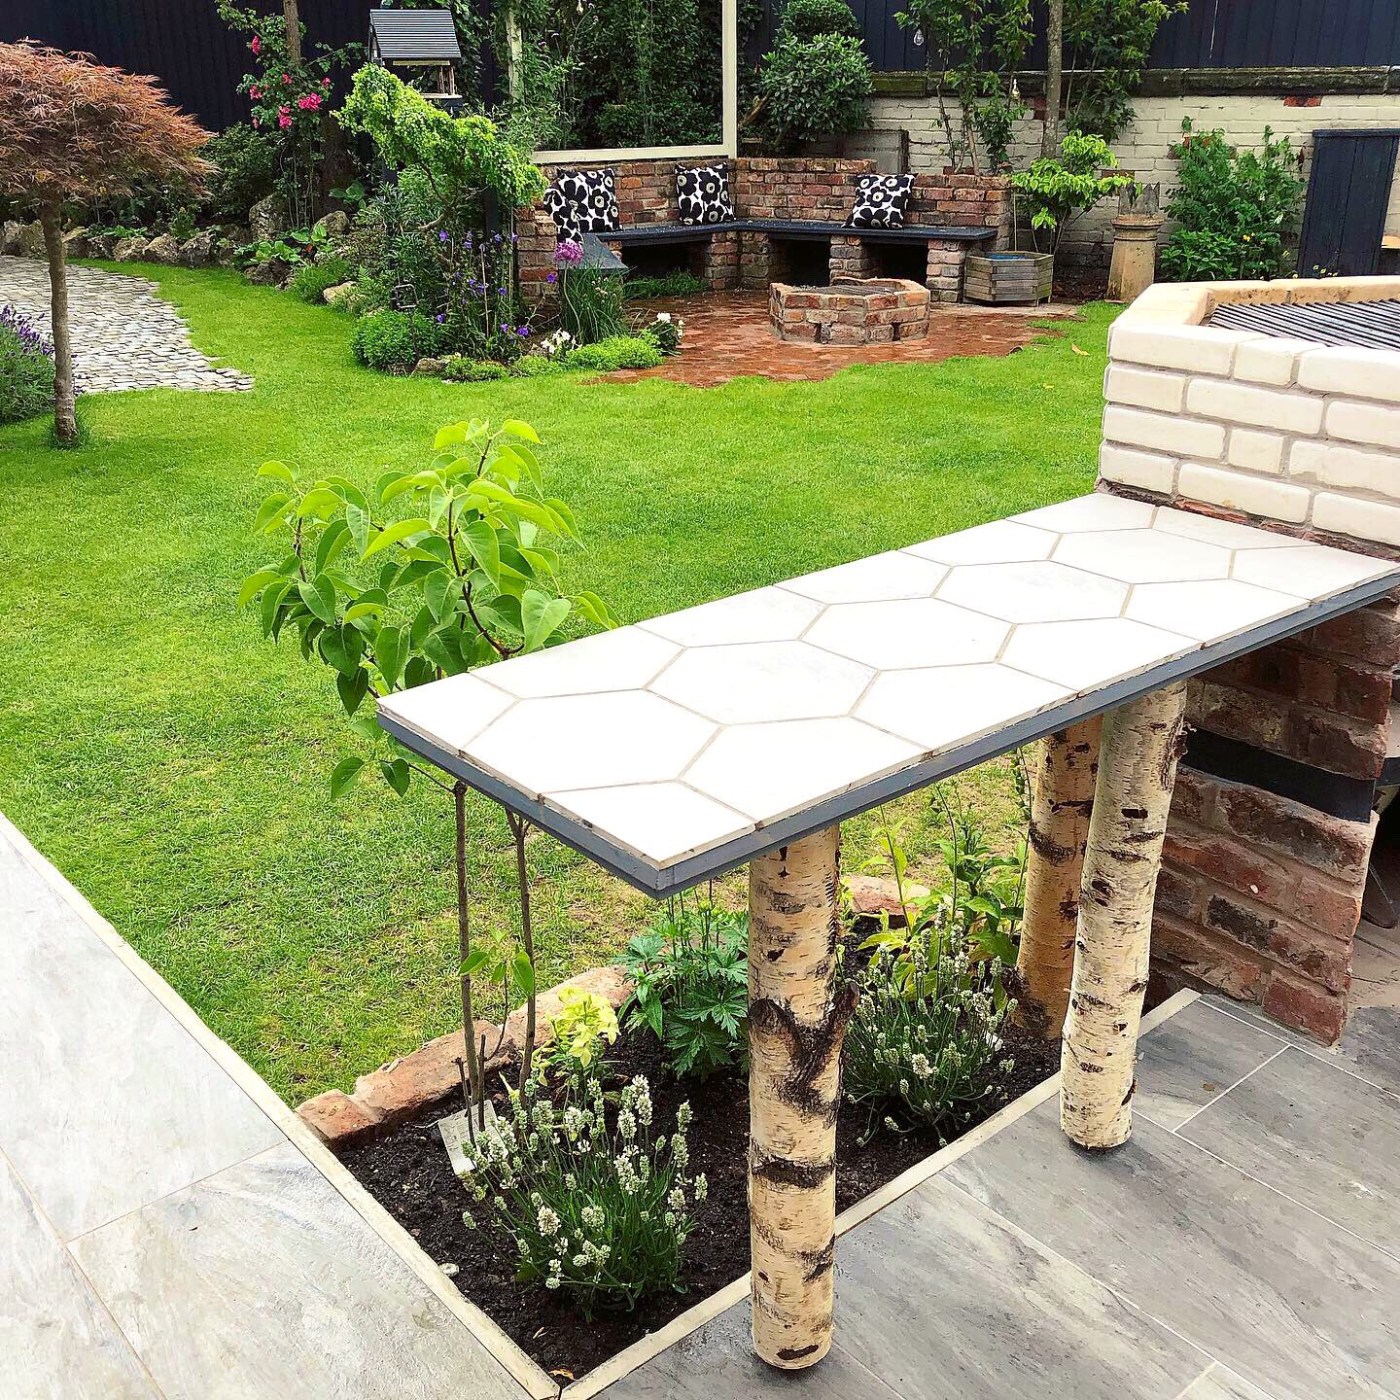
Now the planting is in below the legs look like they’ve always been there. The white lavender will spill out from under the table and give off a heady scent when brushed against by people using the table. I’ll need to keep the lilac tree in check as they can grow quite large, but I want a willowy, slender tree framing the table eventually, with gorgeous perfumed blooms in Spring.

The tiles were grouted with basic sand and cement for strength, but you could use external grout. We’re also going to get a 90* steel angle bead to frame the whole table and protect the edges, but for now, this will do just fine.
All made from left over materials and bits ‘n’ pieces saved from the skip – I love it 🙂 This baby’s going to get a LOT of use this summer!!


Leave a comment